Have you been inspecting your suspension periodically? No?? Why not???
Just like most other aspects of your vehicle, an inspection of your suspension should be done. We typically like to inspect all suspension components, not just coilovers, during every oil change (every 5,000 miles). Suspension, and not just the shock absorbers, have quite a bit of components that will wear out over time. In the case of our adjustable suspension, there’s also the factor of more movable components that need to be inspected and tightened to specification.
It’s not uncommon for us to get calls about noise that customers are getting from their suspension, only to find that the noise isn’t related to our coilover, but something like a worn control arm bushing, worn sway bar end link, worn ball joint, or even factory upper mounts with worn rubber components (which, I’m sorry but, we do not sell OEM components).
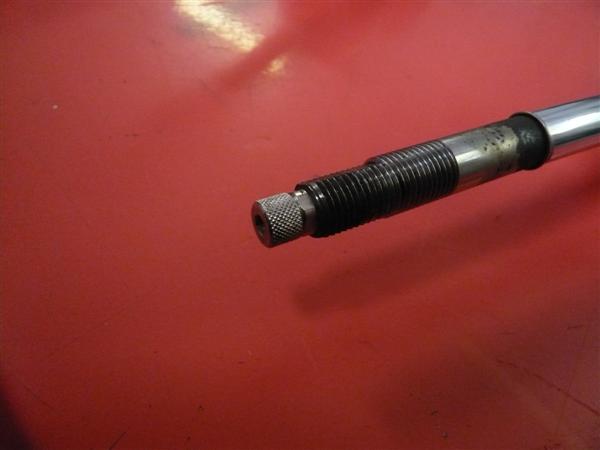
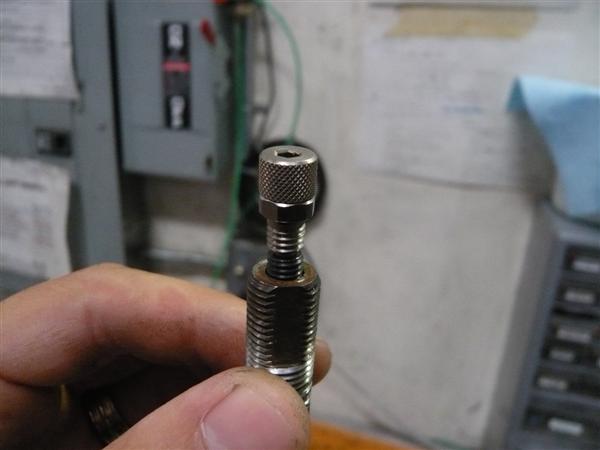
When it comes to inspecting our coilovers, it is a good idea to inspect items like the spring seats and seat locks. Make sure these are still torqued to specification, following our owner’s manual included with your coilover kit.
****************************************************************************************************************************************
Prior to continuing, we must note that we highly recommend that a technician/mechanic perform such maintenance work. Should you choose to do any installation or maintenance work yourself, please do so at your own discretion. The following is simply information regarding our coilovers and for reference only.
****************************************************************************************************************************************
Seat locks that adjust the spring height/preload should be torqued to 42lbs-ft (+/- 2lbs-ft).
Seat locks for MacPherson strut types (that lock the lower bracket to the shock body) should be torqued to 101lbs-ft (+/- 3lbs-ft).
Seat locks for multi-link setups (that lock the lower bracket to the shock body) should be torqued to 51lbs-ft (+/- 2lbs-ft).
Seat locks for H.A.S. designs (height adjust systems, where the spring is separate from the shock) should be torqued to 42lbs-ft (+/- 2lbs-ft).
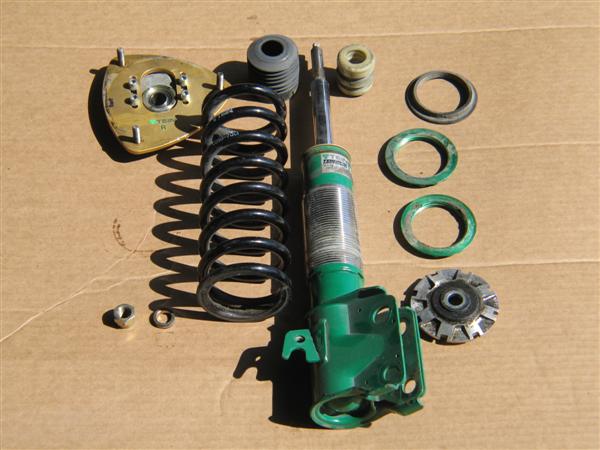
Other components to inspect on our coilovers are items like the dust boot, bump stop, and (if applicable) rubber spring seats. Some older models of TEIN suspension use a rubber spring seat between the seat lock and spring. This can start to crack over time. If so, get a replacement, or upgrade to the newer spring seat design that does without this rubber spring seat.
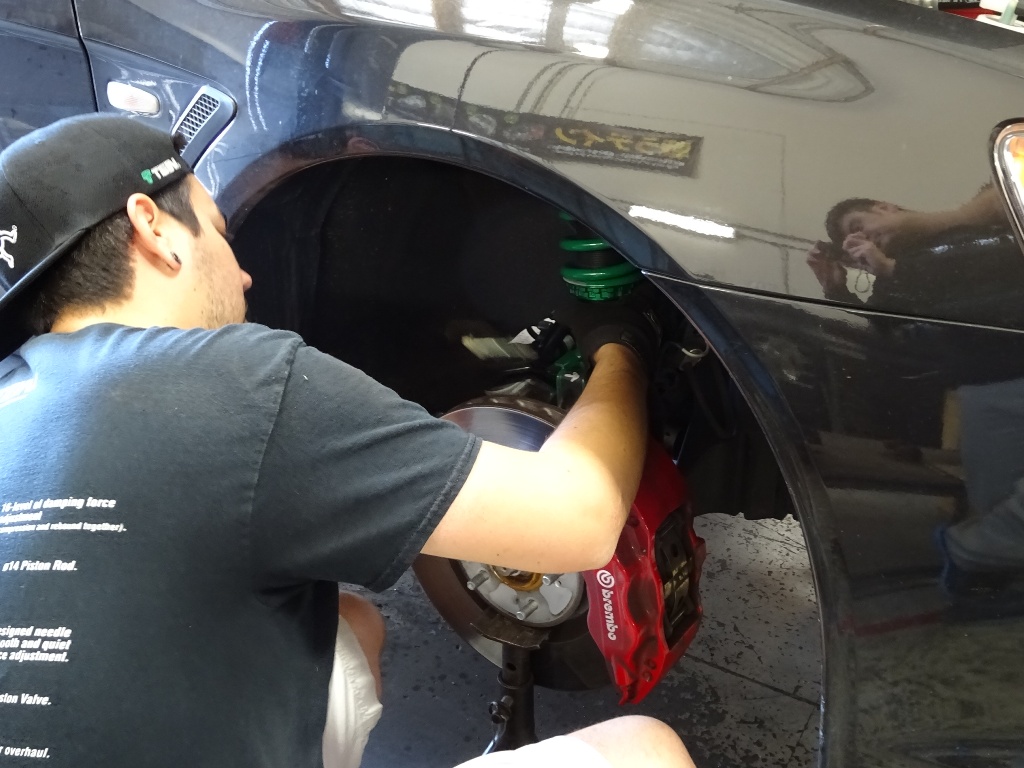
If you have our pillowball mount or upper mount included with your coilovers, also check to make sure all components are tightened down properly.
Some upper mounts included with our kit have a few components that need to be inspected, especially MacPherson strut type designs that have camber adjustability. The cap screws that allow you to slide the pillowball mount for camber must be tightened down to 14 lbs-ft. The flange nuts that secure the upper mount to the strut tower vary by manufacturer, but those never really require anything more than 20 lbs-ft.
Also, coilovers that include our own upper mount may include our own pillow nut. It’s essentially a collared nut that keeps the piston shaft centered in the pillowball. The collared portion will go into the pillowball itself as you tighten. For front strut type designs, this should be torqued to 45lbs-ft, while rears that are not strut type design (like a multilink setup) require 20lbs-ft.
As to torque values for securing our coilover to the lower control arms, you should reference the factory values of the vehicle manufacturer. These can be sourced online through a quick search, or through automotive forums for your specific vehicle (which should be easy to find).
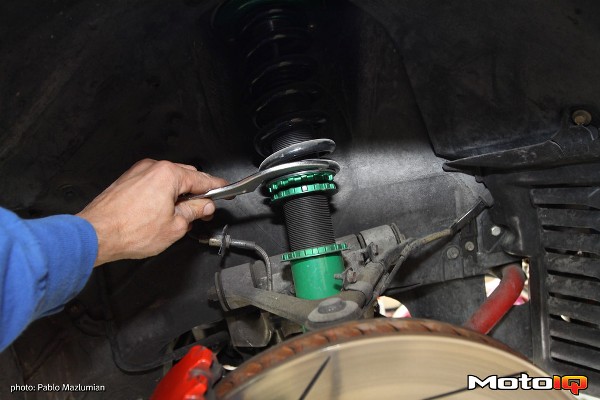
For front strut type coilover applications that reuse the OEM upper mount assembly, it would also be wise to make sure the strut assembly can rotate freely from left to right. Since the car needs to steer, the OEM upper mount has a bearing that allows the strut assembly to rotate with the knuckle assembly whenever you do steer. In some cases, the bearing can be worn and cause a grinding type sound.
Let’s say you’ve done all this basic maintenance, buttoned everything up, and now going for a drive. Maybe you noticed some squeaking noises. Have you checked your control arm and sway bar bushings?
In many cases, bushings are difficult to inspect. Sometimes their placement makes it very hard to see. You may even need to drop an arm just to be able to get a good look at the bushing. Fortunately, most rubber bushings last pretty long and typically only need to be inspected every 3ok miles or so.
When rubber bushings do go bad, they start to crack and as they pivot, they will squeak. Rubber bushings aren’t like many of the polyurethane, or even Delrin type bushings (highly inadvisable for street use), that are free pivoting. Most rubber bushings have a steel outer shell and a steel inner shell or tube, which are bonded because of the rubber. So that means that as the control arm pivots around its axis, the rubber has to stretch and compress. Eventually, as a rubber bushing dries out, it will start to tear itself apart, and that is what creates noises.
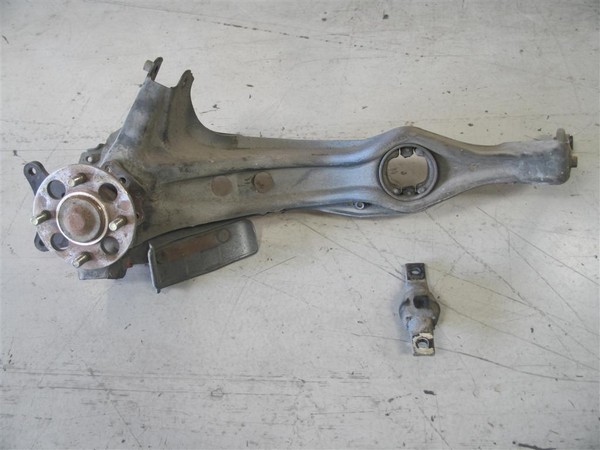
Replacing an old, worn rubber trailing arm bushing with a free pivoting polyurethane bushing. As you can see here, the trunnion wasn’t even attached to the bushing anymore. The rubber completely broke off. Fortunately, the trunnion’s placement prevented the arm from completely being loose and dropping out of position. Still, that can cause major damage to the underside of your car, and even cause erratic handling.
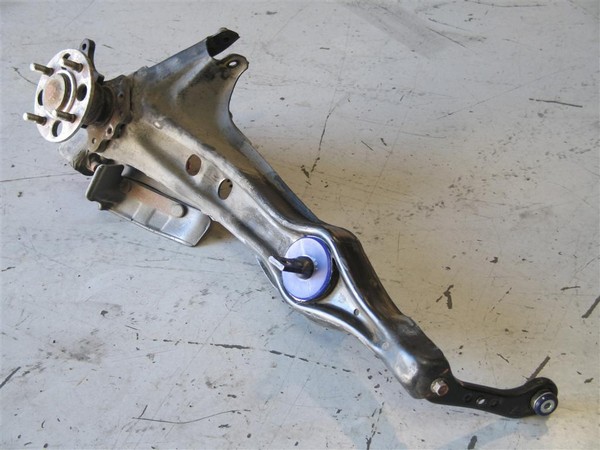
Freshly inserted trailing arm bushing with the trunnion cleaned of old rubber and reinserted into the new bushing. Because the trunnion is now able to pivot freely, it must be inspected frequently and lubricated to prevent the bushing from drying out. Otherwise, it will start to crack and create creaking or squeaking noises while driving.
Some notes about polyurethane bushings:
Polyurethane bushings, which are very common in aftermarket performance, have some distinctions that make them a likely upgrade for most consumers. Poly bushings, even though offered in various durometers (hardness), have better NVH characteristics than rubber bushings. And, because many of them are much harder than rubber, they don’t deflect as much under load, contributing to better maintained wheel alignment. When they do deflect, they tend to have better memory and can return to shape much more consistently.
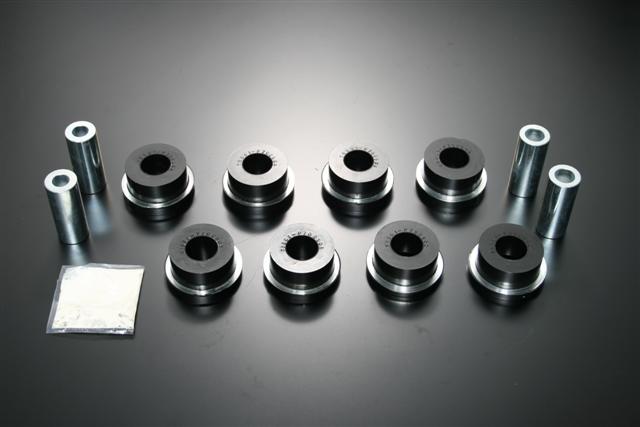
TEIN Polyurethane Control Arm Bushings for GRB Subaru. These require a special type of lubricant (included with the kit) to prevent them from drying out.
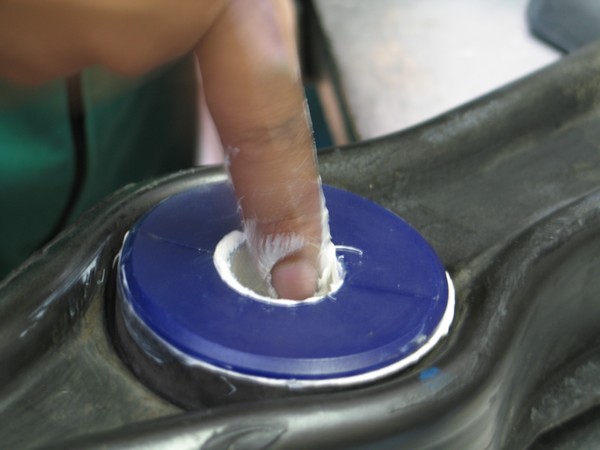
However, polyurethane can also dry out. And there’s a special grease that’s needed for periodic maintenance, which most aftermarket bushing manufacturers either provide or sell their proprietary grease.
So, periodically inspect your bushings since they are just as critical for a properly operating suspension.
Having a great handling car is obviously very fun, but it still requires upkeep to maintain that great performance you expect out of it.