TEIN ERROR CANCELLER KITS

For anyone with factory equipped Adaptive or Electronically Controlled Suspension will know, changing to an aftermarket suspension kit (i.e. coilovers) isn’t typically a straightforward, or plug & play affair. Now, some suspension manufacturers will at least include some method of resolving any warnings or errors that may pop up on the instrument panel whenever disconnecting the OEM Adaptive/Electronic suspension. In some cases, it’s not a problem at all.

This is the error notification you’ll get on the late-model Honda Accord Touring models with Adaptive Suspension.

Over a two years ago, we decided that we had to do something similar, as factory Adaptive/Electronic suspension is becoming standard on entry-level priced cars. No longer is this type of suspension exclusive to luxury marques. This led to the development of our Error Canceller Kits.

Error Canceller Kit show with some accessories, but actual accessories may vary by vehicle application.

Again, with entry-level cars now having either standard or optional (trim level dependant) Adaptive/Electronic suspension, there’s always a need for better handling performance. So, we had to come up with some type of resolution to the aforementioned warning or error on the dash.

Our solution is literally plug & play. Each Error Canceller unit uses a OEM style plug that connects to the factory wiring harness for the suspension. All that’s left is to mount the canceller securely to the damper, and you’ll be good to go!

To date, we’re still limited on which vehicles we make our Error Cancellers for, mainly because there aren’t too many Japanese entry-level priced vehicles with Adaptive/Electronic Suspension. However, as we’re getting into product development for European vehicles, it’s only natural that our Error Canceller Kits will continue to grow in vehicle application.

Currently available and upcoming Error Canceller Kits:

2017+ Honda Civic EDFC Install

With the release of the current body style Civic FLEX Z Coilovers, we have been receiving more and more inquiries of how the EDFC Motors would mount, specifically the rears due to its limited accessibility. Luckily a close friend of ours was interested in the EDFC Active for his vehicle so I went ahead and did the install for him.

Since I had never really had a chance to look over the vehicle you can say I went into this blindly. Initially accessing power for the EDFC Active controller and driver units seemed to be impossible (at least in the engine compartment area) without requiring modifictions. I basically just wired up all three to the main fuse box under the dash. Also for reference, the Driver Unit power cables are be able to reach the main fuse box under the dash, the rear being longer and front slightly shorter in length. I was under the impression that they were the same length. The front Driver Unit was installed next to the Engine Compartment Fuse Box and the rear was placed on the backside rear bulkhead. Both were in decent areas for placement. However it’s eventually up to you on the placement for the driver units. Just make sure the heat sink portion of the driver unit has enough space to dissipate heat. Power source was setup first as I wanted to avoid staining any of the interior, since the rears required the shocks to be removed.

Engine Compartment Driver Mount
Rear Bulkhead Driver Unit Mount

Installation of the front for this Civic required the use of the EDFC Motor Extension Kit to relocate the motors. Although it looks like the EDFC Motor will clear the hood, it in fact does not. The Click Assembly is first removed with the Hex Bolt. Once removed I applied the supplied grease to the hex bolt hole, wiping any excess grease from the piston shaft.

Next a small amount of Thread Locker (also included with the EDFC Motor Kit) is lightly applied to the piston shaft outer thread on both sides (where the Extension Kit’s Top Adapter screws on to).

Then the Top Adapter base is tightened onto the shaft using a 19mm wrench. Please note that a very minimal amount of force was exerted to the Top Adapter and should not be overtightened as it can break. Next the gold adjusting rod (Conversion Rod) is installed in the Top Adapter hole.

Prior to installing the 90 degree angle (Cover) and clip to the Top Adapter, I installed the Extension adding threadlocker on it and hand tightened it. Make sure that the Inner Shaft is turned out as to avoid any hangups with it against the gold Conversion Rod when installing.

Then proceed to install them on to the Top Adapter pressing down firmly to also press down the gold Conversion Rod and allow you to insert the locking clip to lock against the base. Afterwards add threadlocker to the other end of the Extension and proceed to install the EDFC Motor and also hand tightened it. Motor mounting location is up to you as some may have different locations preferred then the ones I had chosen. Also, do not bend the Extension (no U bends). It only allows a minimal amount of bending.

The fronts were not too bad to install. However, the rears were another story. Since only TEIN Japan had a chance to do an EDFC installation noting down key areas in the rear shock’s mounting tower where the EDFC motor cable is to exit, this gave us an opportunity to see if this would be the same for U.S. market applications. The wheelwell liner should be removed before uninstalling anything as it allows for a clear view of the shock mount tower area.

Due to limited accessibilty of the lower shock bolt, the rear spring should also be removed. Once the shock is removed the upper mount also needed to be disassembled to allow removal of the click assembly.

Once the click is removed apply the grease into the hex bolt hole then (applicable to EDFC ACTIVE and ACTIVE PRO models) install the supplied gold color hex bolt flush with the top of the piston rod. Reinstall the mount back on the damper. Apply grease to the hex bolt, then apply threadlocker to the piston shaft threads.

Proceed to install the EDFC motor hand tight to the threaded piston rod. Now, check that the EDFC Motor’s shaft turns freely by using a flathead screwdriver to turn the shaft- you should be able to complete several turns in either direction (it should eventually stop in either direction). The EDFC Motor cover was a slight pain to install since accessibility of the motor inside the cup-shaped upper mount was extremely limited. On a side note, I have seen where the Motor cover was preinstalled and a slit cut on the top of the EDFC Motor allowing for screwdriver access to the Motor’s shaft. Then once you check for free movement of the shaft, the slit can be resealed with silicon. Either method of EDFC Motor install works.

Prior to reinstalling shock, the EDFC Mid-Cable would need to be installed. As you can see in the images, there is a small access hole next to the main tower hole where the shock would mount.

The male connector of the mid cable needs to be fed through the smaller access hole over to the shock hole. Please take note that the cable connector also needs to be pushed through a small clearance on the top upper corner of the smaller access hole (as shown in the noted image).

Once pushed through, position the shock on its mount (I recommend to install the bolt through the lower shock eye ring bushing for support.) then connect the two cables together and gently pull the mid cable and EDFC motor cable through. During this time you would also need to move the shock’s upper mount closer to the tower to avoid tearing the cable wire. Once the shock mount is close enough, a bolt can be threaded on to hold the upper mount in place allowing for the cable slack to be removed then the mount to be completely reinstalled. Afterwards you can reinstall the shock bolt and spring, applying suspension preload when tightening up the loosened bolts.The EDFC Mid Cables were ran through existing grommets into the trunk area to the driver unit.

Though this install took a little longer than anticipated, we have a better understanding for installing EDFC ACTIVE (and EDFC ACTIVE PRO) on 2017+ Honda Civic models. Hope this helps out for any out there looking to install our EDFC systems on similar applications. As per usual you can alway contact us direct should you have any technical questions.

2014 Honda Civic Coilover Caution

Hello all,

We wanted to give warning to owners of 2014 Honda Civic’s. Not too long ago, we conducted some more testing on the late model Civic, only to find that coilover fitment is not the same. This is due to a difference in knuckle/hub design from the 2012-2013 over the 2014 models.

Current Civic body style for 2014:

2014 Civic Si


Here is the Front Strut from the 2012-2013 Honda Civic:

Civic 12-13 Knuckle


Here is the picure of the 2014 Honda Civic Front Strut:

Civic 14 Knuckle

As you can see, the bolt holes have a different alignment. That means that an attempt to install any of the GSHC0- coilovers will not be able get the correct camber angle, among other issues.

Because of the differences, our current line of coilovers, the following list of part numbers will be listed as 2012-2013 Honda Civic only.

-GSHC0-1UAS2 (STREET BASIS DAMPER KIT, FB6/FG4

-GSHC0-2UAS2 (STREET ADVANCE DAMPER KIT, FB6/FG4)

-GSHC0-5UAS1 (STREET FLEX DAMPER KIT, FB6/FG4)

Please keep posted with us for updates on 2014 Honda Civic coilover development!


Super Lap Battle/Global Time Attack 2013

Another year has passed, and we were waiting in anticipation to see what every competitor for this year’s Super Lap Battle at Buttonwillow Raceway Park will bring.

Just like last year, TEIN staff attended to be able to assist any of the teams and drivers on TEIN suspension in any way possible. For us, it is great to get their feedback on our suspension and how it is performing for them. It also gives us plenty of insight on what vehicle modifications are being made and how we can help adapt their suspensions to their specific setups.

In total, there were seven vehicles using TEIN suspension. In no specific order,

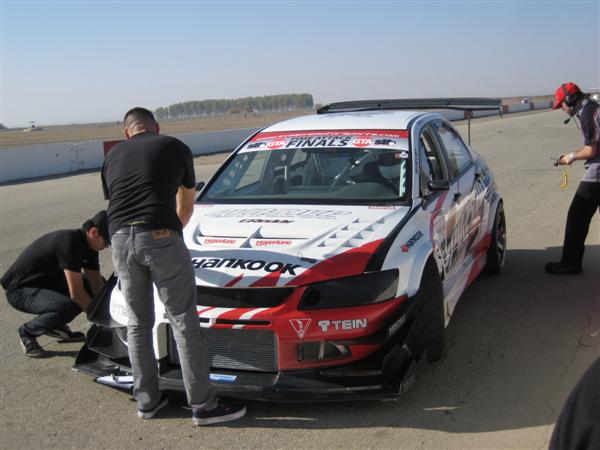
Limited AWD Class- Evasive Motorsports’ Mitsubishi Evo VIII (Super Racing coilovers)

Super Lap Battle 2013 016 (Custom)

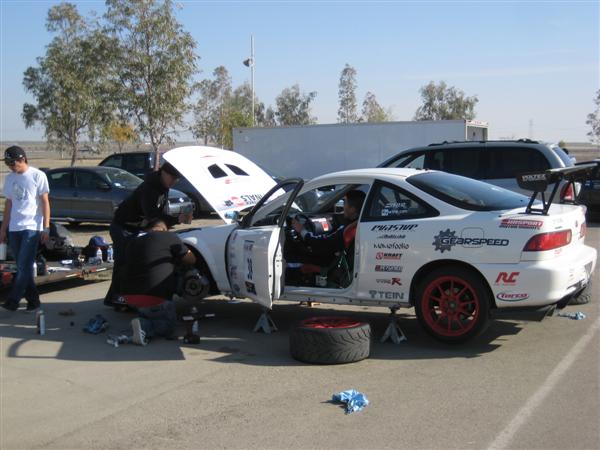
Limited FWD Class- Sportcar Motion’s Acura Integra Type R (Super Racing coilovers)

Super Lap Battle 2013 003 (Custom)

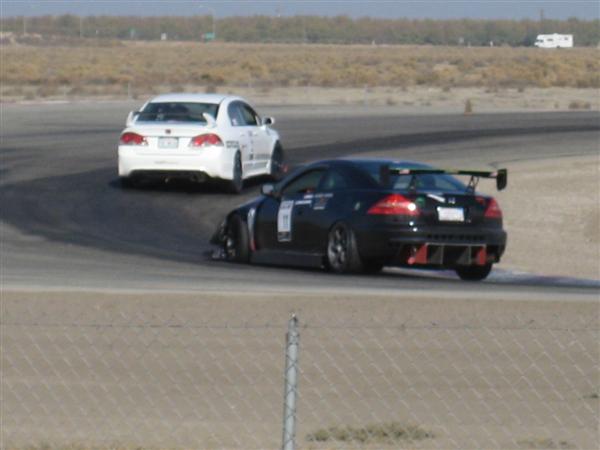
Limited FWD Class- Bobby Lane Racing’s Honda Accord (CL7 Mono Flex coilovers)

Super Lap Battle 2013 (iPhone) 022 (Custom)

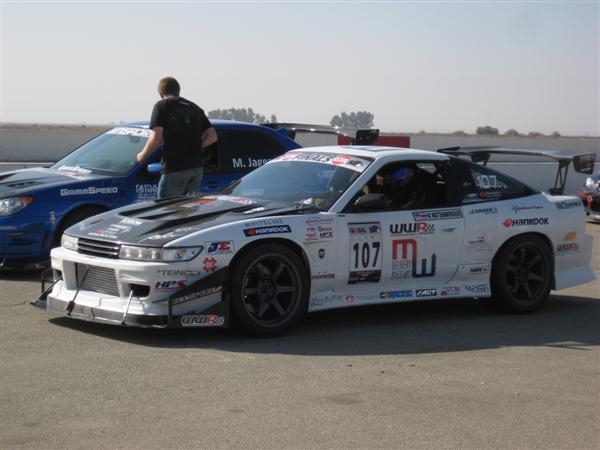
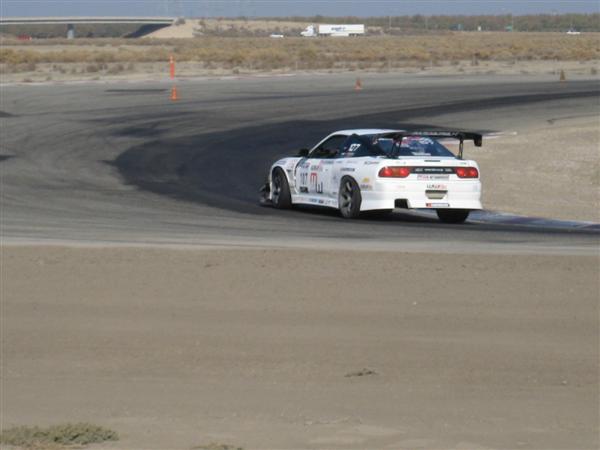
Street RWD Class- Will Wattanawongkiri’s Nissan 240SX (Flex coilovers)

Super Lap Battle 2013 009 (Custom)

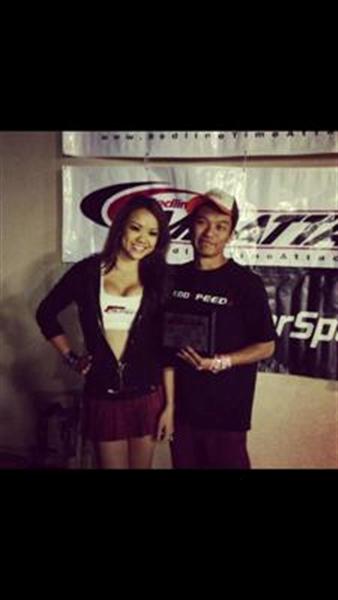
Enthusiast FWD Class- Pradana Wilianto’s Acura CSX (FA5 Mono Flex coilovers)

ping csx (Custom)

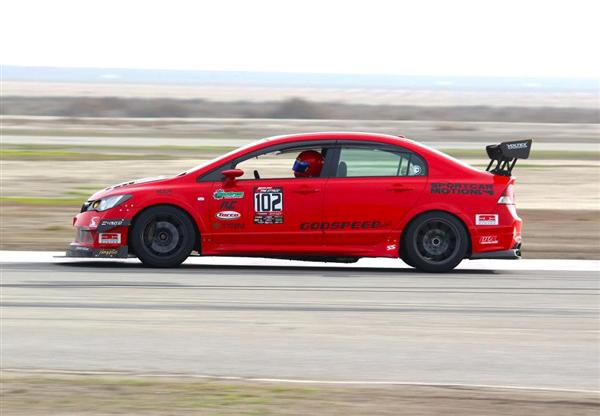
Street FWD Class- Ken Suen’s FB6 Honda Civic Si (Mono Flex coilovers)

Street RWD Class- Ryan Houck’s Honda S2000 (Super Racing coilovers)

Fortunately, once again, each team and driver had their cars setup very well, with only little input from us. A majority of time was spent with Evasive on their Evo to see if we can get the most out of a minimally tested new setup they’re running (upgrades to power; different tire). So, there was a bit of a learning curve with this car.

The best part of the event was that many of these guys logged their fastest times in early sessions.

Sportcar Motion’s Integra, with driver Tim Kuo returning again for this event, was able to shatter their old record of 1:54.xx with a 1:52.886, and that time held throughout the day giving them the win in the respective class! Mechanical issues prevented any further sessions for them, but the damage was already done. A new benchmark for Limited FWD has been set!

Evasive’s Evo, plagued with some turbocharger issues (failure) and transmission problems, still locked in a respectable 1:49.102, taking the Limited AWD class win and getting very close to taking the overall win. Hopefully, with more testing and developing in 2014, this car will take top honors. It must be noted that this car skipped over a full year of development, as they focused on their Scion FR-S and Honda S2000 for last year’s event. So, with that said, this year’s finish is an impressive result. We were glad to speak with driver, and Evasive Motorsports co-owner, Mike Chang, to get his feedback. We’ll be working with them more on this car, as well as a few other project cars in their stable, for 2014!

Super Lap Battle 2013 026 (Custom)

Will Wattanawongkiri’s S13 240SX was able to clinch top time in the Street RWD class with a 1:54.969. He’s been able to dial in his out-of-the-box Flex coilovers to work well with his vehicle, enough so that he could take the championships in various other Time Attack series’ this year.

Super Lap Battle 2013 054 (Custom)

Bobby Lane Racing’s Honda Accord sported updated aero (larger front splitter and wide fender to fit wider tires; side skirts; rear diffuser). They also had revalved their CL7 Mono Flex dampers for much stiffer springs. Prior to this event, then were hoping to get some testing done with this new setup, but a catastrophic wheel failure prevented them from making final adjustments leading to Super Lap Battle. Didn’t seem to matter as they logged a 1:59.158 time, approximately 3 seconds better than 2012. Although unusual to see an Accord at a Time Attack event, Bobby Lane Racing showed that it can still be plenty fast for track duties.

Super Lap Battle 2013 039 (Custom)

Pradana “Ping” Wilianto’s Acura CSX dipped into a 2:01.314 ET. That’s about two seconds faster than his time last year. He also got the win in his class!

Ken Suen brought out his new FB6 Honda Civic Si. Still a street car with full interior, modifications were minimal. In fact, he used the Mono Flex from his infamous “Big Red” FA5 Civic Si on this new car (had some modifications done to make it work. Other than that, front aero, larger wheel and tires, and brake upgrades were all that this car had. Not looking to break a new record, he still recorded a 2:06.271 lap time!

Ryan Houck’s S2000, which was backed by our friends at Counterspace Garage, sported custom valved Super Racing dampers, along with some simple aero upgrades. His times during the first few sessions were looking very favorable for the Street RWD class. However, a major driver’s side front brake rotor failure prevented any further outings. Quite unfortunate. Without a doubt, he’s on pace to reset the current record. We’ll see him next year!

So, that makes it 4 class wins on TEIN (Limited AWD, Limited FWD, Street RWD, and Enthusiast FWD)!

That’s really good news for us. Once again, we went back to the office happy with the results for these drivers and teams. A huge congratulations to each and every one of these people, especially for their continued support for TEIN! In turn, we will be there to assist them as best we can, in the same way we strive to assist all of our customers, including YOU!

Until next year!

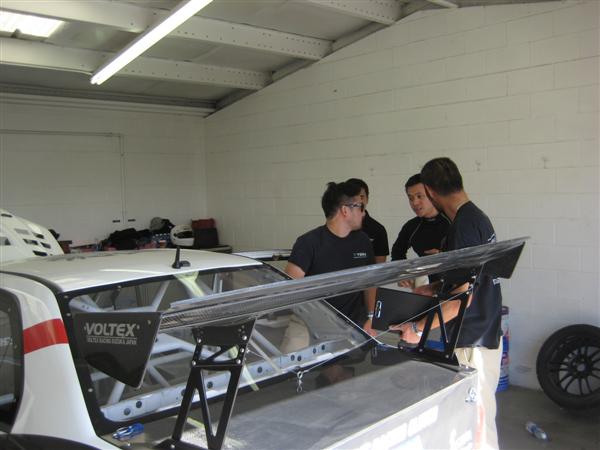
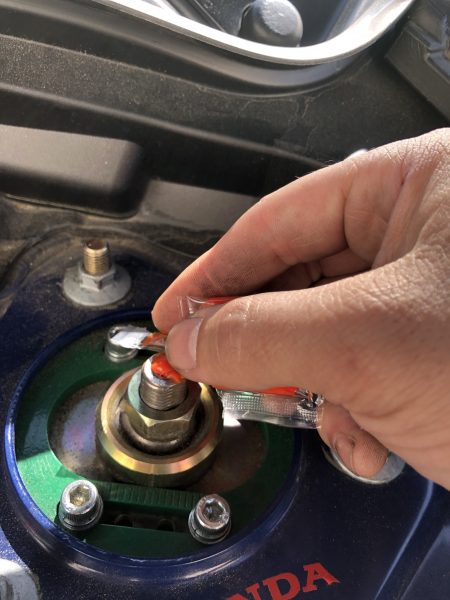
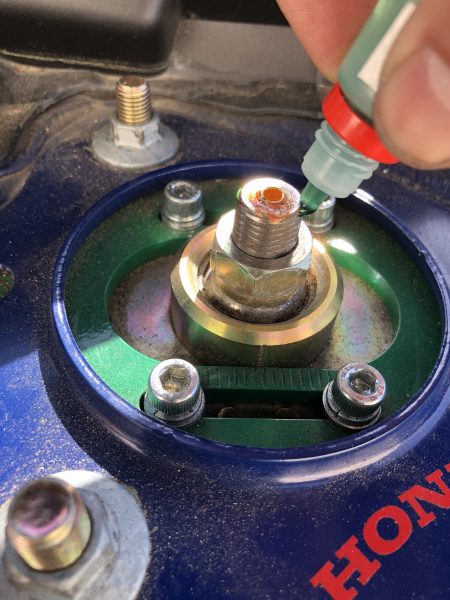
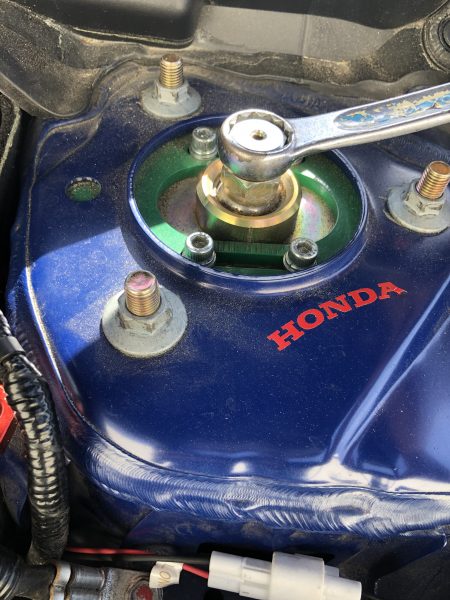
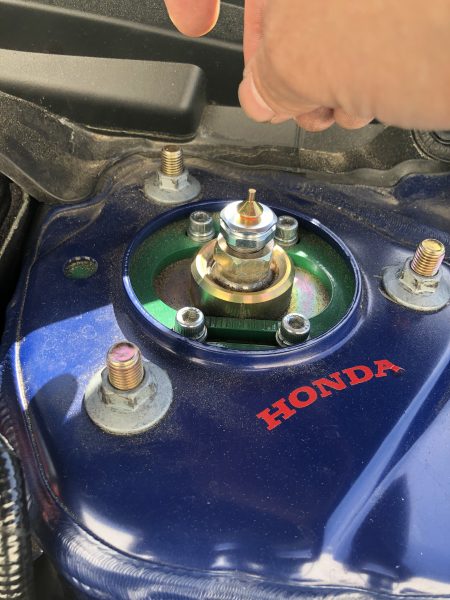
Oh, and apologies to our engineer, Shuichiro…

Super Lap Battle 2013 033 (Custom)

Super Lap Battle 2013 032 (Custom)

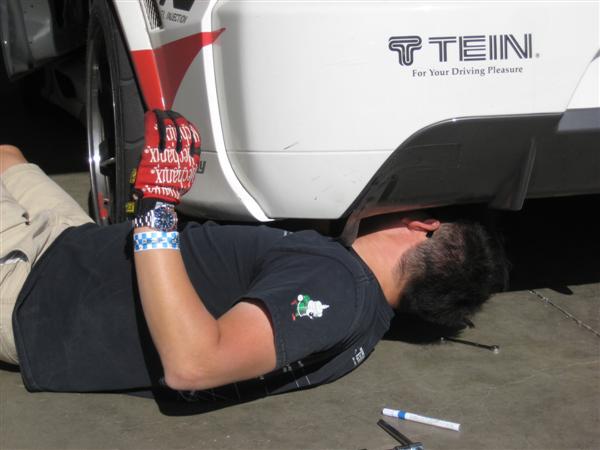
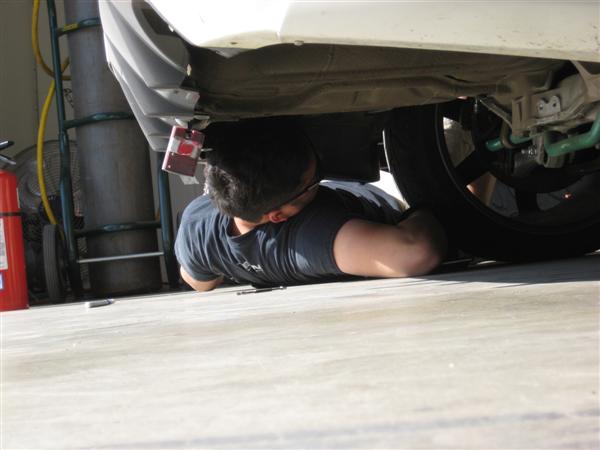
As you can see, we prevented him from watching any racing. Instead, we put him to work! SOWWY!!!

2012+ Honda Civic Non-Si Conversion Kit

With the release of the Street Basis and Street Advance for the 2012+ Civic’s, we found a change in the design of the knuckle assembly from the Si models to the standard Non-Si models. This change in design is new to the civic this year as previous model years shared the same knuckle assemblies between models only changing out the brake systems to a larger size for the Si models.

P1070578 (Small)

P1070634 (Small)

This conversion kit consists of  two pairs of 14mm  bolts and eight collar washer. When installed properly this kit will convert the 16mm bolt hole on the TEIN damper to allow fitment to the 14mm knuckle assembly. Part number for the kit is SPS12-P9043. This kit is price at $146.00 and is readily available.  This kit is a little on the pricey side but would be required if the kit is to be used on a Non-Si model.

Congrats to Ken Suen of Sportcar Motion!

Redline Time Attack had their season opener this past weekend (February 16th & 17th). As always, teams that compete in other Time Attack series such as Global Time Attack and Super Lap Battle, find their way into this series to best their times.

Sportcar Motion’s Ken Suen, owner and driver of the FA5 Civic Si lovingly referred to as “Big Red” was out for blood. Last time we covered this car during last November’s Super Lap Battle season finale, mechanical issues prevented him from doing any better that 2 minutes around Buttonwillow’s 13CW road course.

With some new front aero work, as well as a new powerplant, Ken was sure to make this event count. And that he did!

Under the Street FF class, Ken was able to stop the timer at an amazing 1:58.921! Yes, Street Class, Front-wheel drive! Super fast, and most importantly, the new record to beat!

Ken Suen (Custom) (Custom)

We’re glad to report that Ken continues to use an out-of-the-box Mono Flex setup for his car. We’ll see if any changes need to be made as he continues to cut his lap times down. SCM Big Red 2 (Custom)

Once again, congratulations to Ken Suen and the team at Sportcar Motion for yet another memorable run for victory!

Super Lap Battle 2012 at Buttonwillow Raceway

Yesterday was the final Super Lap Battle (in conjunction with Global Time Attack) for the year. Taking place at Buttonwillow Raceway Park in Buttonwillow, CA., it has proven to become one of the most anticipated events on this side of the U.S.A.

We were in attendance assisting any of the driver’s on TEIN suspension. For us, it was a narrow group- Evasive Motorsports with their S2000 (using our Super Racing dampers), Sportcar Motion with their Integra Type R (also on Super Racing dampers) as well as an FA5 Civic and Canadian Acura CSX both using our Mono Flex dampers. Another entry we came across was Bobby Lane Racing in their Accord (their Mono Flex damper setup is from a CL7 Honda Accord Euro R).

We arrived really early (7:30a) to meet with the teams and see if they needed any assistance from us. As experienced as these teams are in setting up their cars, there was very little for us to do except take some setting measurements and click settings the teams are using for reference.

TEIN Engineer, Shuichiro, getting data from the Sportcar Motion team.

Working with the Evasive crew and their driver, Robert Walker, to get their car dialed in.

We stumbled upon the Bobby Lane Racing team and their Accord using our Mono Flex dampers.

With each practice session having at least one TEIN-equipped car, we kept close to the hot pits. Our engineer, Shuichiro made sure to get as much feedback from the driver to see if any adjustments needed to be made. Again, maybe only a few click setting changes were done to the suspension, while some of the teams adjusted tire pressures. Lucky for us, Evasive Motorsports uses EDFC for their S2000’s Super Racing dampers. I’m sure our engineer appreciated that! Rather than having to lie down on the ground or get under the hood or rear trunk to make any damping click setting changes manually, the driver can make real-time adjustments to the dampers and stay out on the track.

Robert Walker pulling into the hot pits with the Evasive team standing by.

The morning sessions gave some of the best lap times. In Sportcar Motion’s case, their Integra Type R laid down a 1:54.2 lap time on the #13 track configuration that has become the standard for this event. That was a really good pace, and it looked like the car could even do better than that. Driver, Dr. Tim Kuo, was in pursuit mode the whole time, having very little issue with the Limited FWD class car. A broken 4th gear prevented any chance of getting in a faster time, but their time held as fastest of the day in their class.

Sportcar Motion’s red FA5 Civic Si piloted by Ken Suen was also on pace to beat their personal best. Mechanical issues brought the car in and prevented any futher timed sessions out on the track. Final time was 2:04.3 which netted a second place finish in Street FWD.

The Acura CSX also under Sport Car Motion’s stable clocked in a 2:03.

The Sportcar Motion trio all on TEIN dampers.

As for Bobby Lane Racing, they were hoping to best their 2:05, and in the end a 2:02.2 for the Limited FWD class. It was a great event for this small team!

That’s a familiar face! Dampachi along for the ride with Bobby Lane Racing.

Evasive Motorsports’ revamped Honda S2000 (newly boosted with the HKS GTSupercharger) went all out. New record for the Street RWD class now sits at 1:53.9 thanks to the newfound power. This car has 7 years of development into it, which has paid big dividends for all that hardwork. We’ll be working with them closely to help and develop the car for even faster times. Until then, a 1:53 lap will be the new mark for teams to achieve.

Evasive’s S2000 into the hot pits for some driver feedback.

Bobby Lane Racing Accord into the hot pits to discuss any changes in handling.

The Integra Type R from SportcarMotion was relatively trouble-free, making our engineer’s job a bit easier!

All in all, it was a good event with very little in the way of mishaps on the track. As the day temperatures got higher and as more cars went out for timed sessions, it proved to be harder for the teams to try and get faster times. It was great to see many of the teams socializing amongst themselves. I found it hard to differentiate whether these people were competitors or best of friends. We were thankful for the hospitality of each team. Bobby Lane Racing was nice enough to provide the TEIN staff with lunch- they came with their own grill to make burgers and hot dogs! Thanks, guys!

We look forward to next year. If the saying “Records are made to be broken” holds true, we may very well be seeing these guys best their current times.

Bobby Lane Racing’s owner and driver with TEIN Staff.

Evasive Motorsports crew with both of their race cars.

Congratulations to each of these teams for all their hard work and efforts. We’re glad we can be a part of it!

2012 HONDA CIVIC / ACURA ILX COIL-OVERS SOON TO ARRIVE!!!!!

Hey all 2012 Honda Civic Owners,


We are [FINALLY!] receiving the anticipated Street Advance and Street Basis coil-overs for the 2012 Honda Civic, which  are also compatible with the new 2013 Acura ILX.


We appreciate your patience. To all those who have waited for the products release, it has been a product long in the making for this vehicle, but we will finally have them in stock by mid October. These fit on both the regular models and Si versions. For the ILX, we tested on the 6 speed Premium model.


Street Basis GSHC0-1UAS2 Retail $950


Street Advance GSHC0-2UAS2 Retail $1,150


ONE SLAMMED ELEMENT!!

‘Sup Guys! As you can see, this Element does not look like your ordinary slammed Element. Then again why would it, since this one belongs to one of our staff that is known for slamming his cars!

You can see how much lower it is compared to another staff member’s stock Element here.

This slam didn’t come easy. Gonzo had to look over lots of design drawings and come up with the one that basically lowered the car to his liking! He decided to go with customized Basic dampers from a 2001-2005 Honda Civic re-valved to 10kg and 14 kg springs. After he completed lowering his Element he purchased a nice set of Enkei’s (first gen NT03+M  18″ by 8 1/2″  to make it look even lower (overall diameter of the wheel and tire is smaller than the factory setup).

**The 2001-2005 Civic Basic kit is is not a direct swap into the Element- steering arm location is not the same and requires custom steering tie rod ends to make it work. It should be noted that if anyone decides to do a similar modification to their vehicle, it is at their sole discretion.

Some of his upgrades are a S2000 steering wheel with functioning cruise control, a rear camber kit and a Carbing blue anodized shift knob.