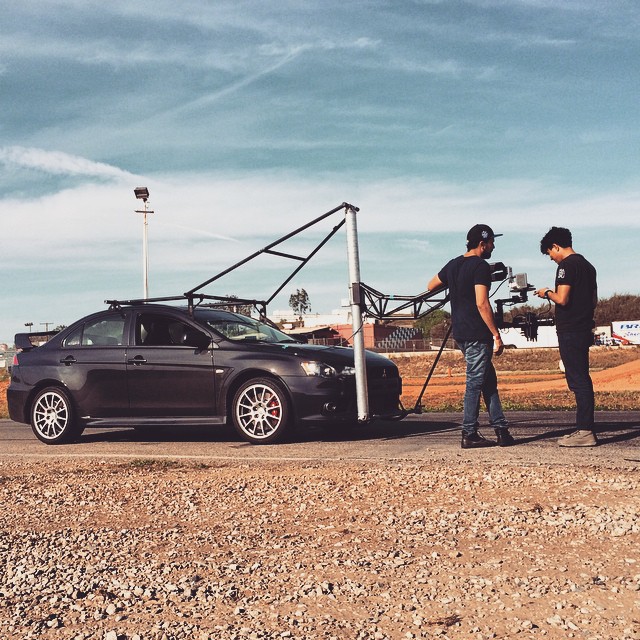
This was a special project for us. Our good friend at Clockwork Media came by asking for suspension for his camera car that he uses for filming. You may actually be familiar with a lot of their work, as they do most of the videos for Scion Racing! So anything drift, rally, and anything in between that Scion is involved with, Clockwork Media takes care of a majority of it!
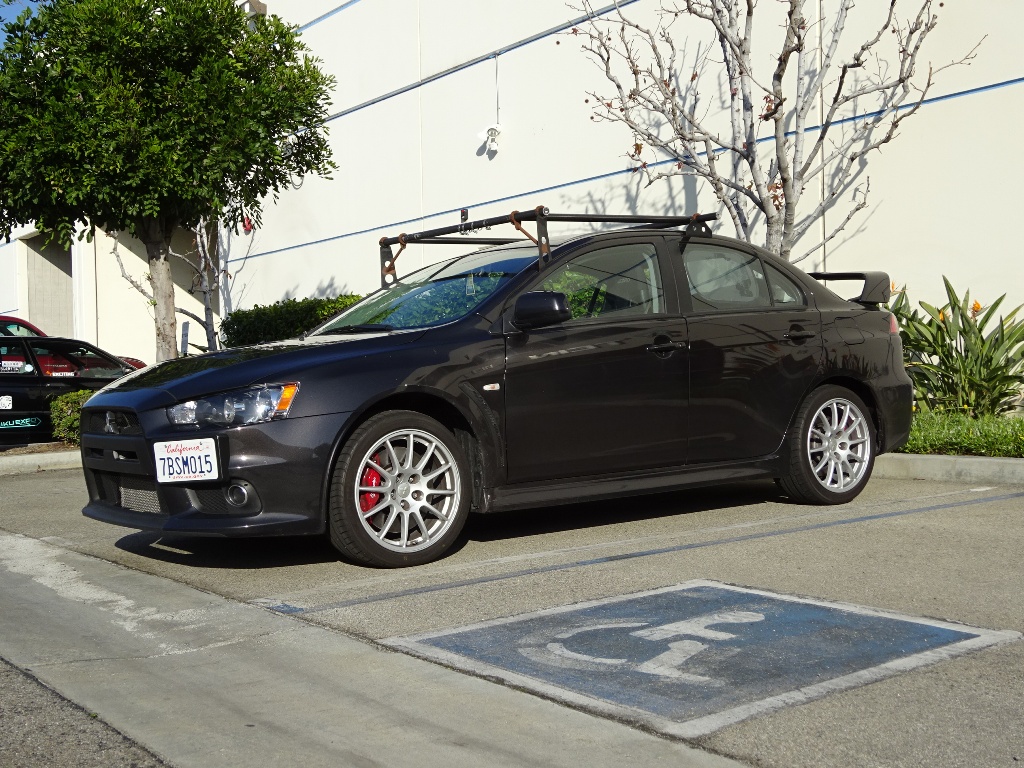
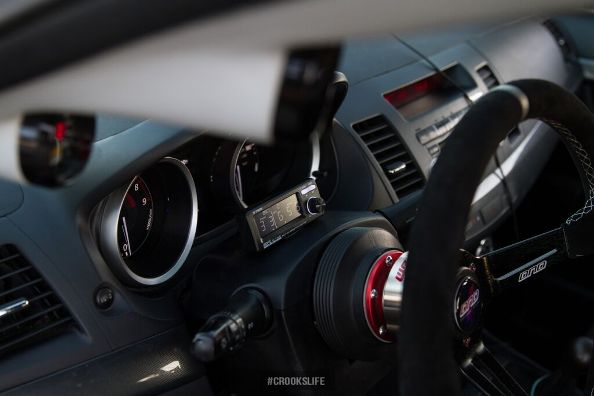
Back to their need for suspension. As mentioned in the title, they use a Mitsubishi Evo X that is only modified with extra equipment to mount cameras and such onto the car. Their concern was that, with stock suspension and with a total of four passengers, the ride quality was still very harsh. This translated into very choppy looking video, as they played a clip of a chase run with the GReddy sponsored Scion Racing FR-S of Ken Gushi. On top of addressing the harsh ride concern, they needed a suspension kit that will maintain close to factory ride height (including the four passengers in the car).
This sounded like a pretty good challenge for us. For those of you familiar with our coilover products, you may already know that most of our kits are designed to lower vehicles, and most have a bit more aggressive spring rates and damper valving to enhance handling performance. So technically, we had nothing off-the-shelf to meet their needs.
However, we have the ability to do some customization in-house. Since all of our coilovers are rebuildable, we can customize internals and modify damper valving for specific spring rates.
Prior to deciding on what coilover package we could use, we did a quick corner balance on the vehicle to see how much more weight was added (excluding the passengers). Then, our engineer went to work looking up existing Evo X suspension kits we already offer. It turns out our STREET FLEX coilover was the best candidate for modification. The next problem- getting factory ride height and factoring the added weight of passengers and filming equipment. Typically, for such requests we have custom piston shafts made by TEIN Japan, then air freighted to us. Our engineer was able to find existing piston shaft designs to use, which saved them the hassle of having to design new ones altogether.

Mind you, this doesn’t necessarily add more stroke. We’re still using an off-the-shelf coilover kit that has a set damper length. We just needed the extra length to use in conjunction with a taller and softer spring than what comes with the kit to be able to get close to factory ride height.
Once we got all the parts together, our engineer went to work on final spring rates and damper shim specs. Then we assembled the dampers. Overall, the dampers are MUCH LONGER!
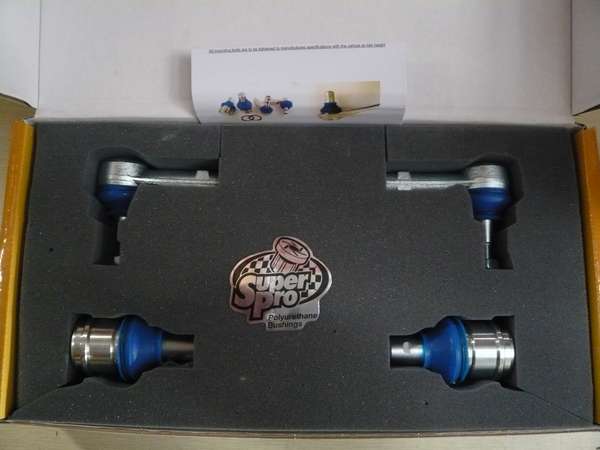
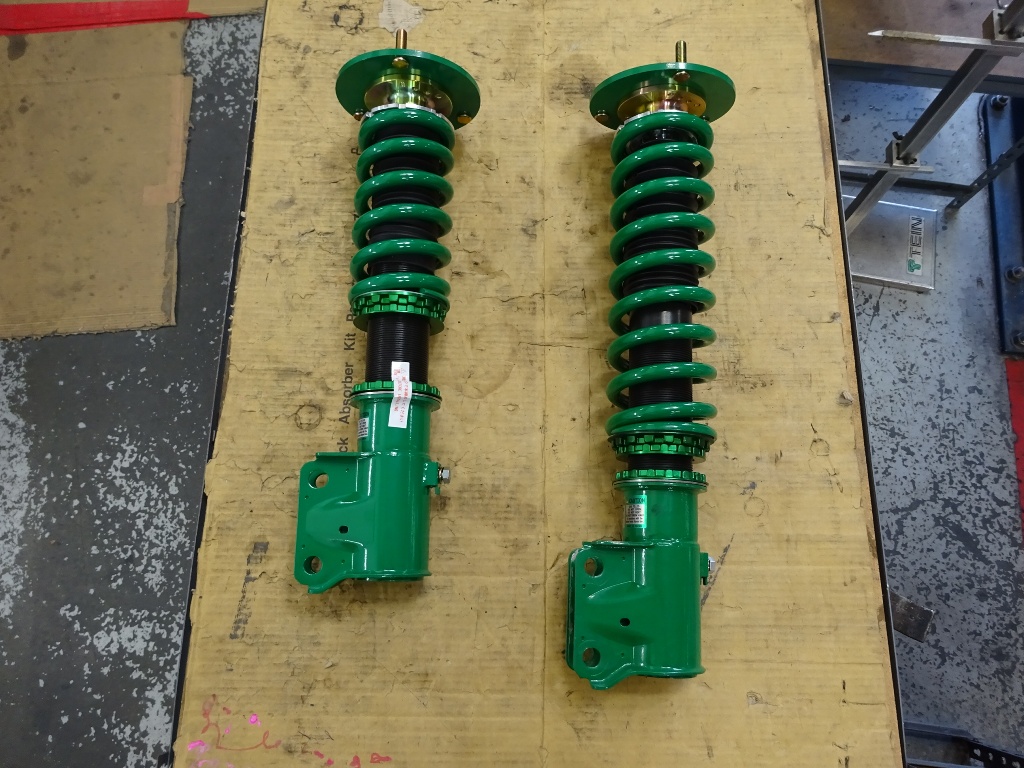
Here’s our STREET FLEX kit as it comes out of the box:
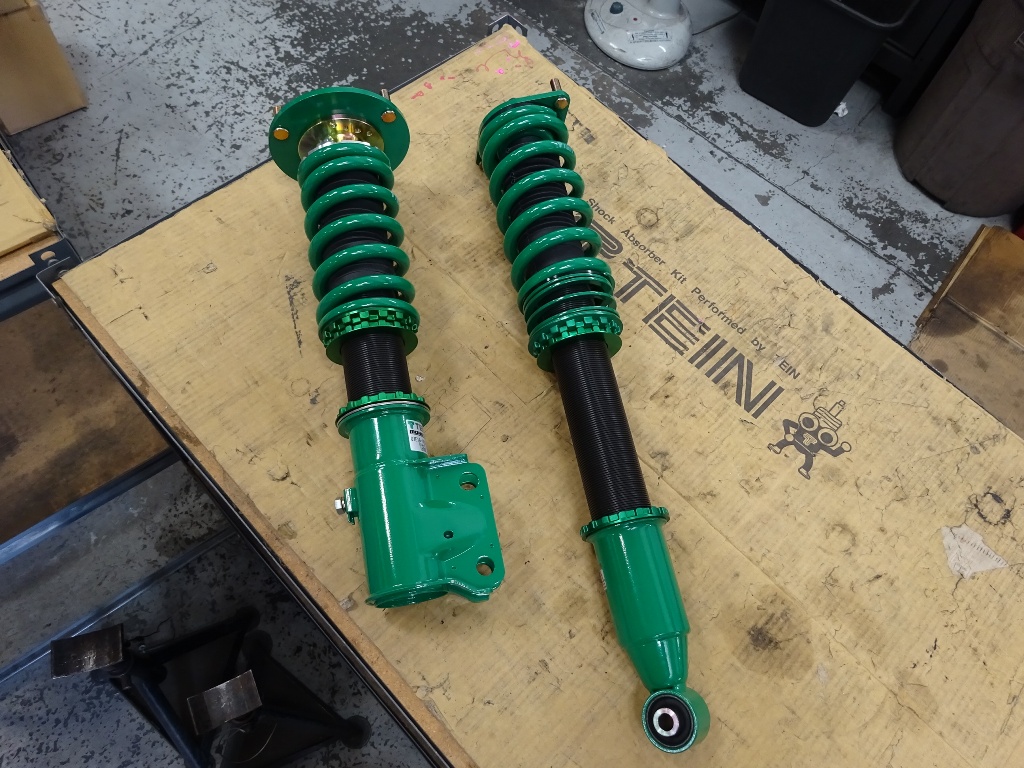
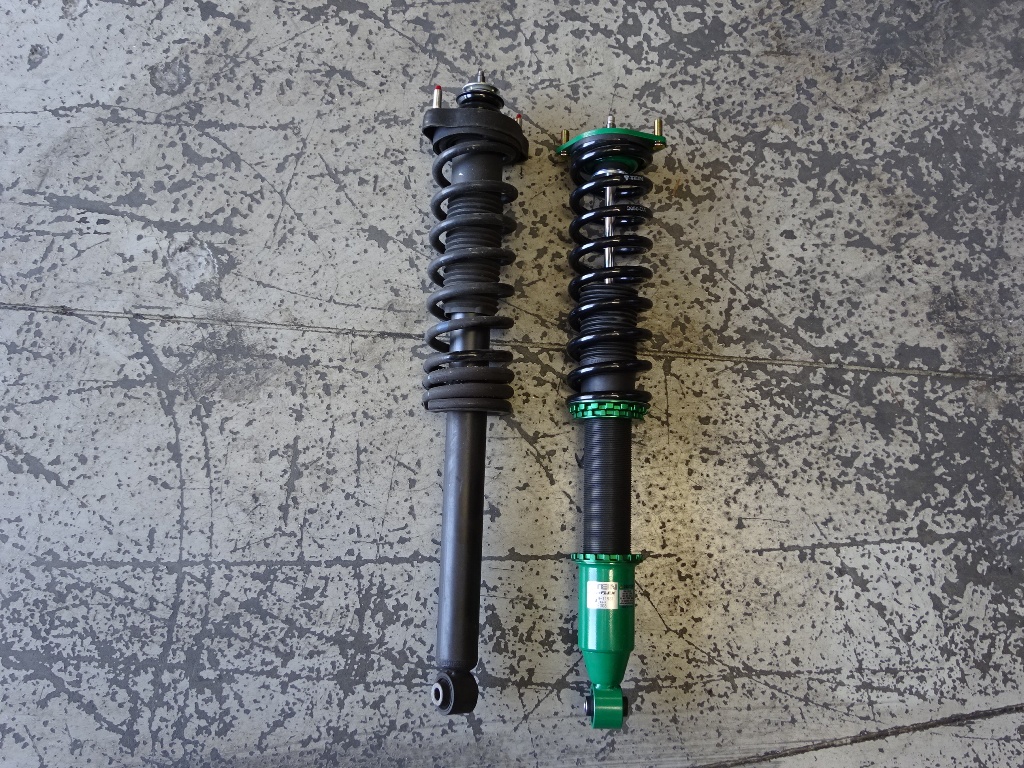
Here’s the front STREET FLEX compared to the newly modified one:
And the rear STREET FLEX compared to the modified one:

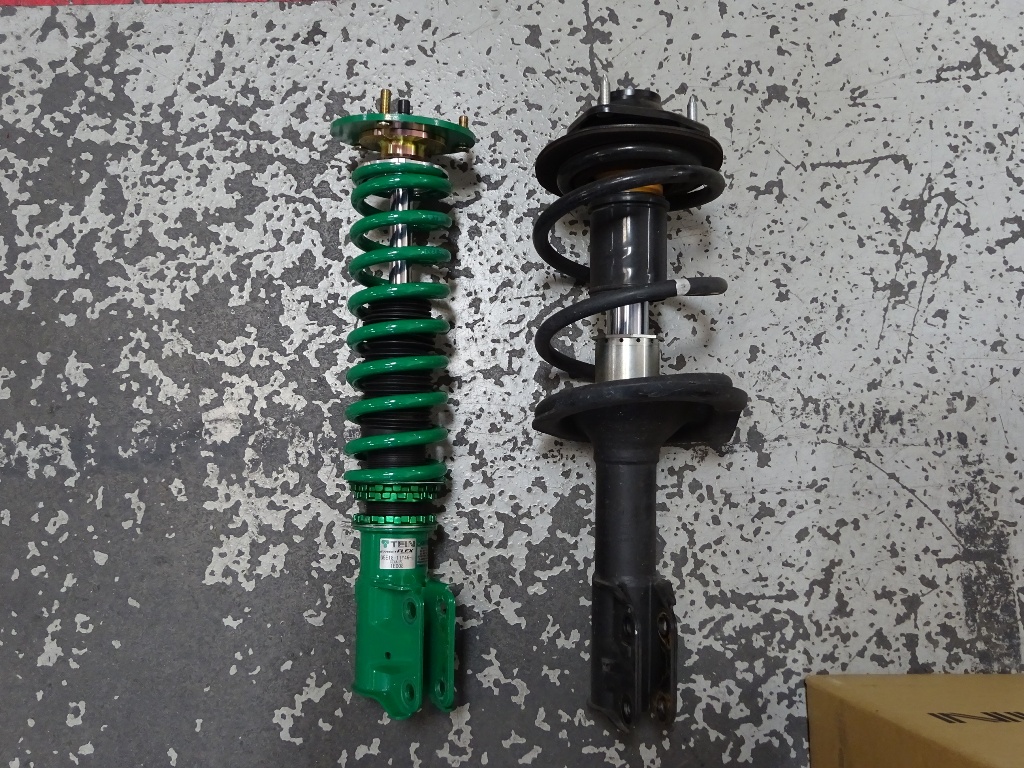
Compared to the stock suspension, our modified STREET FLEX dampers are very close in overall length
Fronts:
Rears:
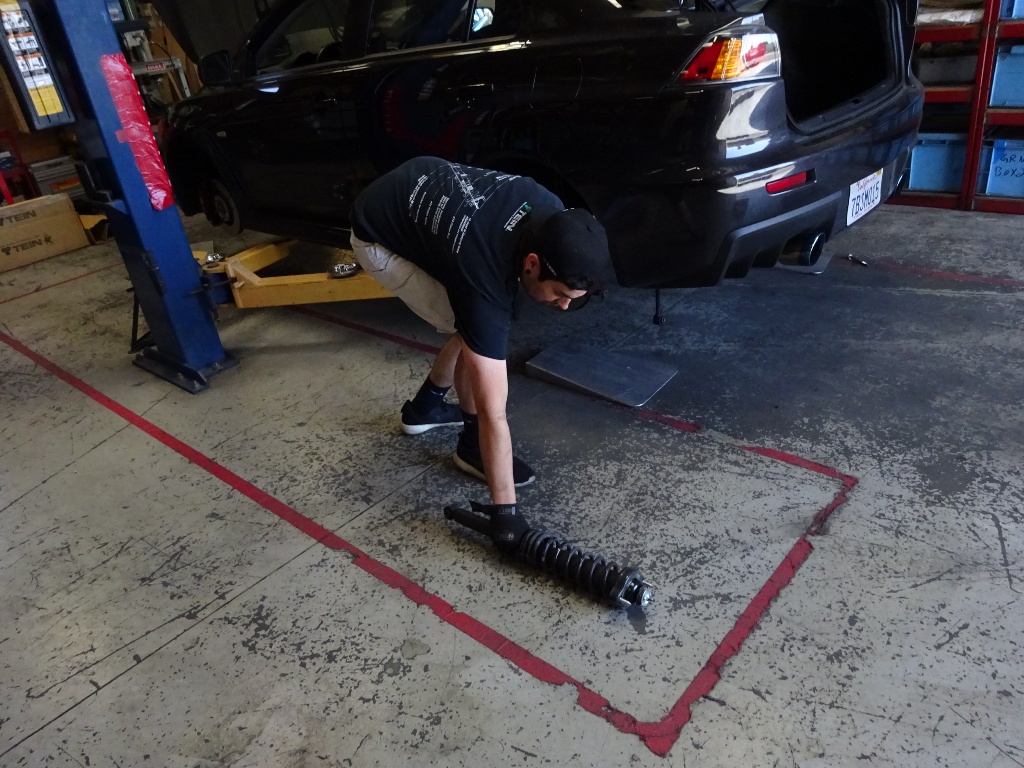
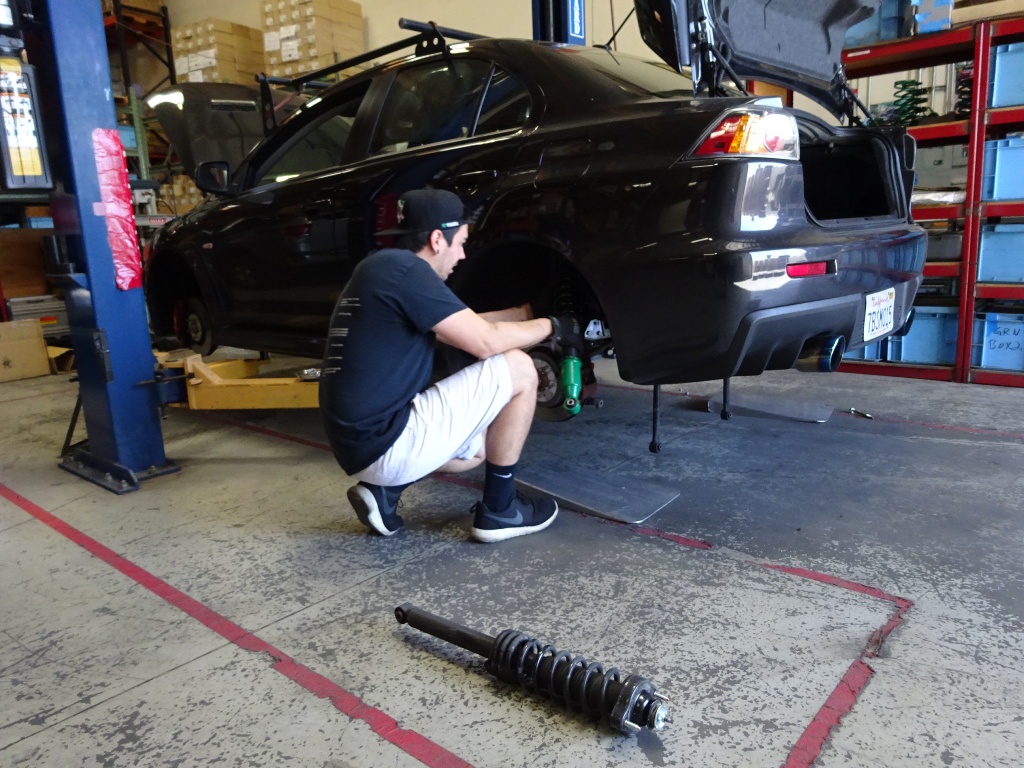
Starting with the rears, it was as simple as unbolting the stock suspension, upper mounts and all, and swapping in our coilover
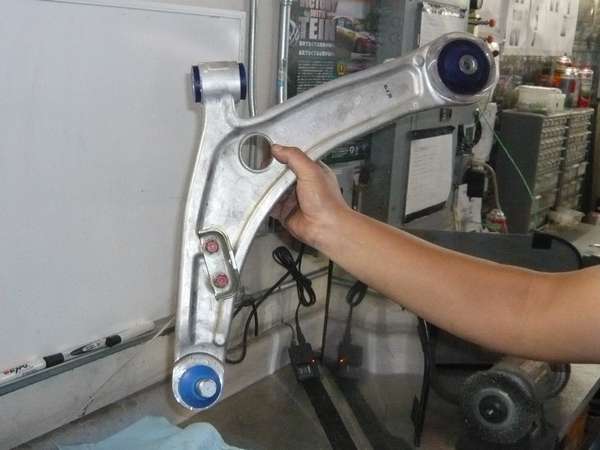
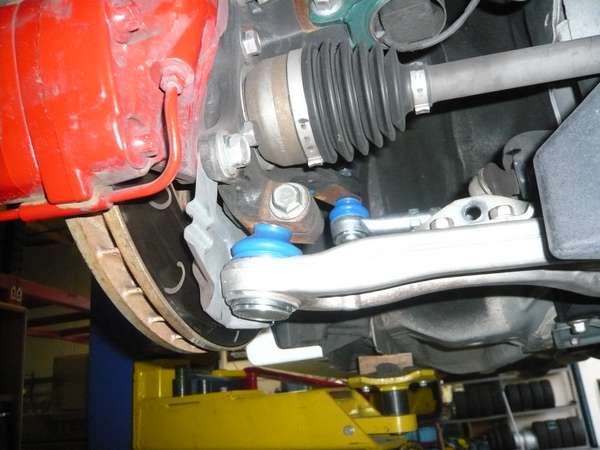
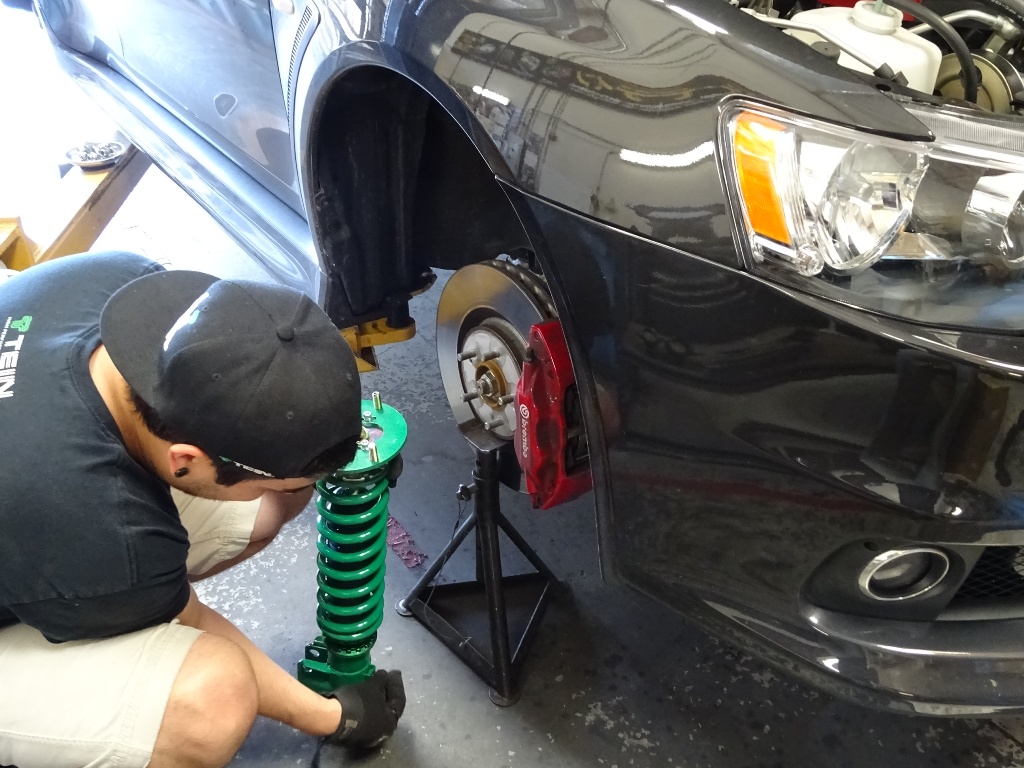
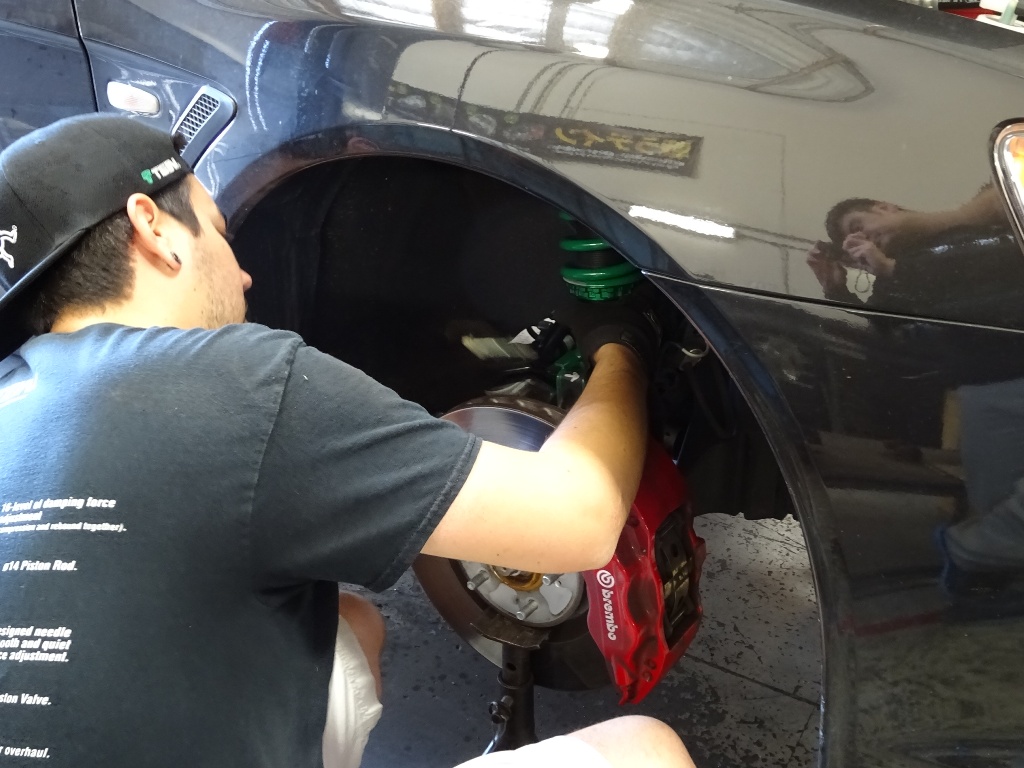
There’s quite a bit to do to remove the front suspension, but at least putting in our STREET FLEX setup makes it a quick bolt-on affair.
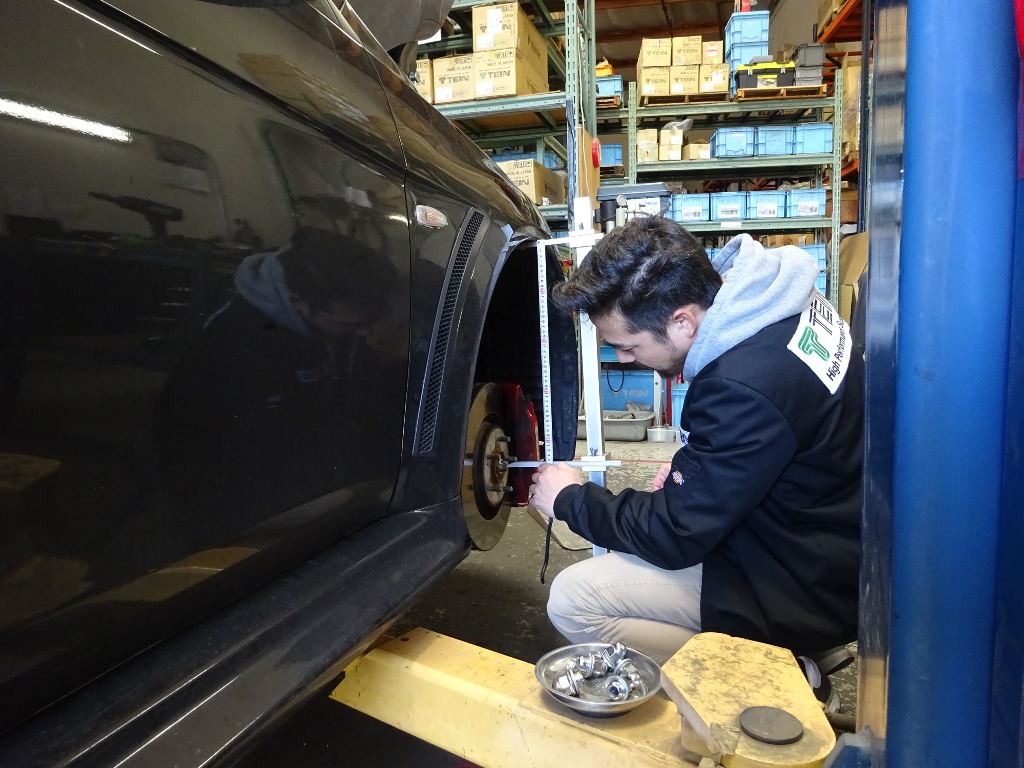
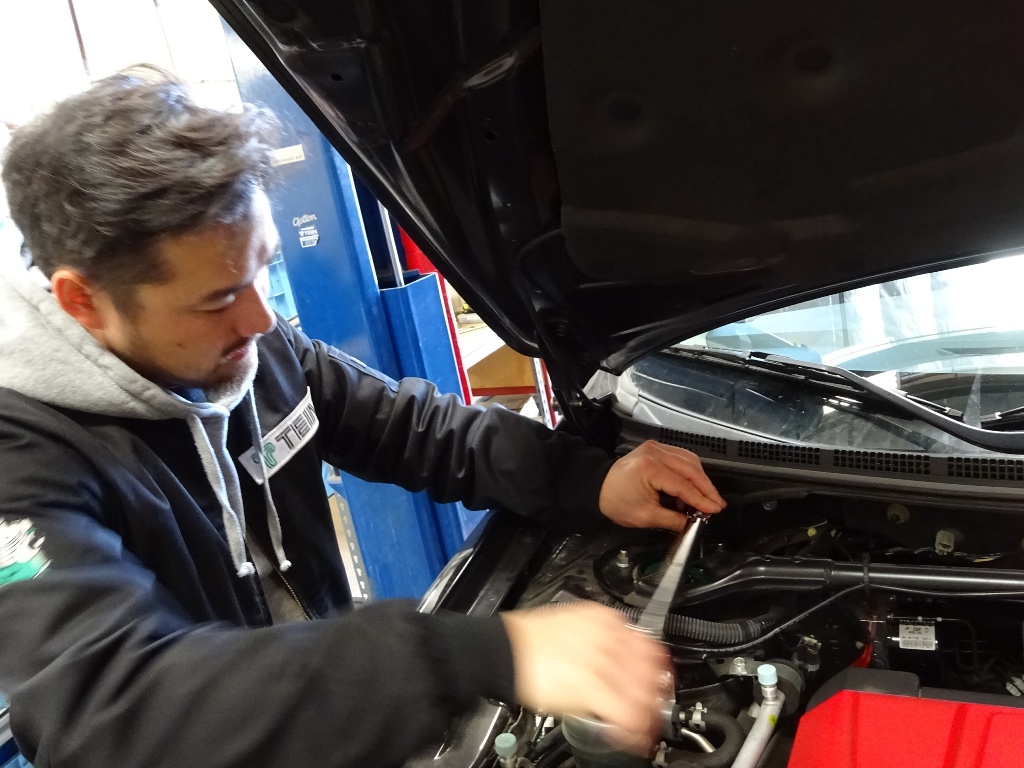
We certainly hope all of you installing our suspension are double-checking each bolt/nut, spring seat, etc. to make sure they’re torqued to specification. We may have the dampers preassembled and they may look ready to go right out of the packaging, but it is wise to check every component prior to attempting to drive on them. Follow torque specifications listed in the included installation manual with your coilover kit.
Our engineer is double-checking the torque on the hex bolts for the camber plate. These require relatively low torque (12-3 – – 13.74 ft-lbf).
Seatlocks for locking lower brackets will vary depending on design (strut type= 101.2 ft-lbs, multi-link= 50.6 ft-lbs). For strut type lower brackets, we also include a conical washer between the bracket and seat lock. This must be tightened completely with no visible gap when it is torqued properly.
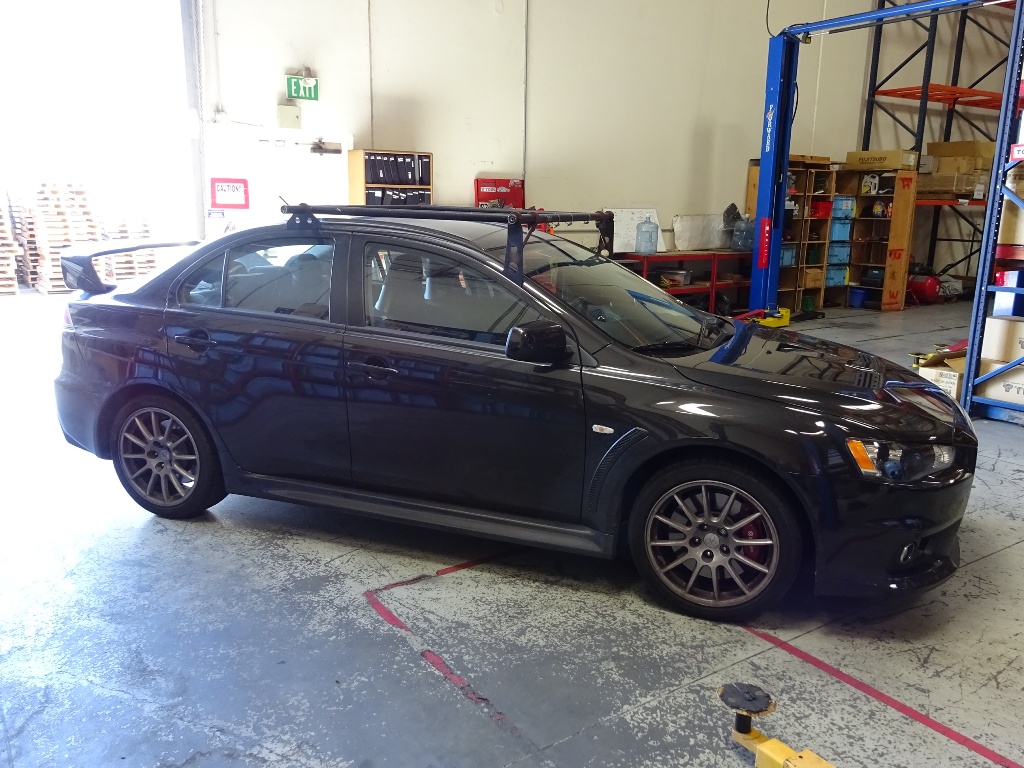
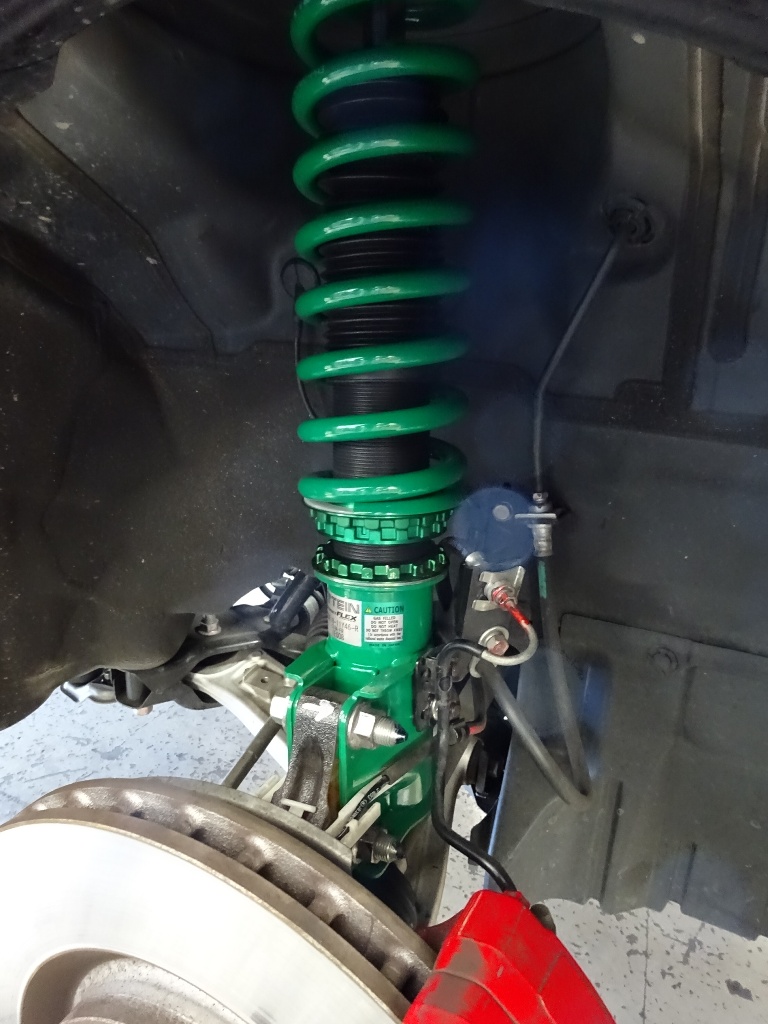
When all was said and done, the car looked,,,,,,,, well, it looked stock. Kind of unusual for us since we expect a car to end up lowered (unless we’re installing an HG or Group N coilover kit, that’s a different story). Again, this is what our friend wants. They need to make it a more comfortable and less harsh of a ride to get those great pictures and videos while on the move!
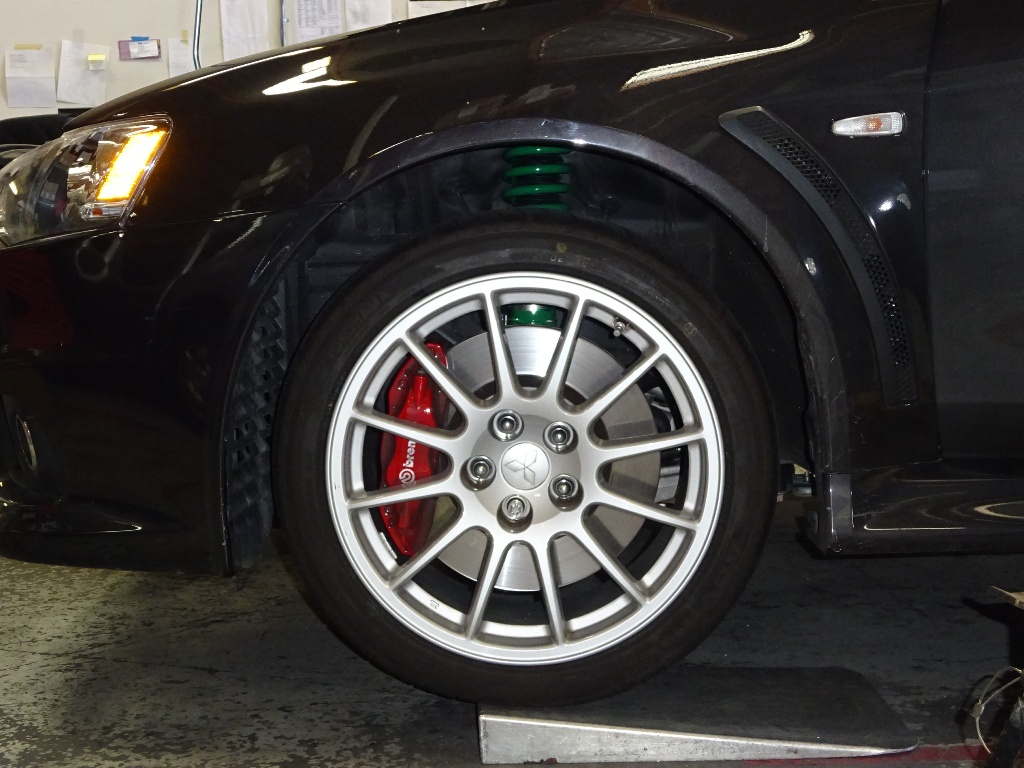
Front ride height:
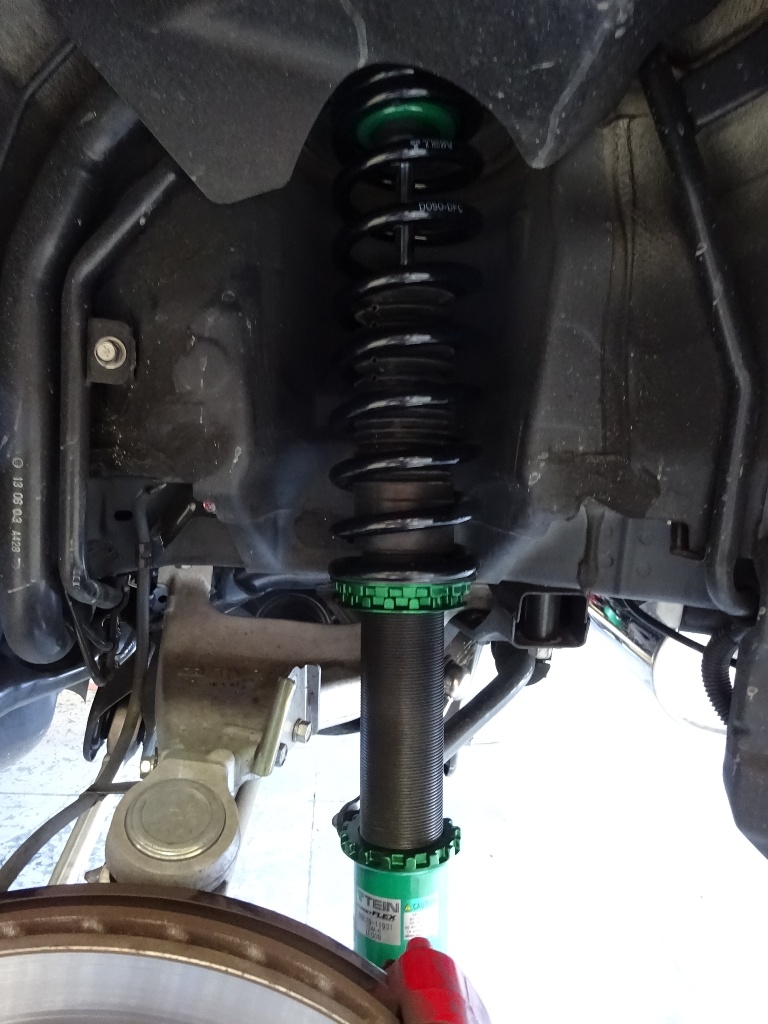
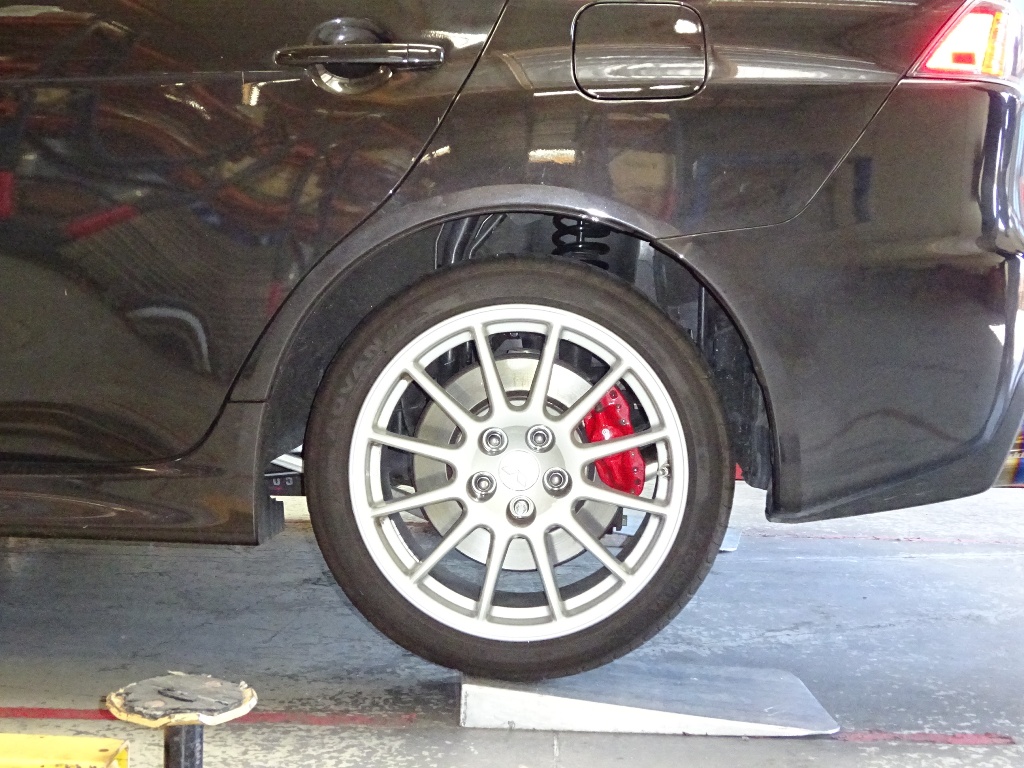
Rear ride height:
We certainly hope our friend likes the new suspension. Being that we can customize our coilovers, there are still endless possibilities in terms of different spring rates and damper valving, depending on their needs!