Coilover Spring Swap

I have not really touched my EVO since my last track day back in May. The car felt the same, stable. Maybe too stable, meaning a tendency to understeer. I tried to compensate by aggressive trail braking and almost jerking the wheel to get weight transfer but the wide tires, wide body and aggressive aero keep the car super planted.
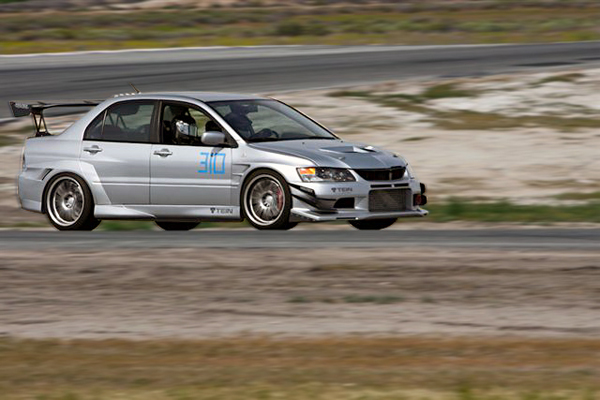
I have been meaning to try some different spring rates or R-comp tires for, hmmm… about the last 2 years. Spring rates and tires are VERY related. Higher grip tire = higher spring rates and vice versa. I am currently using 14kg front and 12kg rear springs plus slightly larger sway bars for front and rear. Over the past couple of years I have run Hankook RS2, Azenis RT-615 (non K), Continental CSC3 and Continental ExtremeContact DW. All street tires with similar performance. In my mind I thought my next purchase would always be a set of R-Compounds or extreme performance summer tire like an Advan Neova. But I just never seem to get there. I always end up buying something else, like my Voltex street front bumper, HKS V-Pro (which is sitting on a shelf in the garage), new DEFI Advance ZD, etc….

It FINALLY dawned on me that I should stop being lazy and just switch the springs to better suit the tires I always seem to use. A cheaper and more practice solution than spending $1300+ on tires. So last night I bought some softer springs (MSRP $120 per pair) and installed them. I went for a 2kg spring rate change. Now I have 12kg front and 10kg rear. The spring swap went relatively quickly. Depending on the damper we recommend a damper revalve if the spring rate is changed by +/- 2kg (for BASIC and Street Basis +/- 1kg since the damper is not damping force adjustable).
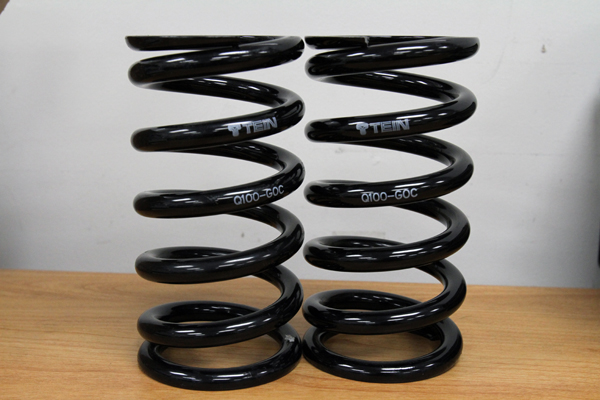
New 10kg springs for the rear. The 12kg originally on the rear will go to the front of the car since my setup uses SQ type springs for front and rear.

Here is a little useful information: This is how you can check what TEIN springs you have. The number printed on the spring is the individual spring part number. The part number listed on our website, catalog, etc…is a kit part number. So these springs are from kit part number SQ100-01175. The “SQ” designates a type of spring which is in this case is a standard straight spring, 65mm ID, 175mm free length.  The “100” after SQ is for the spring rate, 10kg. ex. 050 = 5kg. 140 = 14kg. “01175” is for the free length. Just pay attention to the last three digits which is the length. ex. 01200 = 200mm. 01150 = 150mm.

On the actual spring the part number is “Q100-GOC”. “Q” represents spring type, 65mm ID, 175mm free length. “100” is spring rate = 10kg. “QOC” is the LOT/ batch in which this spring was made.

First, I measured wheel center to fender height before starting. Maintaining the ride height will mean I will not need to do an alignment.

Not using the lift for this. (Getting lowered cars with aero parts on a normal lift is a pain. Got to drive up on ramps, use wood, adjust the risers on the arms, etc…) Simple jack and stands is quicker for something like this.

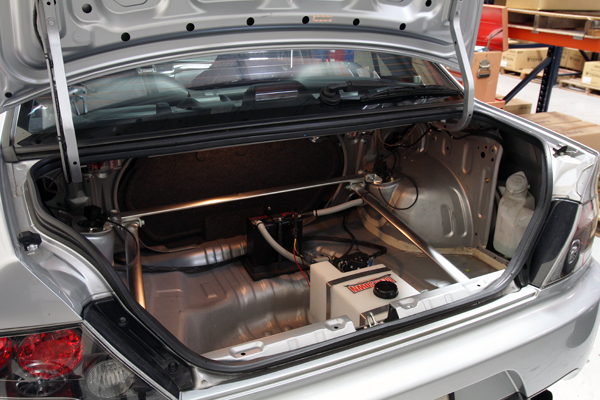
Started with the rear since my rear springs will go onto the front of my car. Super easy since my interior trunk panels are not installed.
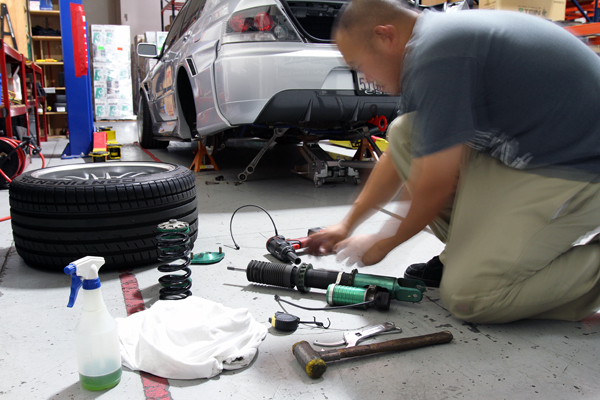
I use Simple Green and a rag to clean off the coilovers. Then I inspect all components of the coilovers for damage, etc… I made a small adjustment in spring seat height to maintain ride height with the new softer spring rate. If the spring seat or damper length is not adjusted, the ride height will be lower due to the softer spring rate (softer spring will compress more = lower ride height).

Now for the front. Cool trick on the front of the EVO 8/9 and maybe older gens is that the front spring can be swapped without removing the damper. This means the alignment is not affected since you never even loosen the upright (hub bracket) bolts. Plus this saves LOTS of time.

Just remove the top nut then top mount. Then the spring can be removed and swapped through the strut tower. Depending on what type of tower bar you have, the bar may need to come off. My aluminum Carbing 3-pt. bar does not need to be removed as it has an open top design (quick spring change compatible and EDFC compatible).
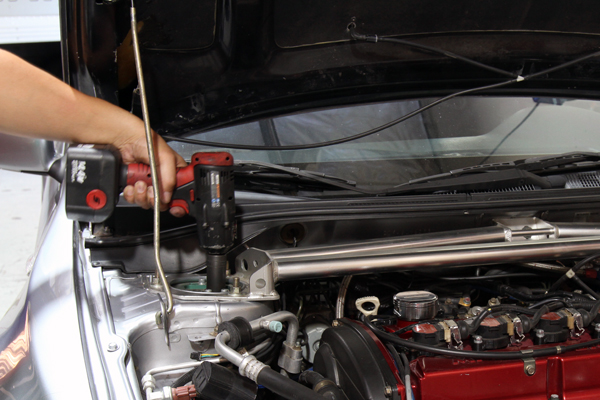
Removed my EDFC motor first. Then I slowly removed the top nut with a 21mm deep socket. (Impact Guns need to be used with care as internal damper damage may occur if used excessively).
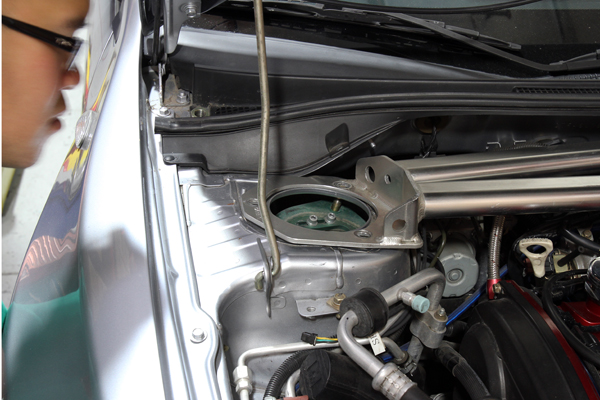
Used my leg to push the hub down and got the piston shaft out of the top mount. I just angled the damper in the fender well so it was out of the way while I removed the upper mount.
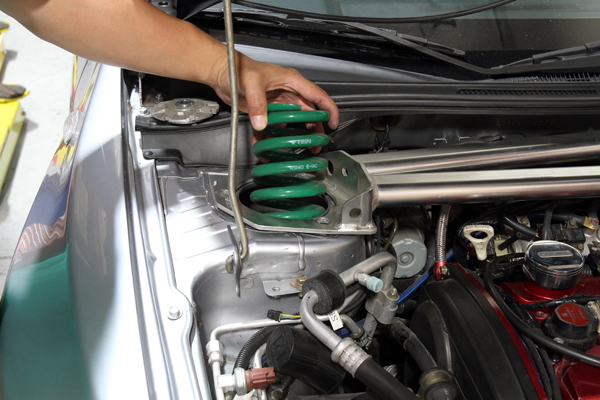
After removing the EDFC strut kit parts and upper spring seat the main spring comes right out.

After swapping the spring I re-installed the top mount then used a floor jack to lift the damper back up into the top mount. Jack was placed under the under arm and I slowly raised it up.  Re-tightened everything and re-installed the EDFC motor. Lastly I adjusted my shell case length by a few mm to maintain the original ride height.
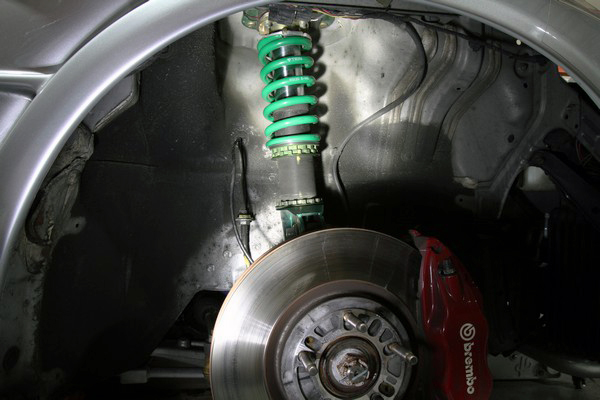
I use a paint pen to mark the seat locks so I will know if they get loose. Be sure to torque the lower bracket lock.

Car back on the ground. I moved the car around to settle everything. Lastly I re-measured the wheel center to fender to ensure my ride height/ alignment has not changed.
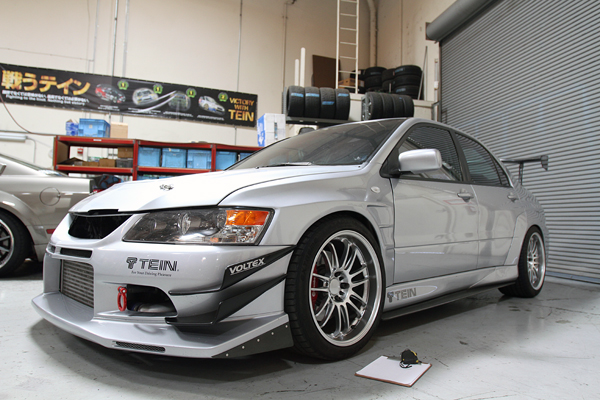
All done. Now it is time for a test drive and a little fun. Hope to be testing the new spring rates next month at ButtonWillow Raceway.

Sleepy Time Car Show

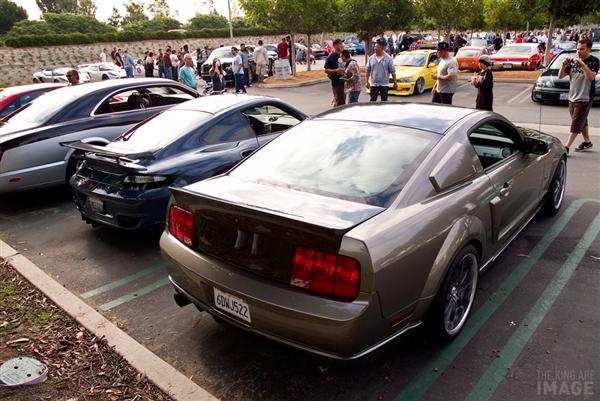
Usually when we prepare for a car show, we do an early drop off, set up and then return later or possibly the next day for the actual event. Let me tell you, I’ve been to a number of these kind of events but never to a Cars & Coffee event which is held in Irvine, CA simply because of the early check in and show time. I’m talking about arriving before 8 am and finishing around 11 am on a Saturday (sorry but I need my beauty sleep).

Here’s a few shots a friend took while I washed the car the night before.


Morning of the show

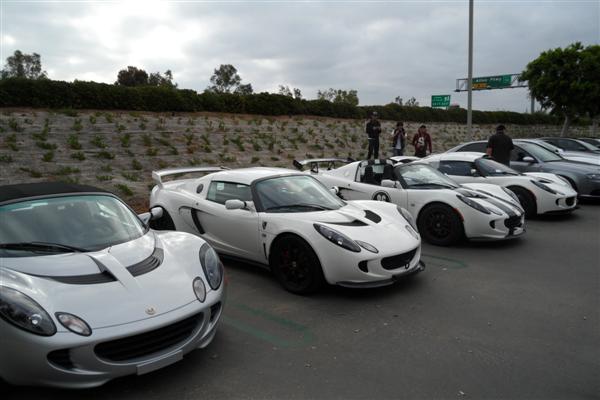
Just a few Lotus Elise

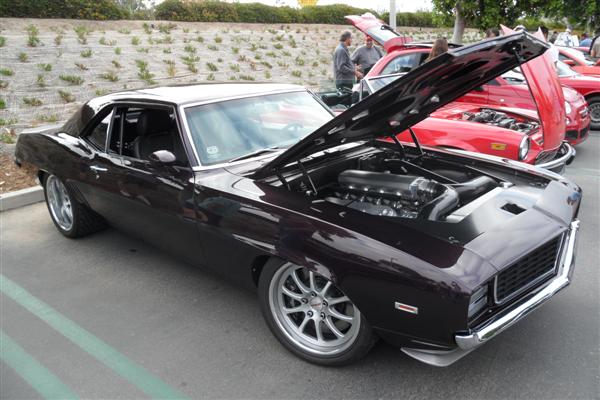
A beastly Camaro

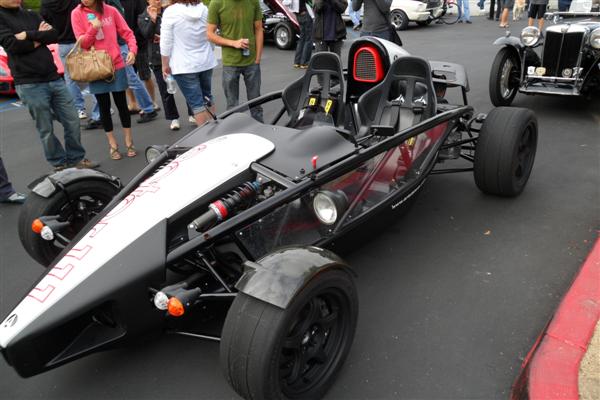
K20a Ariel Atom

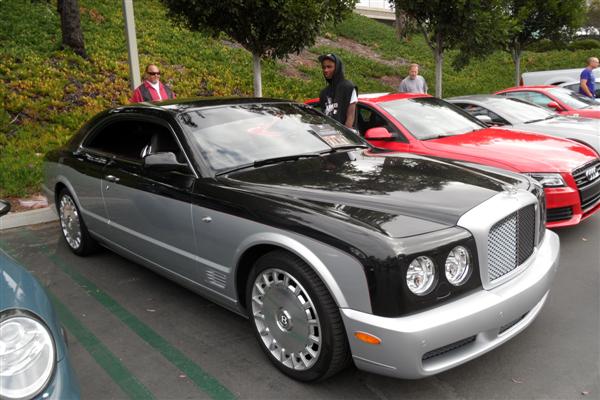
Big Body Bentley

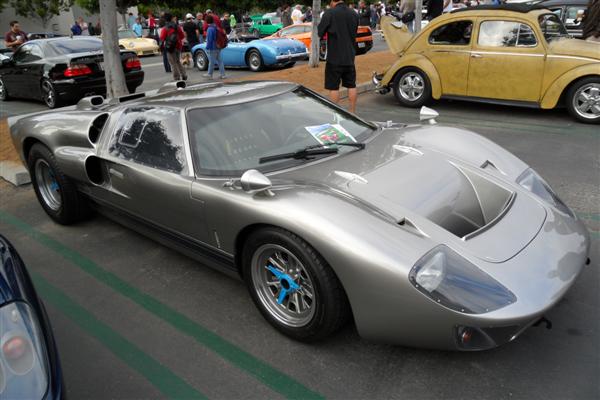
Classic Ford GT

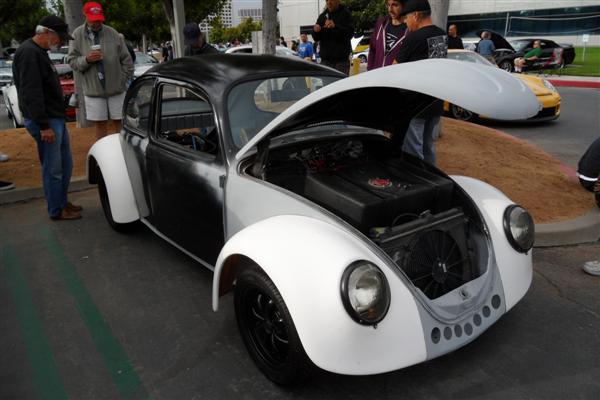
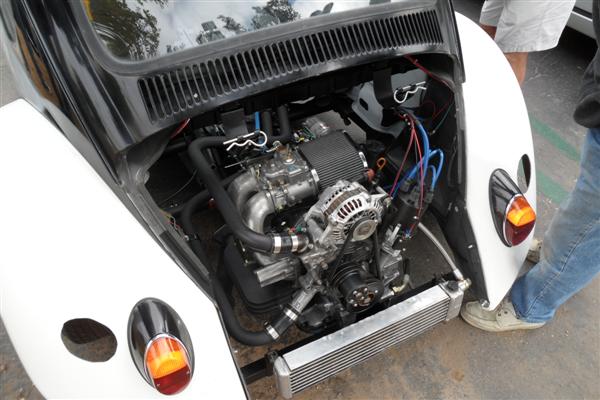
And the best car at the show.. This bug

Hmm what motor could this be?

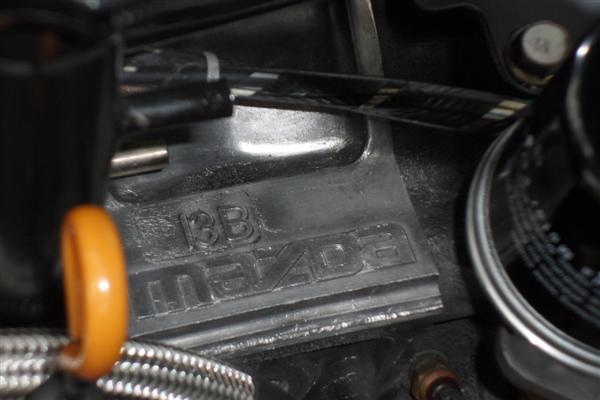
Oh Snap! 13b Rotary!

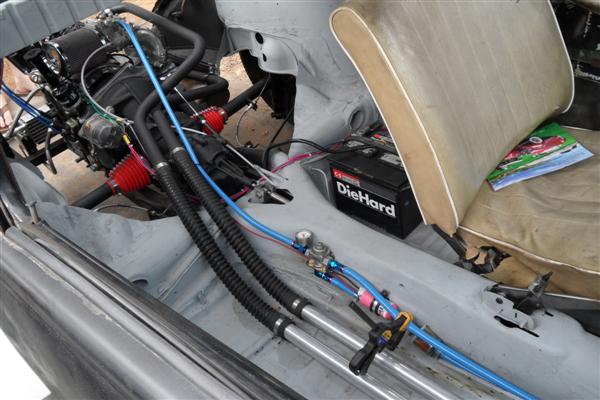
Peep that custom fuel cut off

Overall it was cool show to check out. I don’t think I will be attending another anytime soon… or maybe once I pick up my Bugatti Veyron Super Sport.

Pikes Peak Hillclimb is around the corner

The 2011 Pikes Peak Hillclimb is just a little over a week away. There are a few big teams going out to the 89th running to break the unlimited class record. You might have already seen a bunch of the testing videos of Rhys Millen, Dallenbach Racing, Dancia Duster, etc… if not you might want to search on youtube. Some amazingly fast cars.
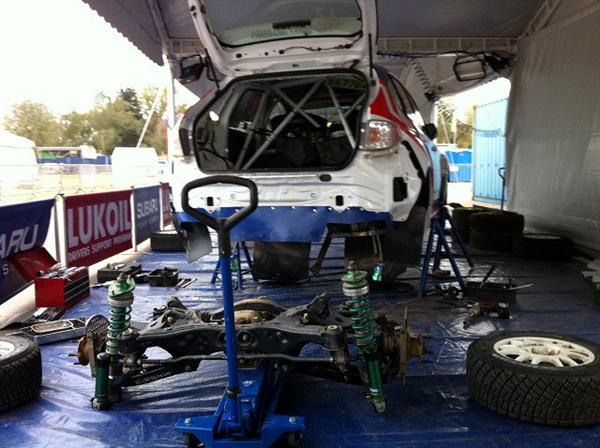
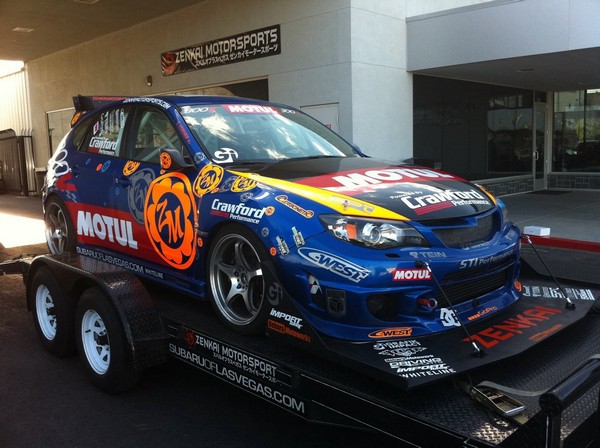
I love the unlimited cars for their technology and sheer craziness but I what is really interesting to me are cars that are modified production vehicle. Zenkai Motorsports’ STi is one of those cars. It has previously competed in Time Attack and Gymkhana. For PPHC it will be driven by Stephan Verdier. Stephan will actually be pulling double duty. Competing in Global Rallycross on June 17 and 18th, then attacking the mountain on June 24th.

Check out the serious front splitter. Not unusual for a Hill Climb car.

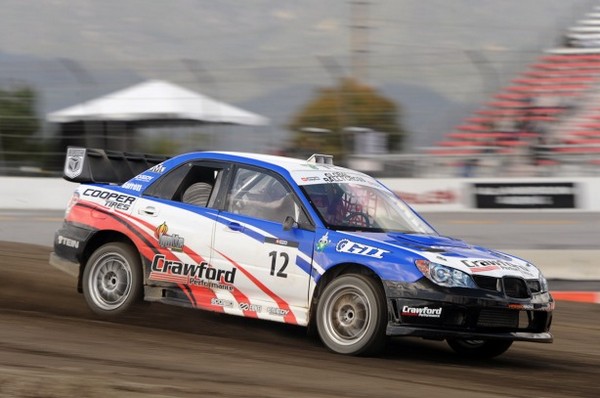
For the Rallycross Stephan will be behind the wheel of his STi equipped with TEIN Gr.N dampers. The following weekend he will be behind the wheel of the Zenkai STi which is has TEIN Super Racing dampers.

We wish Stephan the best of luck in both events.

Here are some videos from last year.

Patrik Flodin Places 2nd in Rally Argentina!

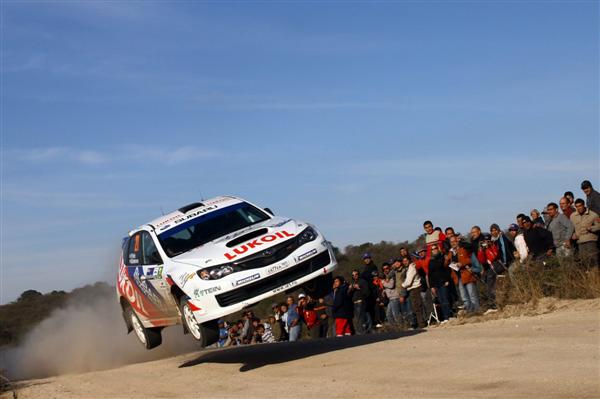
Patrik Flodin and the Uspenskiy Rally Tecnica fought a tough battle during this year’s Rally Argentina. However, team and driver efforts garnered a 2nd place podium finish for the team.

The URT rally team chased down some electrical problems after SS6 that retired them from competing the remainder of the day. Once they resolved the issue, Flodin continued his charge, quickly closing the gap on first place driver Hayden Paddon.
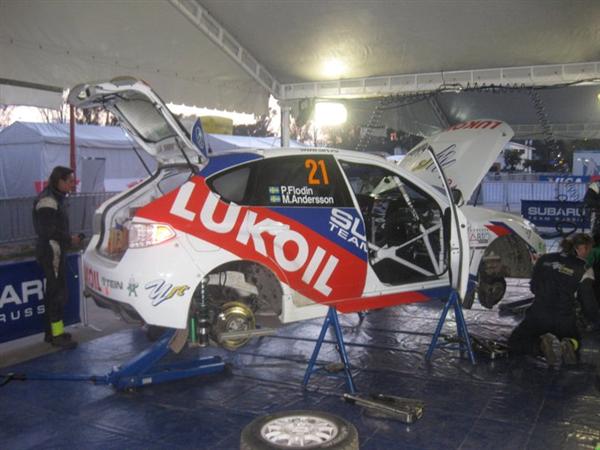
Repairs continued throughout the rally.
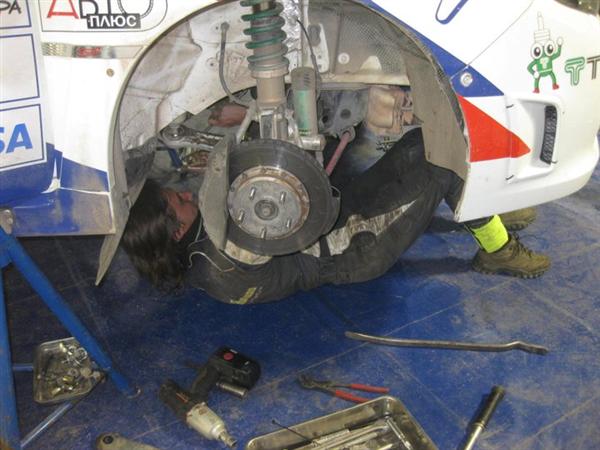
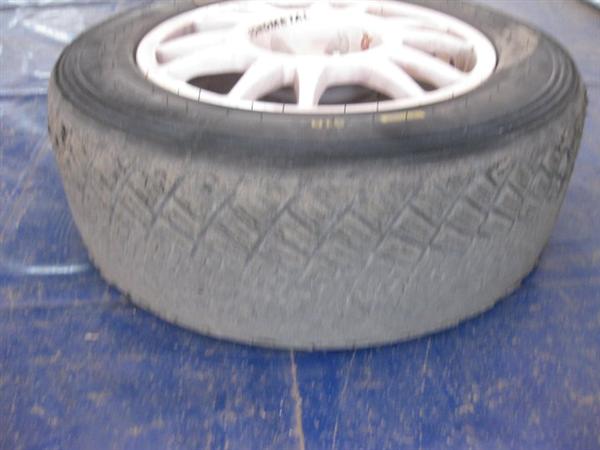
Tire preservation proved to be difficult for many teams
Tire preservation proved to be tough for many teams this year.
Flat-out, and nothing less!

We congratulate both Flodin and Team URT and their continued push to see this event through. It was a great result for an otherwise terrible setback! Way to go, Patrik and Team URT! We wish you all the best this season!

Congratulations To Falken For Their WIN!

Congratulations to Falken  Tire for there Formula Drift Round 3 Podium Sweep in Palm Beach, FL.

Falken Tire Podium Sweep


Justin Pawlak takes the Victory and the Lead in the Championship.

Congratulations also go to Vaughn Gittin Jr. for his Second Place finish and Darren McNamara for taking 3rd.

All of the Falken Tire vehicles prepared by ASD run custom TEIN coilovers. Some kits are from our normal offerings while others are custom. Each kit is then tailored to the ASD chassis setup and driver.

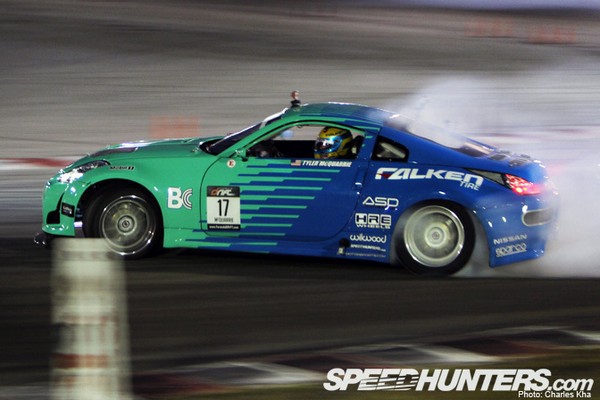
Tyler in his Falken Tire Nissan 350Z vs. Jeff Jones


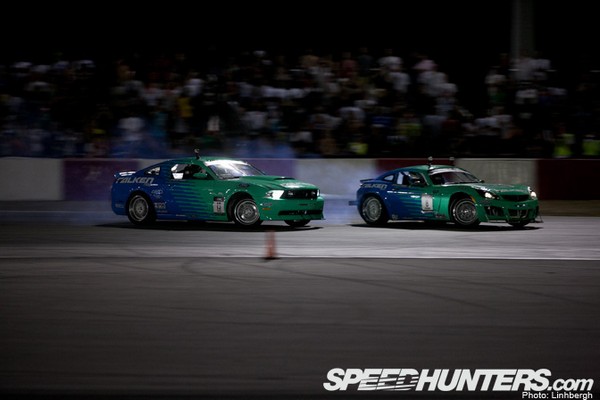
Mustang (JTP) vs. Mustang (JR)


Falken (JTP) vs Falken (D-Mac)


Congratulations to all the drivers. The event looked like a lot of fun in the sun.

Photos taken from: www.speedhunters.com

New Product STREET BASIS DAMPER

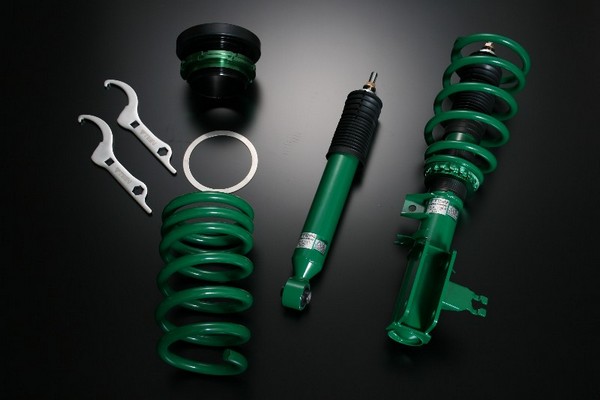
TEIN is proud to release the new Street Basis damper to North American consumers. Street Basis Damper is the evolution of the popular BASIC coilover model. It incorporates new internal and external components, newly developed coatings and new manufacturing processes. The end result is a ride height adjustable coilover which is less expensive and more durable. MSRP starts at $700.


PRODUCT FEATURES

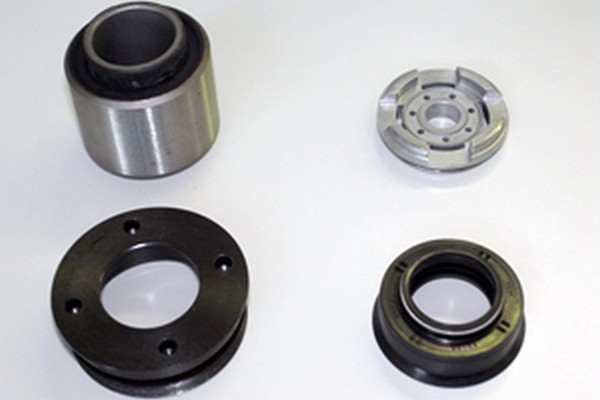
NEW Internal Components

TEIN engineers have spent many hours developing new seals and internal components to improve durability and product life. This was one of our major goals for the new model.

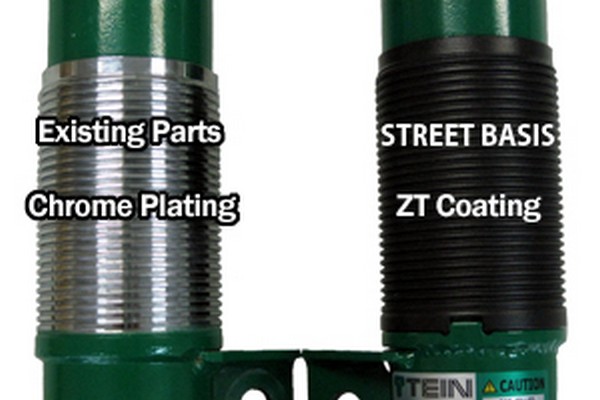
“ZT” Corrosion Resistant Coating

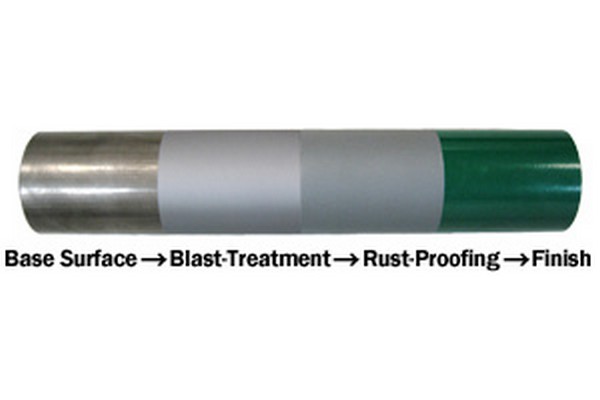
Newly developed “ZT” coating for improved durability and hassle-free ride height adjustment. TEIN developed this coating in-house after stringent test and analysis procedures. Our engineers tested different coats, application methods, cleaning processes, etc… in our own brine salt water testing machine which simulates heavy solvents/ road salts used in cold weather climates.

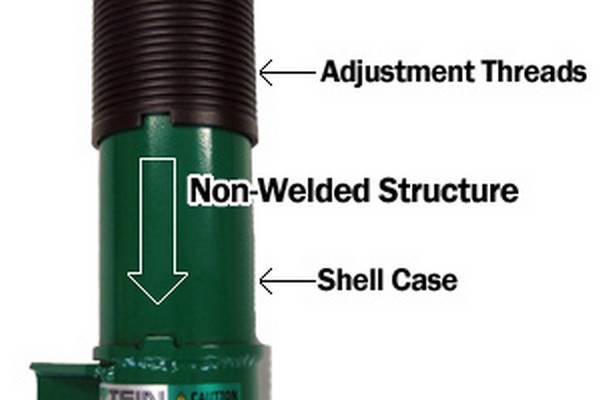
Non-welded Adjustment Tube

Slip-fit threaded adjustment tube. Allows for damper body and threaded sleeve to be thoroughly coated for rust/ corrosion protection.

The slip-fit allows a more thorough coating on the threaded section as well as powder coated damper body.

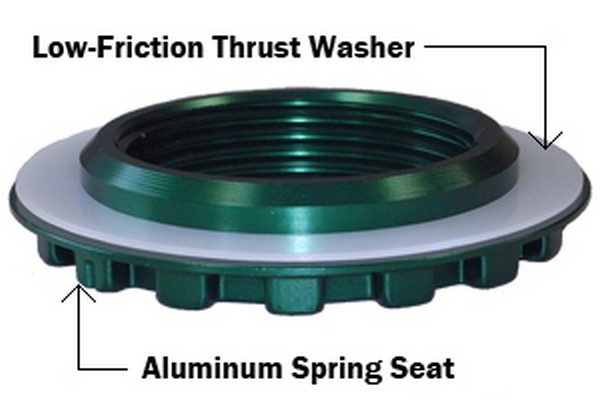
Revised Spring Seat and Thrust Washer

Revised Aluminum Spring Seat and Delrin Thrust Washer are light weight and durable. This combination allows for smooth ride height adjustment. The new spring seats have a larger contact surface area and eliminate the need for a rubber spring seat.

The following applications will be available starting June 8, 2011.

GSH98-1USS2, 96-00 Honda Civic, MSRP $700

GSH94-1USS2, 98-02 Honda Accord, MSRP $700

GSH92-1USS2, 97-02 Honda Prelude, MSRP $700

GSP26-1UAS2, 03-08 Nissan 350Z, 03-07 Infiniti G35 Coupe, 03-06 Infiniti G35 Sedan, MSRP $860

More applications will soon follow.

Fujitsubo Exhausts

TEIN USA not only sells TEIN products but we also distribute products for other top quality brands. One of those brands is, Fujitsubo.

Fujitsubo is one of the most popular exhaust brands in Japan and for good reason. All products are made in Japan by highly skilled craftsmen. Each exhaust system goes through rigorous development to produce a product that not only increases power but also meets strict sound regulations. To learn more about Fujitsubo visit their English homepage HERE.

This video showcases one of many exclusive US model Fujitsubo exhausts. These were developed by Fujitsubo specifically for US model vehicles which sometime have different rear bumpers, engine displacement and fitment than Japanese model vehicles. Contact your local TEIN Authorized Dealer to purchase a Fujitsubo exhaust system for your vehicle.