Quick Click Fixes

The TEIN adjustable damping force coilover click adjuster is commonly misdiagnosed part. Misdiagnosed because many customers with stuck or broken adjustment knobs (click assembly) think that repair or replacement requires the damper to be sent to us for repair. For many stuck adjustment knobs a new replacement click assembly is not required. Here are some tips you can use if you encounter a stuck click adjuster or are looking to replace a broken unit.

Click adjuster or Adjustment knob may be located at the top and/or bottom of your coilover depending on type.

Stuck or seized Click Assembly

A click assembly that does not turn smoothly or turn at all may be a quick and easy fix IF there is enough space to work on the unit.  The problem is usually caused by debris getting lodged in between the knob and knob base.  Between the two halves there is a spring loaded ball bearing (located under the knob) moves into machined divets (located on the knob base). Debris can stop the movement of the ball or become lodged into the divets. Another cause could be moisture build up inside the coilover piston rod causing the small hex bolt to seize. THE FIXES:

1) Try to use compressed air to dislodge any dirt or debris between the two halves of the click assembly.

2) Remove the click assembly. Then clean and re-lubricate the hex bolt.

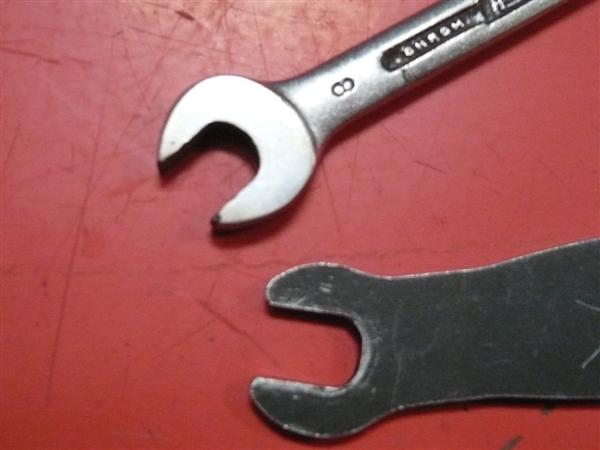
A TEIN Click Assembly Wrench (black), Part #SST01-F1126, MSRP $5 can be purchased from our online store.

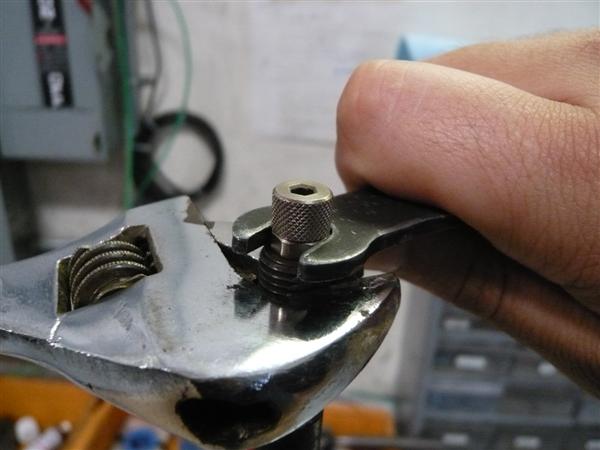
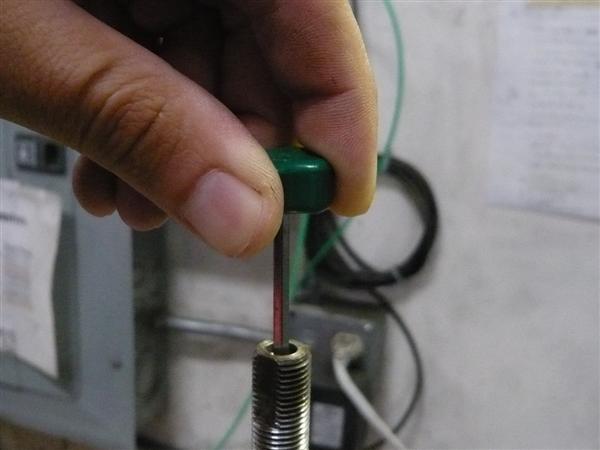
To do the second fix you will need a TEIN 8mm wrench or a modified standard 8mm wrench (grinded to 3mm thickness). Use the 8mm thin wrench to remove the click assembly (see image below). A crescent wrench can be used to keep the piston shaft from spinning (be sure not to damage the threads on the piston shaft). Next use the click adjustment tool or a 3mm allen wrench to remove the hex bolt (see image below).

Using the TEIN Click Assembly Wrench and a crescent wrench to remove the click assembly.

After the click assembly is removed use the click adjustment tool to remove the small hex screw inside the piston shaft.

Both click assembly and hex bolt can be cleaned with some mild parts cleaner.

Scroll to the bottom on instructions for re-assembly.

Note: TEIN coilover kits do include a rubber add cap to prevent moisture and debris from forming but I would still recommend checking the assembly once in a while.

Replacing a broken click assembly

The click assembly can break in two different places. One, the top half of the knob (knurled section). Second, is the bottom tip of the click assembly (resembles hex bit or allen key).

Replacing a broken click assembly may be a little more work if bottom tip has broken off inside the piston shaft. This may require the coilover to be removed from the vehicle if it cannot be easily removed.

First remove the click assembly using the same method stated above.

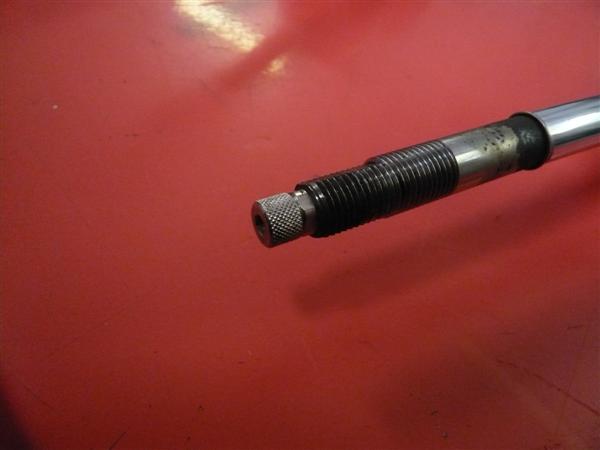
This is what the click assembly looks like when the top half is missing.

After the click assembly is removed inspect it to see if the bottom tip is intact or not.
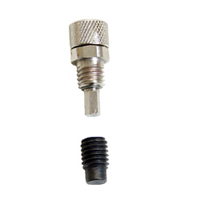
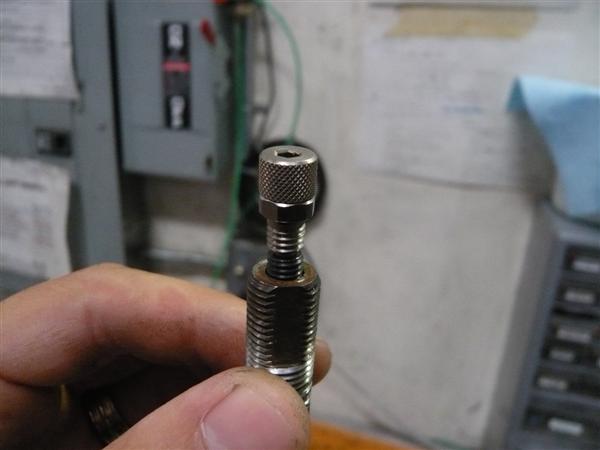
This is a complete Click Assembly (silver) with Hex Bolt (black).

You can see the click assembly has a knurled top section, 8mm hex and threaded section and bottom 3mm hex tip.

This exact assembly can be purchased on our online shop, Part #SPS12-G0047.

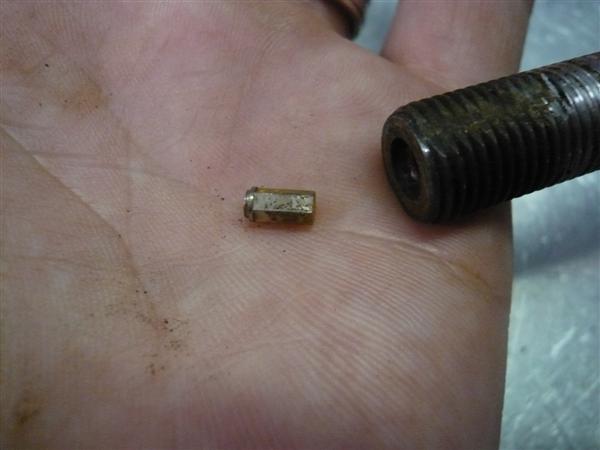
If the bottom tip has broken off extract it with a pick tool or magnet. If the tip is stuck in the hex screw you may need to use lubricant and lightly tap the piston shaft to help dislodge it. In this case the plastic end of a screw driver or plastic hammer works well. Be careful when using a tool to extract the lodged piece as the inner and outer threads can be damaged. Use Caution.

Broken piece of the bottom tip of the click assembly.

Installation of Click Assembly and Hex Bolt

With the click assembly off the piston shaft and hex bolt removed. Clean and lightly lube the threads inside the piston rod with light grease. When installing the new click assembly and hex bolt, you can use the click assembly, click adjustment tool, or allen key to thread in the hex bolt. We recommended to insert the hex bolt about 3/4 of the way to allow the click assembly to catch the hex.

Insert the bottom tip of the click assembly into the hex bolt and screw in.

Tightening the click assembly to 12 inch pounds torque or snug (do not over torque).

Check to make sure the click knob can rotate smoothly in both directions. Then adjust click knob to desired setting. Remember turn the click knob to full clockwise position (Zero setting or stiffest setting), then turn counter-clockwise to desired position (16 setting or softest position). Click assembly may click more than 16 times but going past 16 clicks does nothing for adjustment and repeatedly exceeding 16 clicks may cause internal shock damage.

If the click assembly or hex bolt can not be removed it may be required to send in the damper to determine condition and have the parts removed. Worst case scenario would be a new piston rod with overhaul (this is a rare case scenario).

Made Specifically for TEIN USA

TEIN products are developed, tested and produced exclusively for the region in which they are sold. Not every region has different specifications but North America does.

Not every model (BASIC, SS, Super Drift, Super Racing, etc…) has a region specific setup. Product models like Comfort Sport or Super Racing serve niche markets and are therefore universal for the world. A competition car using semi-slicks is similar in the US and in Japan., therefore the same product is sold.

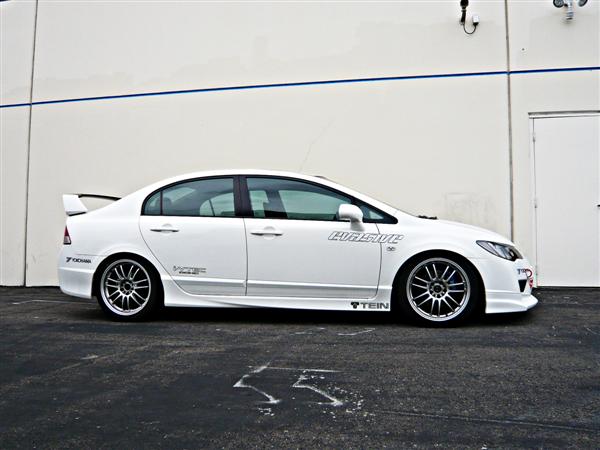
Both Cyber EVO and Evasive use Super Racing coilovers.

HOWEVER, models such as BASIC, SS, SS-P, FLEX and Mono FLEX which are more for street use are made specifically for TEIN USA (North America). Meaning a Mono Flex coilover for a 2008+ Subaru STI sold in the US is different than the kit sold in Japan. Features, materials, basic design, assembly, etc… are all the same but mainly spring rate, valving, and ride height range are different.
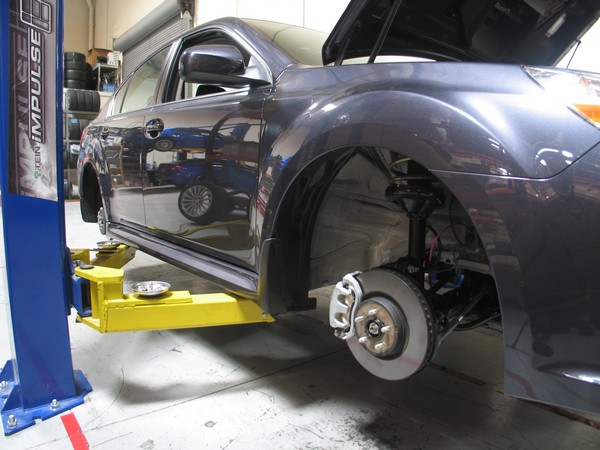
TEIN USA Kit:  GSS84-FUSS1

Spring Rates Ft: 10kg, Rr: 8kg

Recommended Ride Height Ft: -1.4″, Rr: -1.2″

TEIN Japan Kit:GSS78-F1SS1

Spring Rates Ft: 7kg, Rr: 5kg

Recommended Ride Height Ft: -0.8″, Rr: -0.6″

The specific differences may include spring rate/length, damping force, piston stroke, shell case length and brackets for brake lines, ABS, etc… Products are setup differently because the cars are NOT the same and more importantly the customers are not the same. Admittedly US consumers follow most trends from Japan especially when it comes to performance. However in Japan, the majority of consumers want more compliant suspension systems (softer setups) and do not want the car to be too low. Additional, vehicle ride height laws differ from country to country and in the US state to state.

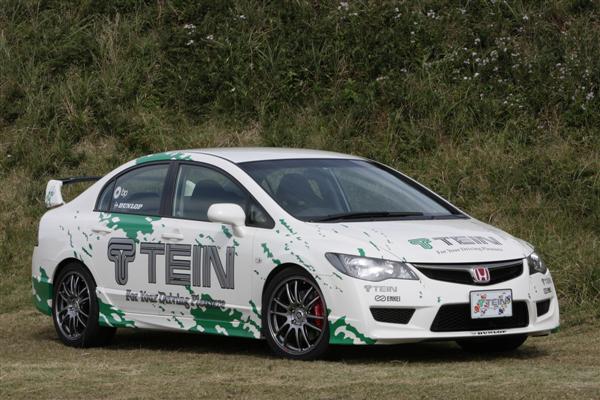
You can see the difference in ride height between the US Civic Si with JDM body work and real JDM Civic Type R.

In general, TEIN USA setup products with stiffer spring rates and more drop in comparison to TEIN Japan. This is true for both coilovers and lowering springs. For TEIN USA our coilovers setup has changed over the years to keep in tune with the ever changing consumer demand. Our more recent kits have become a little softer than the products which were developed 6-7 years ago but that information is for another blog entry.

On a side note – if any US or Canadian customer wants a TEIN Japan spec. kit we can special order those upon request.

A Look Back at the TEIN Yaris

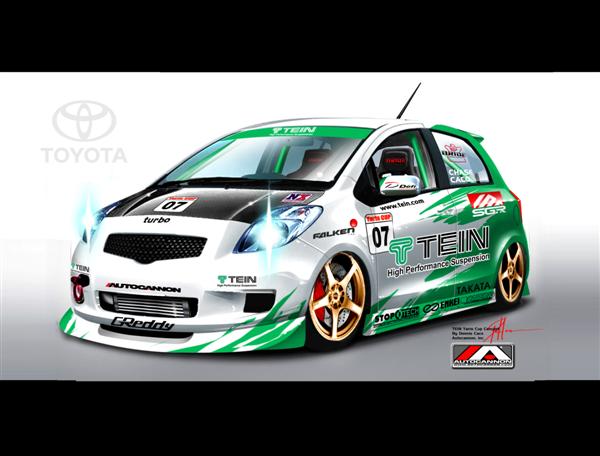
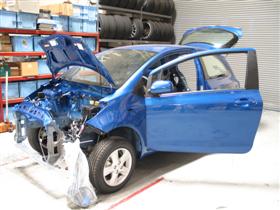
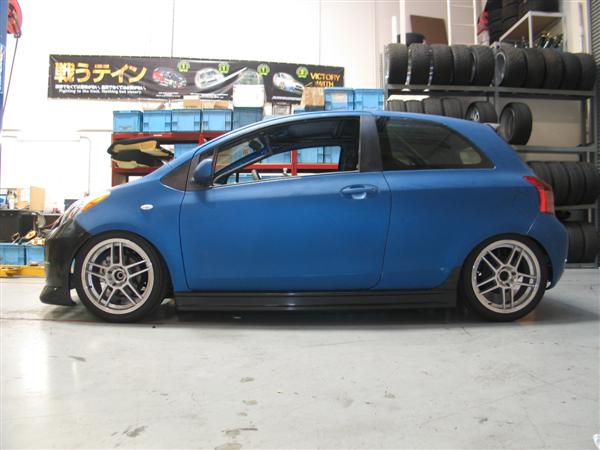
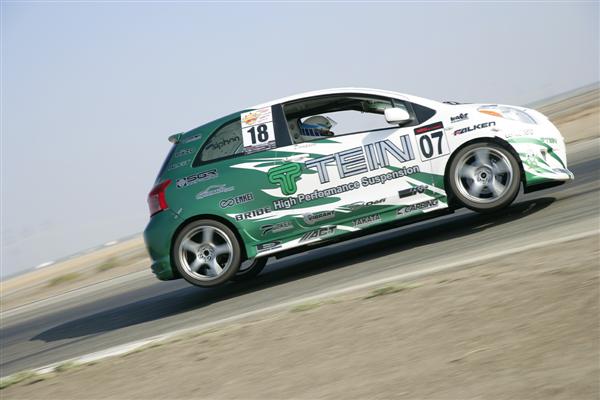
Back in 2006 TEIN modified a Toyota Yaris 3-dr as a track toy. We knew going into it that it would not have a lot of power or handle like a sports car but it was something anybody could have fun in.

Started off with a detailed build plan and an awesome rendering made by Dennis Caco of AutoCannon.

Totally stock Yaris in all its glory. 1.5L 103 Flywheel HP, 92 WHP.

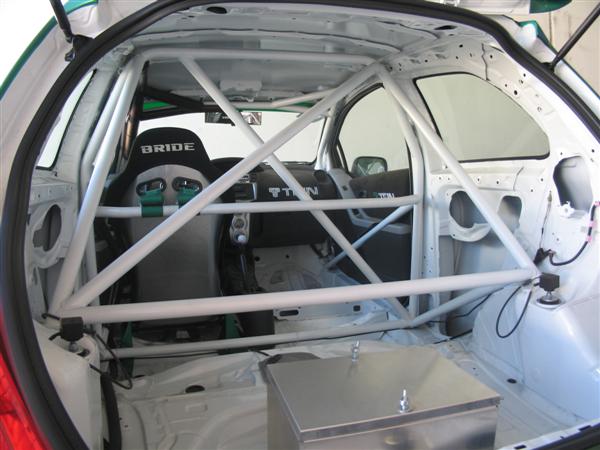
No way to add lots of power so we reduced weight.

Burnout front bumper and side skirts from KS Auto, Japan. Pond Premium rear wing and rear lip also from Japan. Bodywork and paint completed by Autowerks Body & Paint in El Monte, CA.

Stripped interior. Roll cage and custom seat bracket by Rothschild Fabrication in Riverside, CA.

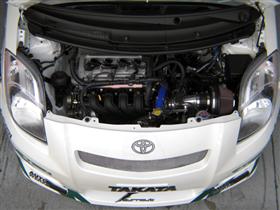
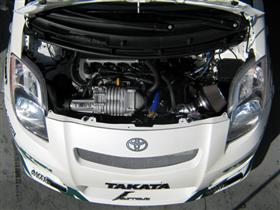
K&N Intake for when the car ran NA (106WHP). Custom modified Greddy SuperCharger with Power Enterprise CamCon II for when it ran with forced induction (119WHP at 5lbs). Other under the hood mods included complete oil cooler system, Koyo radiator, KAAZ 1.5-way differential, ACT clutch, DC Sports Header and custom Vibrant exhaust.

All put together. Using BASIC coilovers which were converted to Super Street with EDFC (option is available to any customer) with 14kg fronts and 12 kg rears. Enkei 17×7 RP03 wheels and 215/40/17 Falken Azenis rubber. Mr. Andy Hope drove the car to a 2:08.091 at Super Lap Battle 2008. Good enough for 3rd in class. Not bad for a car with 119WHP, rear drum brakes, full glass and about 25MPG.

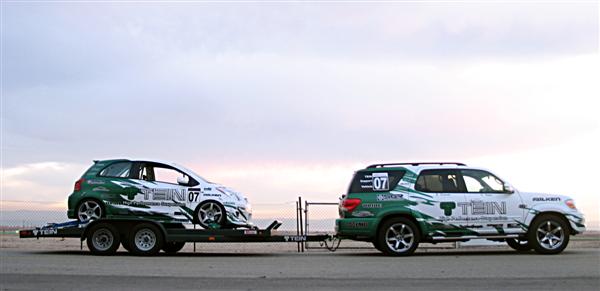
Matching support vehicle. v8 Sequoia equipped with 4 Bride seats, DEFI meters, JBA headers, MagnaFlow exhaust, K&N Intake, 20″ Enkei with Falken rubber and a sliding rear platform housing tools, jack, spare wheels, fuel jugs, etc…

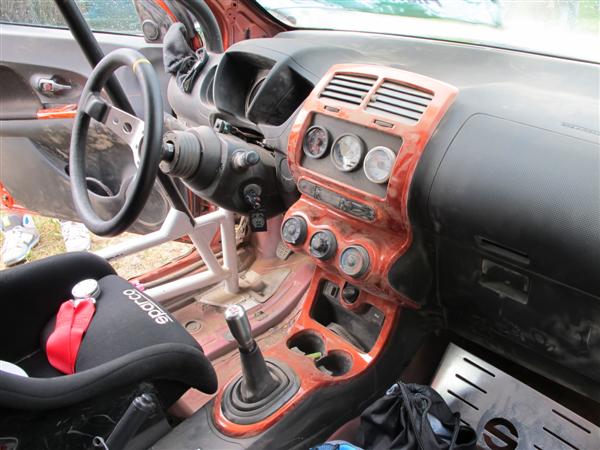
Rally Scion xD Video

Video from 0-60 Magazine. All footage was taken at the Oregon Trail Rally held on May 14-16.

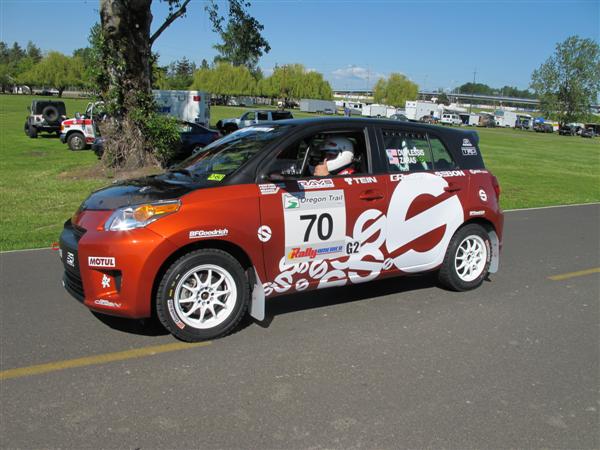
Rally Scion xD is using TEIN HG coilovers made using our Specialized Damper program. You can see in the video that it easily absorbs the rough conditions and even a jump. Throughout the three day event the suspension worked perfectly and after a little cleaning it will be ready for the next event.

DEFI Advance ZD Coming Soon

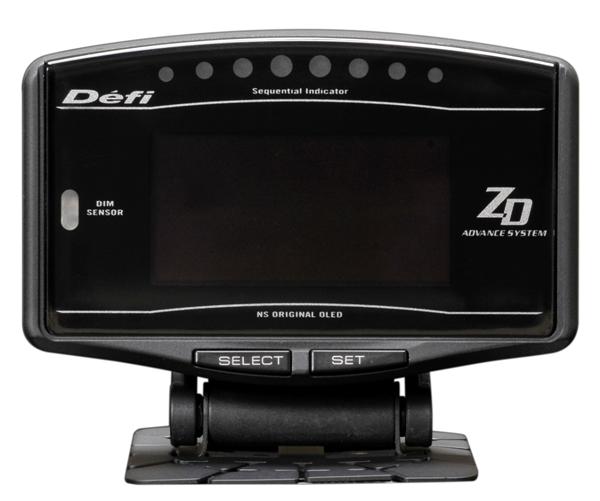
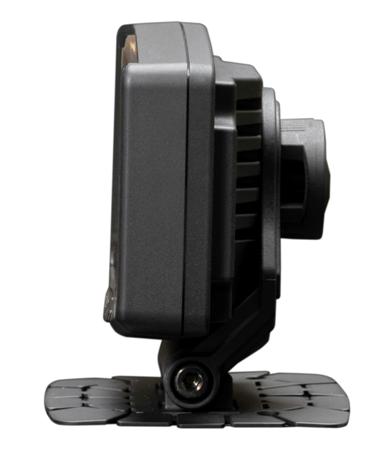
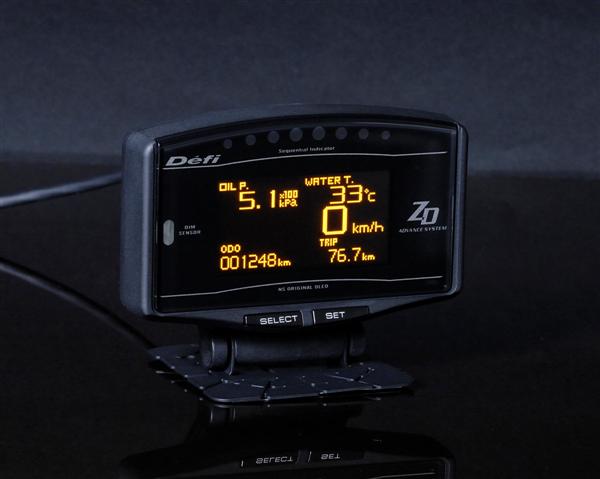
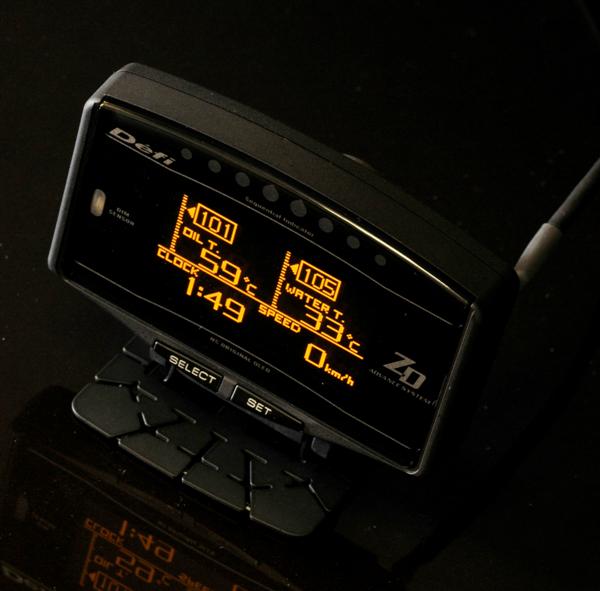
In a few weeks we will have the new DEFI Advance ZD on our shelves. This is a digital multi-meter display which is replacing the DEFI Link Display. Some of the features included are:
Speedometer (0-240MPH)
RPM with Sequential indicator system (0-11,000RPM)
Odometer and Trip meter
0-60MPH timer
0-100MPH timer
Clock

The ZD can display/ monitor: water temp., oil temp., oil press., fuel press., and exhaust gas temp.

*Advance ZD must be used with the Advance Control unit and all sensors are sold separately.


Advance ZD is basically 3.8 inches wide, 1.8 inches tall and 1.1″ inches thick (total 1.7 inches thick including mounting hardware).

The display is an OLED type which creates a vibrant and easy to read display. Up to 6 items can be displayed at once.

MSRP $399. Part Number DF09701. Available at the end of June through any TEIN Authorized Dealer.

Super Lap Battle Exhibition in Vegas

This past weekend I took a trip to Las Vegas, NV for Super Lap Battle exhibition race. Competitors included a couple of the top contenders from each class.

TEIN was well represented with 4 of the 9 cars running Super Racing coilovers. This was an invite only exhibition race held along with XDC drift and Remix car show. There were a good amount of drift competitors, spectators, show cars, and vendors during the one day event held at Las Vegas Motor Speedway. The 2.39 mile road course consisted of a good mix of high and low speed corners.

I was out there to support our sponsored vehicles and check out the action. TEIN sponsored vehicles included:

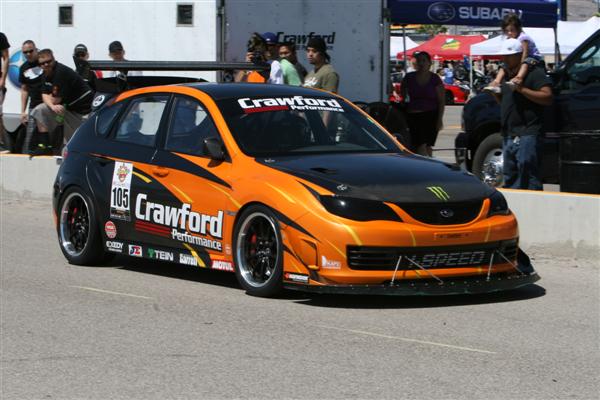
Crawford Performance STi in Unlimited AWD

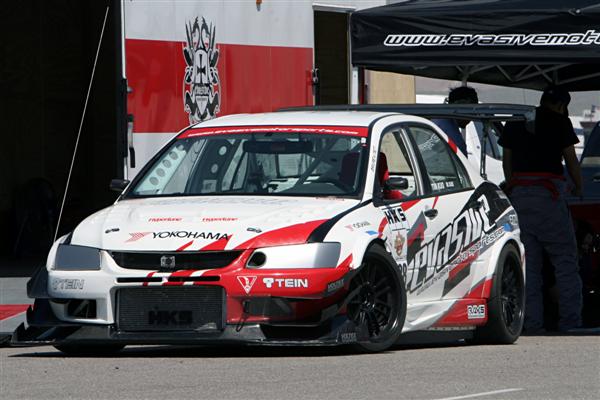
Evasive Motorsports EVO 9 in Limited AWD

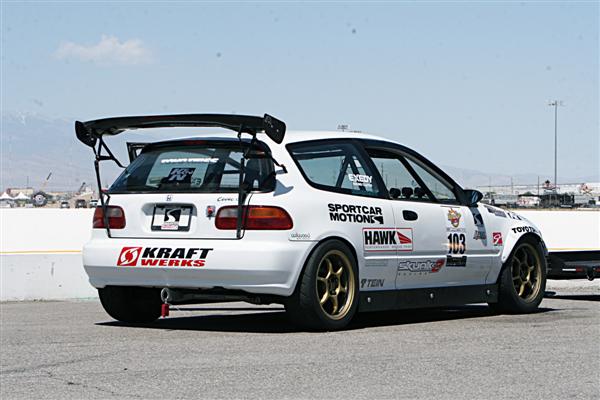
SportCar Motion Civic in Limited FF

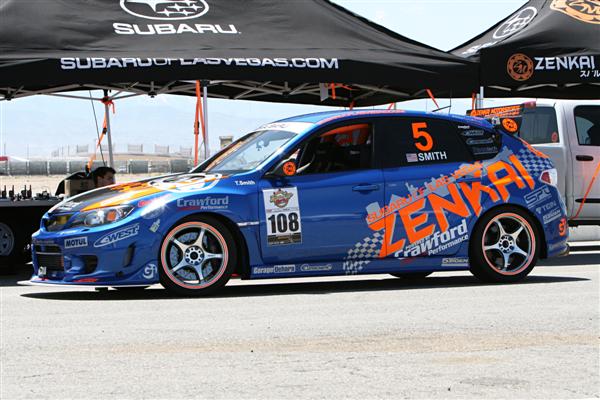
and new comer Zenkai Motorsports STI in Street AWD

Each of the cars are using Super Racing Coilovers. Crawford and Evasive are both using custom valved setups with increased spring rates. SportCar Motion and Zenkai are using off the shelf kits with higher spring rates (spring rate based on vehicle setup and tire choice). With more testing and feedback we can revalve the off the shelf kits if needed which is a service made available to all TEIN users.

Race Report: World Time Attack Challange

This past weekend was the World Time Attack Challenge held at the Eastern Creek Raceway in Australia. Although this event was new to my ears, it is unquestionably not new to the racing industry with many of the industries top manufactures and drivers present.

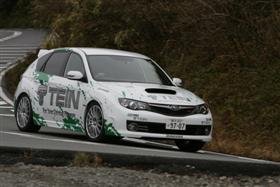
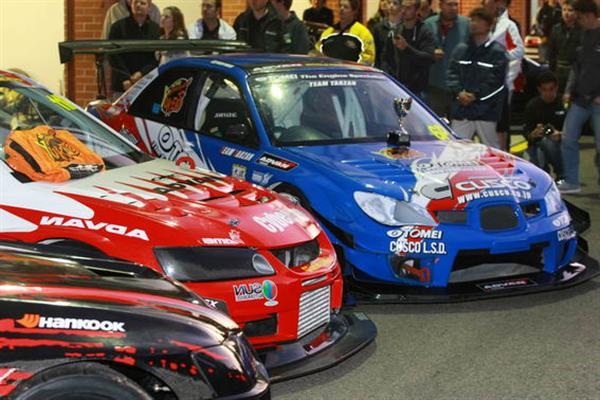
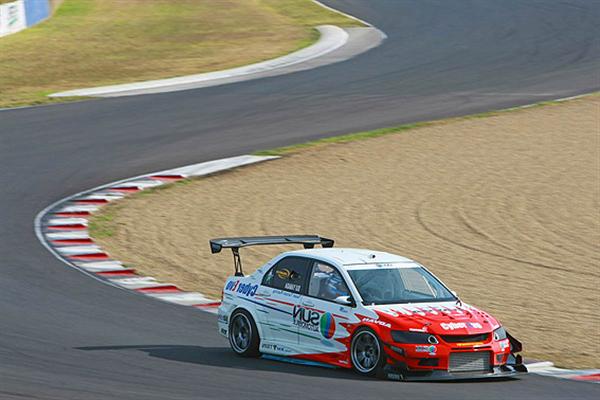
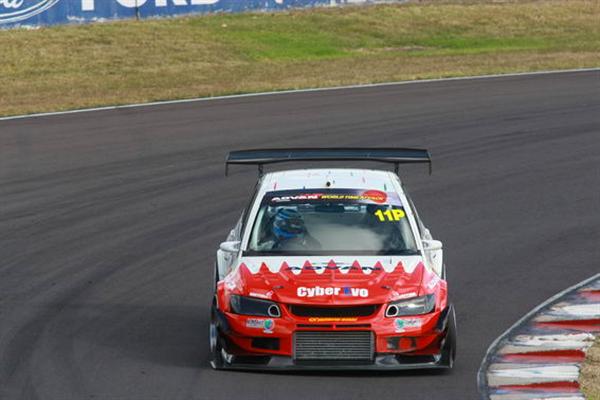
The car that really caught our attention was the world famous TEIN sponsored Mitsubishi Cyber Evo 9 driven by Mr. Eiji “Tarzan” Yamada. The Cyber Evo currently uses a custom valved, Super Racing coilover kit and previously used our HT kit.

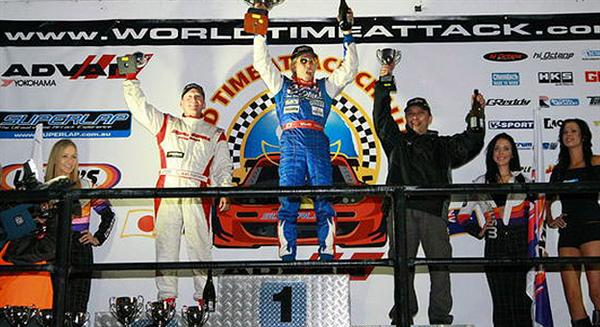
The Cyber Evo took home first overall with a lap time of 1:30.5870 (0:01.2970 seconds faster than 2nd place).

All photos from World Time Attack website.

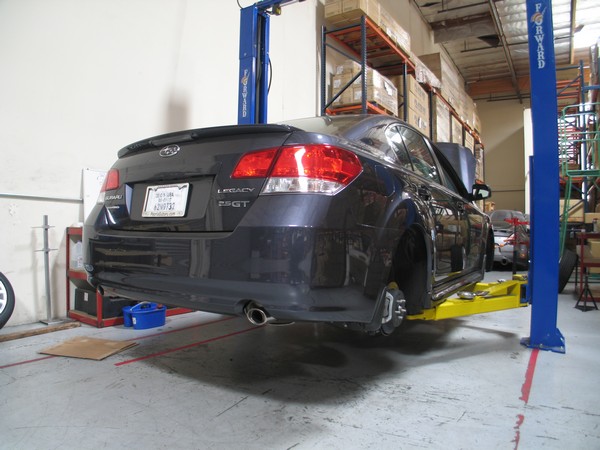
2010 2.5 Subaru Legacy Lowering Springs

S.Tech Spring testing on the 2010 2.5 Subaru Legacy has been completed.

Expect the ride height drop to be: Front -45mm and Rear -40mm

The actual drop may vary by models due to the weight of different components (ie Transmission, Packages, etc.)

Expect Mass Production units to be ready for sale in about 4 months time.

We will be testing Lowering Springs on the 3.6 Legacy soon.

We will also be testing coilovers in the near future.

Oregon Trail Rally in a Scion xD

This past weekend I attended the Oregon Trail Rally as a crew member/ mechanic for the 0-60 Rally xD. This was my first rally ever and it was a eye opening experience.

Arrived in Portland on Thursday night for our first ever team meeting. This was the first time that the entire team was able to meet at one time. Going into this event everything was new: new unproven car, new transporter, new crew, new co-driver, etc…

On Friday we were at Portland International Raceway for the entire day. For the first half we were setting up the car and making changes so that we could pass tech inspection. My job was to fabricate rear rubber guards to protect the suspension, brakes, and shocks (little did I know that I would end up making about 5 sets of these throughout the weekend).  Rally competition started around 7PM which were Special Stages designed for spectators.

Saturday had us in Dalles which is about 1.5hrs from Portland and then in Dufur for the second half of the day. We would stay in Dufur for the remainder of the Rally which ended Sunday afternoon.

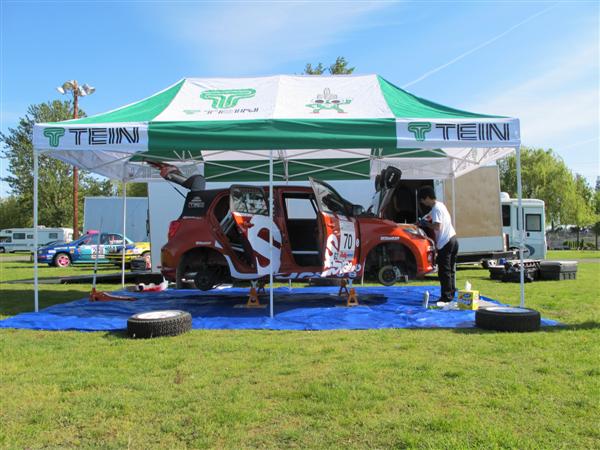
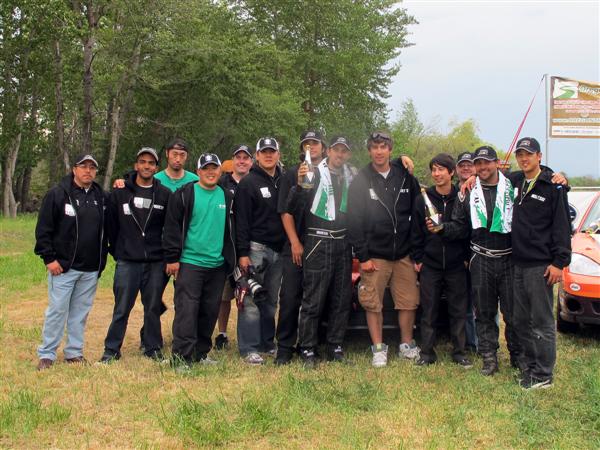
There were basically four mechanics for the car which included Lenny and Ben from Design Craft, and Mr. Nakai and myself from TEIN. Gordon and the 0-60 crew were cleanup and kept the car clean for the entire Rally. Other crew members included photographers, videographers, and volunteers willing to help anywhere needed.

(picture is missing three crew members who were hiking back from the best photo spot – pickup 0-60 magazine to see the amazing photos)

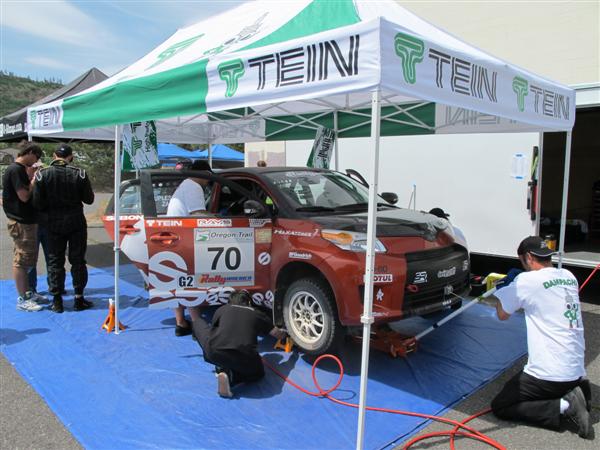
During each day we had 1-2 services between the stages. This is when the cars come back into the service park for crew members to repair, clean, refuel, adjust the car. Most services are about 40mins which was enough time to:

Remove and inspect all 4 wheels, Rotate wheels, check all fluids, repair any damage, inspect and torque check all suspension components, inspect and clean brakes, clean the entire car inside and out, refuel and get the car back out.

Each service is organized chaos. It must look like a swarm of bees attacking from a spectator point of view. Any delays in service and the car is hit with time penalties. At the end of every service I was covered in dust/ dirt but I was glad the rain held off until the rally ended – mud would have REALLY made it messy.

At the end of every night we performed a longer more thorough service which added changing fluids, bleeding brakes and more extensive repairs. A Rally car has many components which preventative like the mud flaps, inner fender liners, underbody body guards, etc… During service these parts all need to be inspected, repaired or replaced to ensure nothing is damaged in the following stages.

Crewing for a rally car definitely has its stresses. While the car is out running you have no contact so you never know what is going on. Then when the car arrives it is a rush to get all service completed. Once the car leaves it is time to cleanup and prepared for the next service or grab a bite to eat. At the end of the day there is service and then teardown of the pit for the night. The next day it all starts over again.

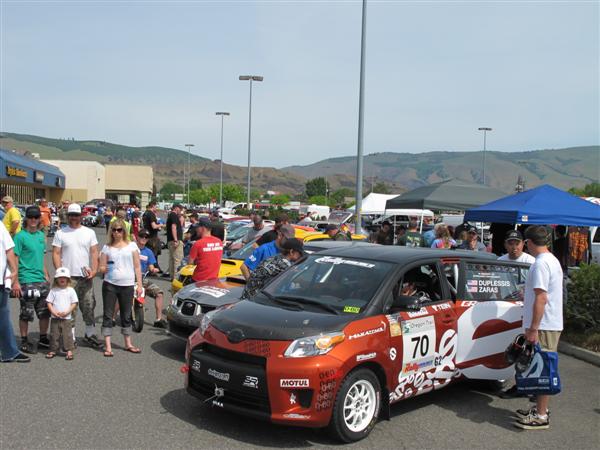
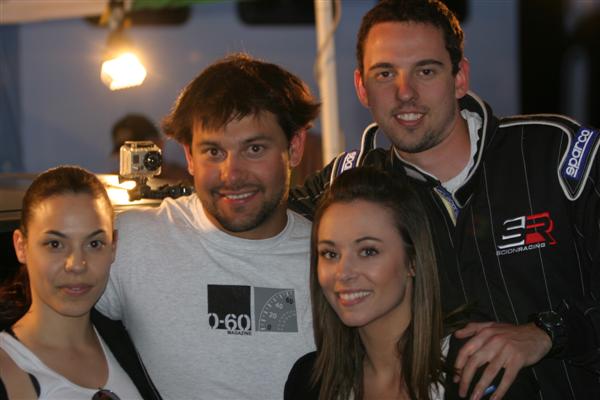
The underpowered 1WD (due to open differential) almost all stock xD SHOCKED many teams and spectators alike with its quick times which were mainly due to driver Chris Duplessis (2007 & 2008 2WD Champion) and co-driver Ron Zaras (0-60 editor, 2nd Rally ever).

Driver, Chris with the helmet hair. Co-driver, Ron with the Sparco suit, and 0-60 girls.

The attrition rate of the rally was high with about half the field out or slowed due to damage. The durable and reliable Scion completed the entire Rally with no incident. Stock engine, stock transmission, stock brakes = no problems. Yes, more power, clutch type differential, upgraded brakes, shorter gears, etc… would all make the car faster but the goal for this first event was to finish. With the hard charging Duplessis behind the wheel the car was able to finish 2nd in 2WD, losing to a veteran turbo charged Ford Focus.

Visit 0-60 Magazine’s website for videos and a complete story of the event.