TEIN USA’s Black Friday/Cyber Monday Specials!!!

Yes, it’s that time of year where you’re debating whether to spend money on some great after-Thanksgiving deals or just wait until Christmas.

Well, unlike so many other Black Friday and Cyber Monday sales, we have some items at substantial savings over retail! Not just an extra 10% off. We’re talking 37% and up to 86% off MSRP!!!! How’s that for a savings?!

Although the list is somewhat limited, we have some great deals on some very popular applications. We’ll be posting these items on our eBay account (seller name: tein-usa). Sale starts at midnight November 29 and we’ll continue through December 2nd. Also, free shipping within the 48 contiguous states (please contact us for shipping to HI and AK)!

Link to our Facebook page for part numbers/applications

TEIN USA, Inc. Facebook

Or just take a look below!


 black friday list page[1]

 black friday list page[2]


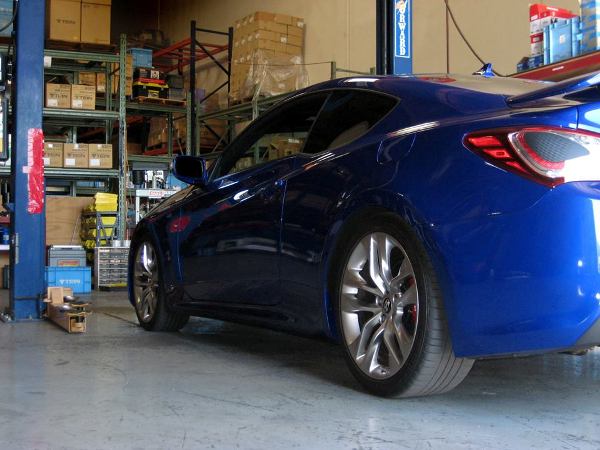
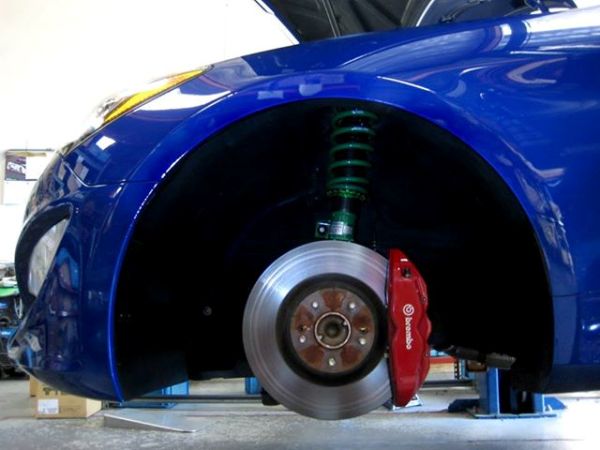
2013 Hyundai Genesis Coupe Testing Wrap Up.

Our R&D department has wrapped up testing on the 2013 Genesis Coupe last month. We are glad to announce that our product line for the Genesis Coupe is compatible from 2010-2013 (see part numbers below). However, 2013 owners will need to purchase the end links for the 2010 model for our coil-over kit for proper function of the factory sway bar.

Below are pictures of the Genesis Coupe. A shout out to Robert from Magnaflow for lending us his vehicle for testing. His Genesis coupe is currently being built for display at the 2013 SEMA show in Las Vegas, NV. as well as local events.

1374989_651286441577867_928582677_n

558237_645837878789390_1663363835_n

Please reference the part numbers listed below when placing your order. As a reminder always purchase through TEIN authorized dealers ONLY!  Also listed below is a link to assist you with locating the nearest Dealer to you.

Part# : GSF12-1UAS2 (Street Basis)

Part# : SKF12-AUB00 (S.Techs)

http://www.tein.com/dealer_list/index.html


2013 HONDA ACCORD PRODUCT NOW IN DEVELOPMENT

To all 2013 Honda Accord owners waiting for TEIN Suspension…

2013-Honda-Accord-Sedan-Rear-Angle


We are in the final stages of development for both the Springs and Coil-over applications for the 2013 Accord.

IMG_4851

These suspension components will be available by August of this year. I know it’s still about 5 months away, but you know what they say- “the best things in life are worth waiting for.”

We will update you with part numbers and pricing as we get closer to the release date.


ONE SLAMMED ELEMENT!!

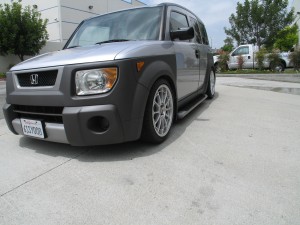
‘Sup Guys! As you can see, this Element does not look like your ordinary slammed Element. Then again why would it, since this one belongs to one of our staff that is known for slamming his cars!

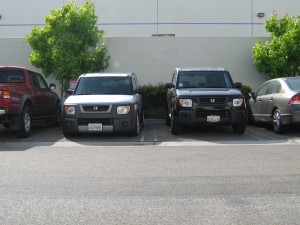
You can see how much lower it is compared to another staff member’s stock Element here.

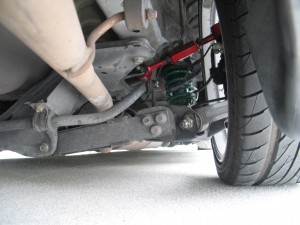
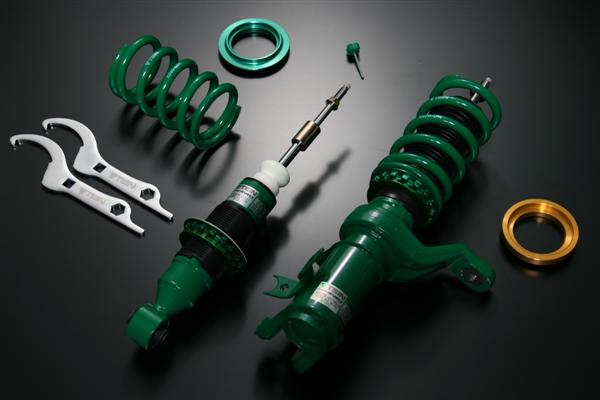
This slam didn’t come easy. Gonzo had to look over lots of design drawings and come up with the one that basically lowered the car to his liking! He decided to go with customized Basic dampers from a 2001-2005 Honda Civic re-valved to 10kg and 14 kg springs. After he completed lowering his Element he purchased a nice set of Enkei’s (first gen NT03+M  18″ by 8 1/2″  to make it look even lower (overall diameter of the wheel and tire is smaller than the factory setup).

**The 2001-2005 Civic Basic kit is is not a direct swap into the Element- steering arm location is not the same and requires custom steering tie rod ends to make it work. It should be noted that if anyone decides to do a similar modification to their vehicle, it is at their sole discretion.

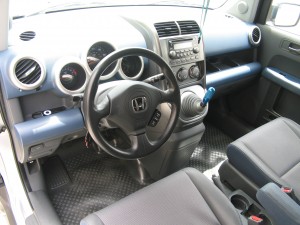
Some of his upgrades are a S2000 steering wheel with functioning cruise control, a rear camber kit and a Carbing blue anodized shift knob.


TEIN Street Advance Dampers Arriving Soon!

Over the past year, we’ve been working on some new products for you, starting with the Street Basis dampers replacing the popular Basic damper line.

Now we have a new replacement for the Super Street Dampers- the new Street Advance series!

These new dampers are the latest in TEIN technology, incorporating many of the new components the Street Basis has but with the addition of the Advance Needle. What’s the benefit of this new needle? A large increase in damping force change (over *200%) compared to an equivalent Super Street damper, within the same 16-click usable damping force settings. That translates to a much more noticeable change in ride and handling fee, and better optimization of damping for various road conditions.

On top of the new Advance Needle, we’ve included the same high durability components and coatings the new Street Basis dampers utilize, such as improved damper finishing (shot blast + 2 stage powdercoating) and ZT coating on threaded portions for a smooth adjustment of ride height and the highest level of protection from the elements. These kits are designed to give the end user a long service life. And like all TEIN dampers, they can be rebuilt and even customized to your needs!

*some models may differ in damping force increase over comparable Super Street Damper.

A few of the first applications to reach the US will be

Acura CL 96-00
Acura Integra 94-01
Acura RSX 02-06
Acura TL 99-03
Acura TSX 04-08

Honda Accord 90-93, 94-97, 98-02, 08+
Honda Civic 96-00, 01-05
Honda Fit 09+
Honda Prelude 92-02

Mazda Miata 90-98, 99-05

Scion xD 08+

Subaru WRX 02-07
Subaru STI 04, 05-07

Toyota Prius 10+
Toyota Yaris 07+

With many more popular vehicle applications to follow in February.

Below is a link to our website with some information regarding the new Street Advance dampers.

http://www.tein.com/products/street_advance.html

We’re happy to be bringing these over starting January 2012! Keep posted with us as we continue to add new applications to the Street Advance damper list!

To Match or Not to Match

Hey everyone its been a while but I’m back.  This post is gonna be about the different part numbers found on the lowering springs or dampers themselves.

Many folks call in wondering why the part numbers are different, which lowering  spring or damper is front or rear. Well here’s some info to help out all of those folks that are not so mechanically inclined.

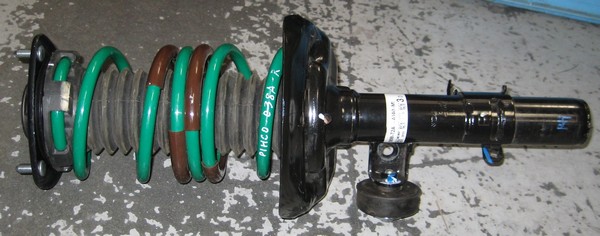
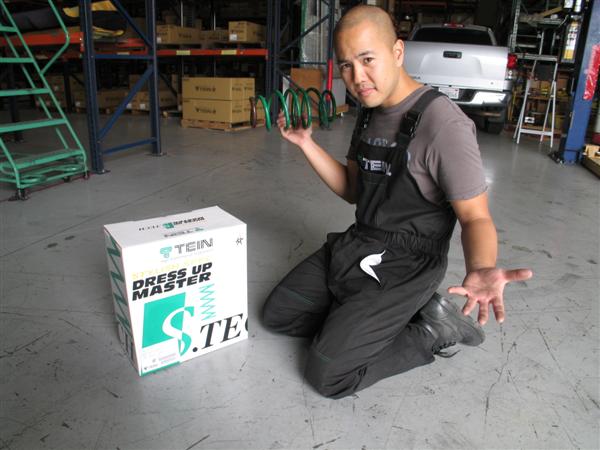
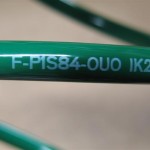
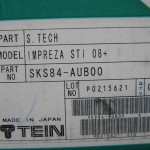
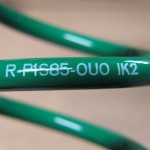
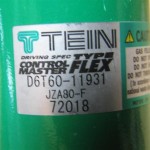
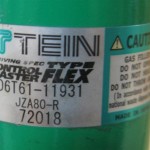
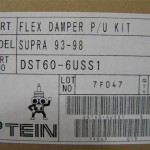
              Each lowering spring and damper kit has an individual alphanumeric part number which is part of the manufacturing process and to also help determine whether the part is a front, rear , left or right as shown in the photos above.  The lowering spring shown have an even part number (partially matching the kit number SKS84-AUB00) which would indicate that the spring belongs in the front, and odd number would belong in the rear. The springs would also have an F (Front) or R (Rear) in the beginning of the part number designated its location. The last digits are the springs lot number. Note: the springs should always be installed so the printed part number is right side up.

Though the springs have an individual part numbers they cannot be purchased individually like dampers can. However the part numbers can help you determine where the spring belongs and what vehicle they belong on or are compatible with.

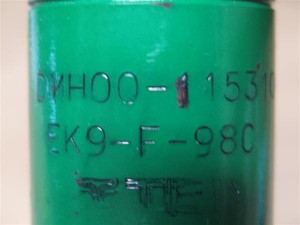
        The dampers have the same type of alphanumeric part number as the springs but have additional information as to its location, damper type and what application the damper is for. Older dampers ( exa. HR or NR dampers) would have the part number engraved into the lower section of the shock body.

I hope this helps clarify some part number you may encounter on either TEIN lowering springs or dampers. Next time I will go deeper into the part numbers of both the lowering springs and damper kits. Also a special thanks to our TEIN male model Jonathan Lee (the guy in the snazzy overalls NOT the one in the blue bikini) for his professional modeling. Keep it up and you might be on the TEIN Calander or even a TEIN Poster. LOL J/K . Thanks for the help Dude.

Torque Your Dampers Pt. 2

In continuation of covering the proper methods of torquing our dampers we will be covering how to torque the Top Lock Nut.

Torque Specs will not be covered this time around, only the proper methods for torquing. To find the correct Torque Specs for you vehicle’s dampers consult the Installation Manual that came with your kit. For those who have dampers that require use of the stock upper mounts, consult the factory torque specs.

If your dampers use TEIN  upper mounts but you don’t have the original Installation manual, contact us at 562-861-9161 or email at tus_sales@tein.com. We can send .pdf copies of our installation manuals to you.

Once again, the use of a table mounted vice to keep the dampers from moving (covered HERE) is recommended.

These are the tools needed to properly torque the Top Lock Nut:
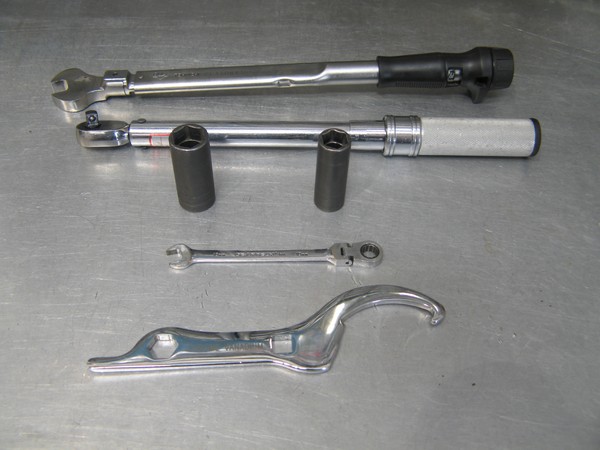
1   Torque Wrench with Spanner Wrench Adapter (17mm and/or 14mm depending on your vehicle application)
1   3/8 Inch Torque Wrench (A 1/2 Inch Torque Wrench may not provide low enough torque settings)
1   21mm Socket
1   17mm Socket
1   14mm Socket
[Sockets needed depend on your vehicle application]
1   Open Ended 10mm Spanner Wrench
1   Open Ended 8mm Spanner Wrench
[Spanner Wrenches needed depend on your vehicle application]
1   Tein ADJ Wrench

Strut Type Dampers

Some Strut Type Dampers’  Piston Rods have notches machined into the top section [Pictured Below],
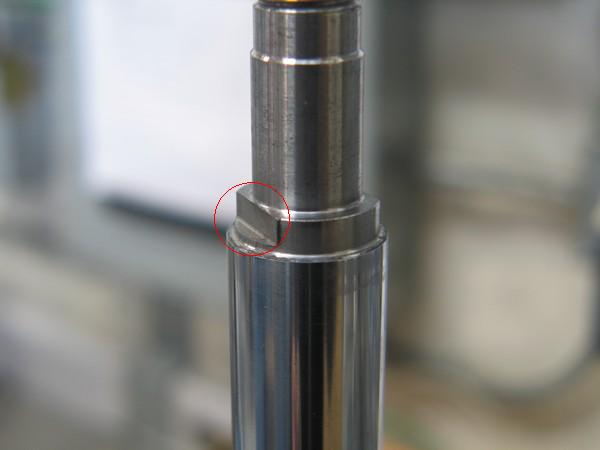
that correspond and line up with notches in the Upper Spring Seat [Pictured Below].
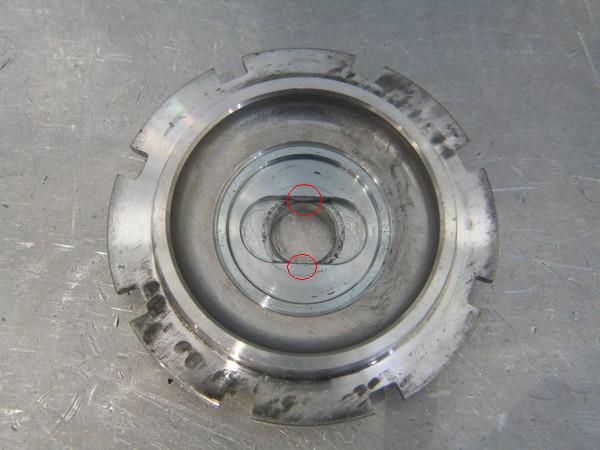
When assembling the damper make sure these notches line up. If they are not lined up while tightening the Top Lock Nut, the Piston Rod and/or the Upper Spring Seat will become damaged.

With everything assembled and lined up correctly; using the TEIN ADJ Wrench to hold the Upper Spring Seat and the 3/8 Inch Torque Wrench with the correct socket on the Top Lock Nut, turn until you hear the click.
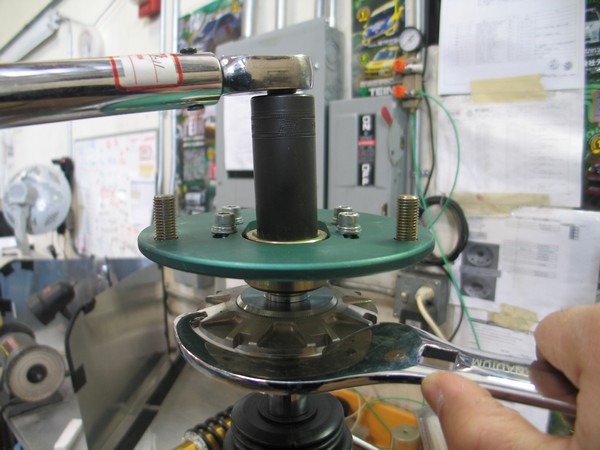
Some Strut Type Dampers do not utilize a TEIN Upper Spring Seat. As the above method will not work for those dampers refer to the method used on SA Type Dampers below.

SA Type Dampers

SA Type Dampers’ Piston Rods have machined notches that accommodate a 8mm or 10mm Spanner Wrench.
[Pictured Below]
[Spanner Wrench size will vary depending on your vehicle application]
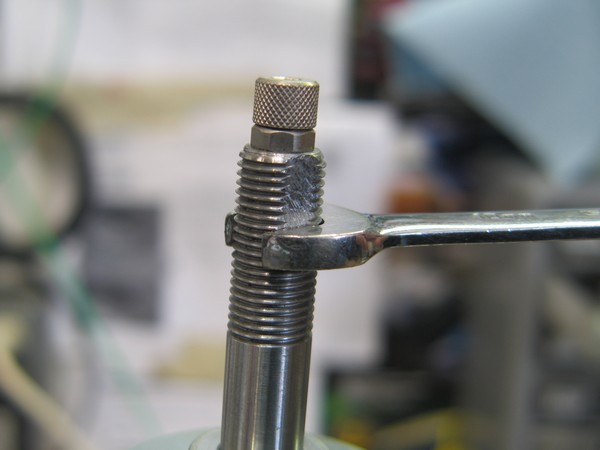
With everything assembled correctly; using the 8mm or 10mm Spanner Wrench to hold the Piston Rod and the Torque Wrench with Spanner Wrench Adapter to turn the Top Lock Nut, turn until you hear the click.
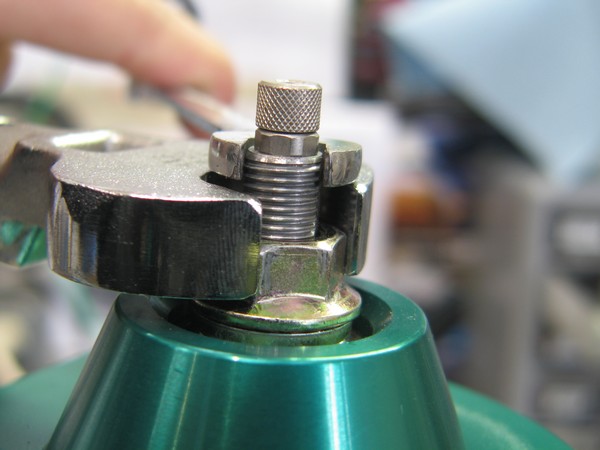
Caution: Over-torquing the Top Lock Nut can cause the Spanner Wrench to slip, damaging the Piston Rod Threads in the process.

If all else fails and an Impact Gun MUST be used, in accordance with our Instruction Manual, set the Impact Gun at the lowest torque possible. A 3/8 Inch Impact Gun is recommended as a 1/2 Inch Impact Gun may be too powerful and can break the Piston Rod. Also, make sure to use short bursts instead of a long continuous burst with the Impact Gun.
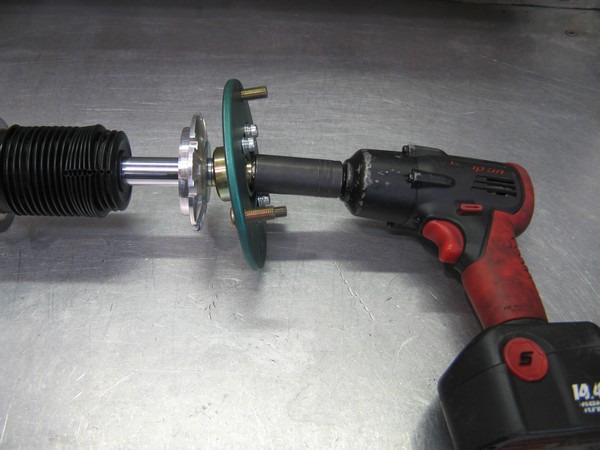
When tightening with an Impact Gun the Piston Rod must not be allowed to spin. The impact and high rate of spinning the Piston Rod can achieve when using an Impact Gun will loosen the internal nut and damage the damper.

For Strut Dampers, use a TEIN ADJ Wrench to hold the Upper Spring Seat while tightening the Top Lock Nut.
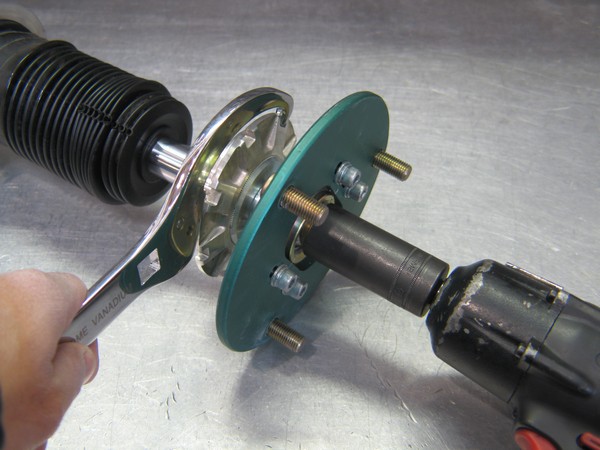
If your Strut Damper does not utilize an Upper Spring Seat that can be grabbed with a TEIN ADJ Wrench then follow the same instructions as the SA Damper below.

For SA Dampers, grab onto the Piston Rod with your fingers as such to prevent the Piston Rod from spinning. Do NOT grab the piston rod with pliers or any other tools as they may scratch the Piston Rod that will damage the Oil Seal and cause an oil leak.
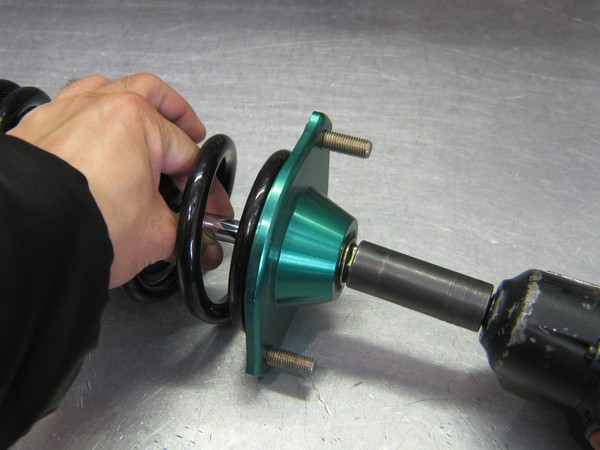
Note: The use of an Impact Gun must be the absolute last resort. TEIN assumes no responsibility for broken or damaged dampers due to incorrect assembly and installation.