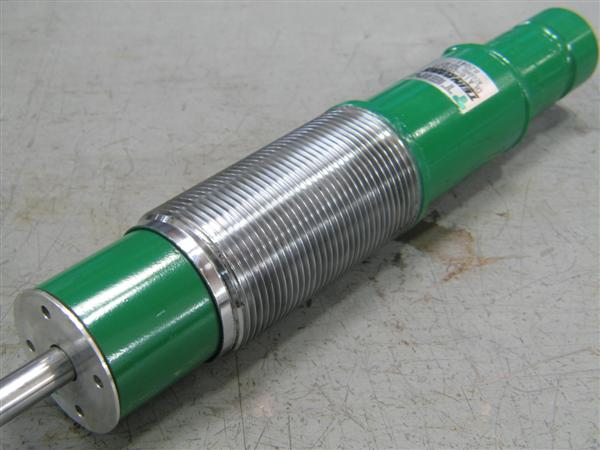
Without a doubt, a huge hurdle we must face with our suspensions, other than properly tuning the dampers for a given application, is making sure it will last for many years. Of course being a wear & tear item, dampers don’t necessarily need to last forever. But that doesn’t stop us from trying to attain such a goal anyway.
Coatings, or paint, for that matter, have come a long way from a technological standpoint. The thin barrier that these coatings add to a surface turn an otherwise corrosion-susceptible item to a long lasting one. Over the decades, improvements in coating adhesion have made it an economical solution for many manufacturers, such as TEIN.
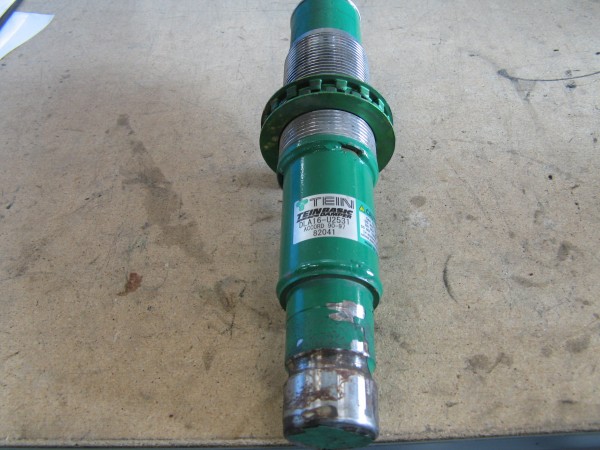
Customers have asked us before why we don’t adopt certain materials that are corrosion resistant off the bat, such as stainless steel. It’s not that we feel stainless steel isn’t a suitable material. Cost is a big factor. Rigidity is also a very important factor. We use high-strength steel because it’s cost-effective and provides a great structural base to build a suspension from. Like steel, stainless steel comes in various different alloy grades. For the most part, stainless steel is a great material. If we wanted to select the most appropriate stainless steel for a damper body, it would be fairly expensive to produce a coilover kit. There are cheaper alternatives of stainless that we can use, but make no mistake- stainless steel can still corrode (just not as easily). It may have stain resistance, as its name implies, but it will not be fully corrosion resistant.
The high-strength steel we use offers us great engineering freedom in trying to make as light a weight suspension without sacrificing a damper body’s needed rigidity. On applications like MacPherson strut designs, dampers not only have to endure stresses from compression and rebound cycles, they also have to endure side loading. Being an integral part of a strut suspension design (keeping the knuckle assembly in place requires a relatively robust design), it may prove to be difficult to build a lightweight steel strut assembly. However, our kits are quite a bit lighter than OEM suspension. High-strength steel is still our number one choice for such applications, and for a majority of our suspension kits because of this factor.
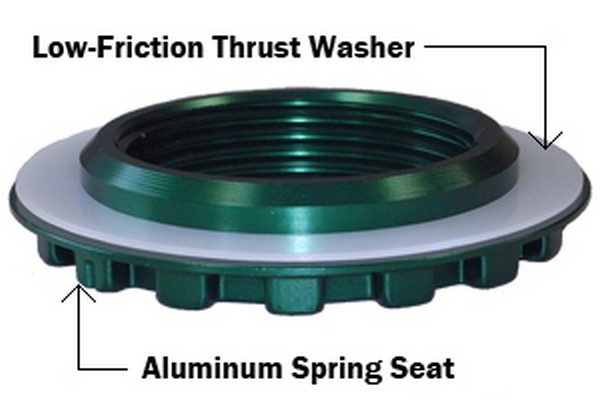
We do use aluminum for various components- spring seat locks, upper mounts, lower brackets, and of course damper bodies. Common grades of aluminum we use are 2017, 6061, and 7075. The key benefit is aluminum alloy’s lightweight and structural rigidity. But again, cost is a limiting factor in why we don’t apply it in every suspension kit. Also, making an aluminum bodied strut (MacPherson), even though still lightweight, would be extremely expensive. And yes, aluminum can corrode. We have to use anodizing to protect aluminum parts. However, these still require periodic maintenance and inspection to make sure there is no surface corrosion.
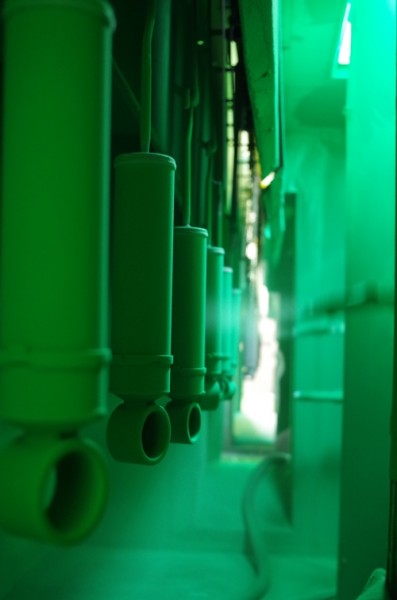
So, all this talk about corrosion is probably making every suspension manufacturer sound bad. Not really. Quite obviously there are ways to extend the life of certain materials. We use advanced coatings and processes on our suspension components. Again, is that perfect? No. But it does at least give our products a long service life. To date, we’ve pioneered a 2-Layer/1-Bake powdercoating process that streamlines damper body coating and increases productivity for us. Typically, setting up a powdercoat process takes a lot of time, and baking (curing) of the powdercoat is a majority of that time.
Making sure our powdercoating adheres to the damper bodies properly, we have a few stages of surface treatment prior to the final powder paint being applied.
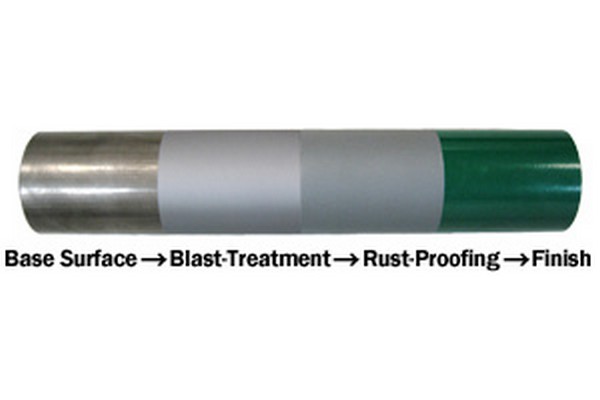 If we didn’t do surface treatment (Blast Treatment), the powder paint would easily chip and flake off the damper. All these steps produce a coating that holds up better to debris, which can easily get kicked up and flinging in the wheel well, easily damaging the damper body.
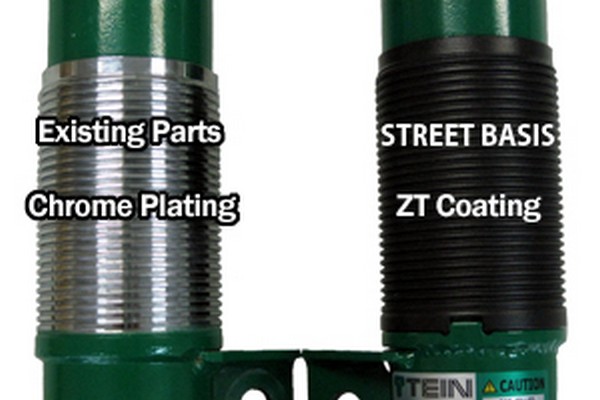
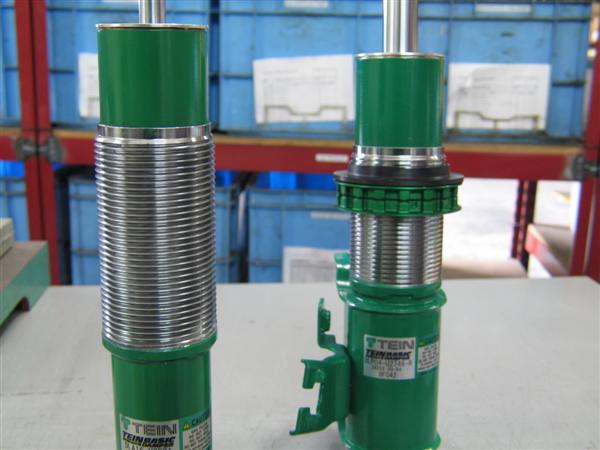
ZT coating has been one of our saving graces when it comes to corrosion protection. This provides us an ultra durable surface over our steel components that has both low friction and abrasion resistant properties, while also being lightweight. It’s also a process we can’t give too many details on. It isn’t really a liquid paint, nor is it a powder paint. Also, unlike paints, ZT coating adheres evenly on our dampers, including threaded bodies. Typical painting on threads may cause excess paint to gather in the valleys of a thread, while the peaks of the threads are only thinly coated. ZT coating coats completely even. However, we’ve been able to perfect the process in-house further increasing productivity (rather than outsourcing). Due to its low-friction nature, ZT coating provides smooth seat lock adjustment year-round.
We previously used a chrome plating process for threaded bodies (we still do on very limited applications). However, being able to do our ZT coatings in-house means we can quickly turn around manufacturing and reduce our costs. We can now make ZT coating part of our approach to affordable and reliable performance suspension.
Speaking of outsourcing, we do have to outsource for anodizing. That’s one of the few things we don’t do in-house.
Our goal, other than creating a high performing, long lasting suspension, is to provide an affordable suspension offering. High performance doesn’t have to be associated with high costs, which is what we want to prove. By attaining the ability to do a majority of our coating processes in-house, we’re able to apply a very important aspect towards creating reliable suspensions at very reasonable pricing.
All these extra measures in surface protection aren’t perfect. We can’t predict what type of circumstances our suspension will be subjected to, which is why we continually do research and development both in the lab and on the roads to improve our processes. With that said, we’re quite pleased with how our surface treatments have performed. Used not only on street-bound cars, we’ve applied these very techniques to racing applications, with rally racing being one of the most brutal on our suspension. Because of our continued developments, we know that newer methods for surface protection and corrosion resistance will make our current methods obsolete. However, we know we’re already putting out some of the best, long lasting suspension kits out into the market. As always, we’ll continue to pursue technical innovation and pass along our achievements to you, our valued customers.

