This isn’t the first time we bring this up to you, our customer. Actually, it is a very common problem for people setting up their suspension. Once our suspension is installed, they lower the car back to the ground and notice uneven ride height from left to right side.
We’ve found this to be an issue with a few vehicles, mainly vehicles with a multi-link or “double-wishbone” suspension. And mainly this is because these types of suspensions have more rubber bushings in their suspension arms.
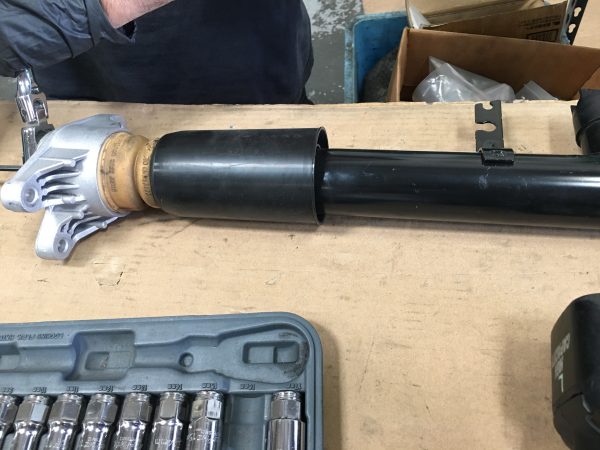
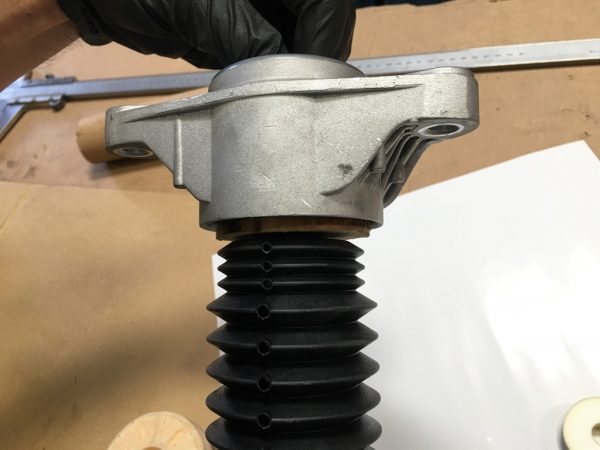
Once you disassemble some suspension arms in order to access the shock absorber assembly, like in a Mazda RX-8 for example, you’ll have to reassemble the arms through their respective nuts/bolts. That’s not uncommon, and this probably sounds relatively straightforward to you.
However, what we fail to account for is the fact that we typically do this when the vehicle is in the air, on jackstands or on a lift, leaving the suspension drooping down (fully extended).
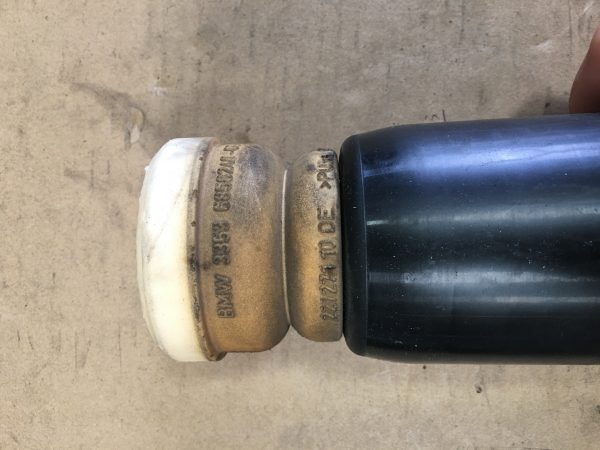
Why is this important to note? Well, once you start to loosen these nuts/bolts at suspension arm joints, you’re essentially removing any tension on the bushings associated with each arm. When that same bushing needs to be reinstalled (by way of connecting the arms with the nuts/bolts you removed), you end up tightening all these bushings while the suspension is drooping down (fully extended). Those bushings that were just recently relieved of the tension they were once under are now at zero preload. Now, when you put the suspension back on and the vehicle back on the ground, these zero preloaded bushings start to twist. The only issue is the twist isn’t necessarily going to be even from any specific corner. This leads to the uneven ride height you might be experiencing.
How can we prevent this uneven ride height? Well, this requires loading up the suspension PRIOR to tightening any nuts/bolts to these suspension arms. Obviously this isn’t easy to do since the best way to load the suspension is to put the car back on the ground. There are 4-post lifts that also serve as ramps. This gives you undercar access to these nuts/bolts that you can tighten. Those with vehicle ramps tall enough to let you creep under the car to tighten any nuts/bolts is also good. However, this is the BEST way to avoid any bushing preload issue. We must note, though, that this doesn’t cure uneven ride height completely, since all vehicles do have a weight bias from one side to the other, and of course from front to back.
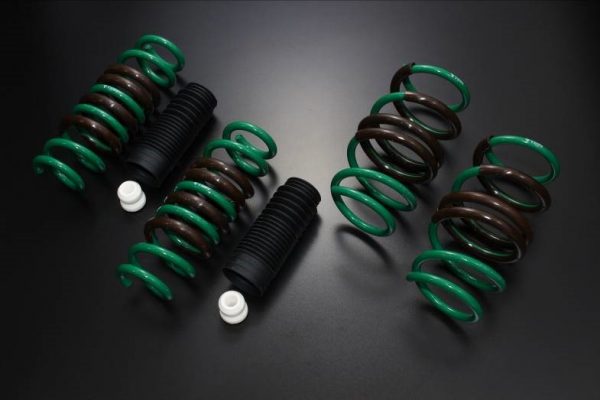
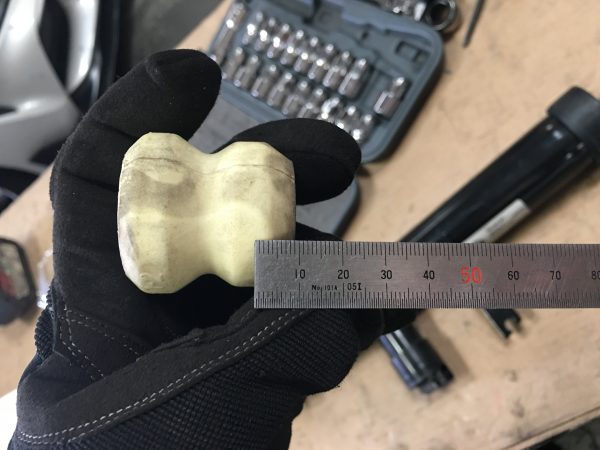
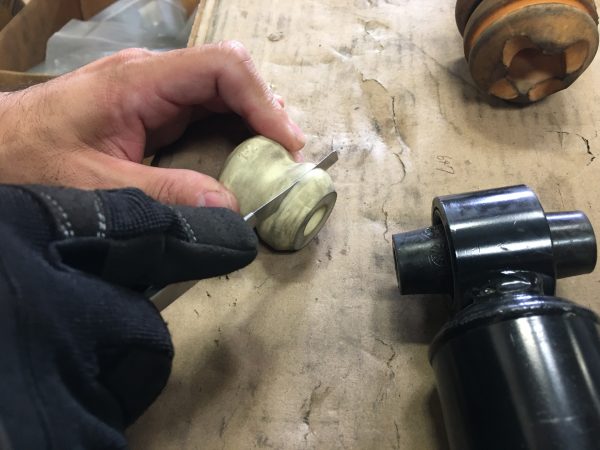
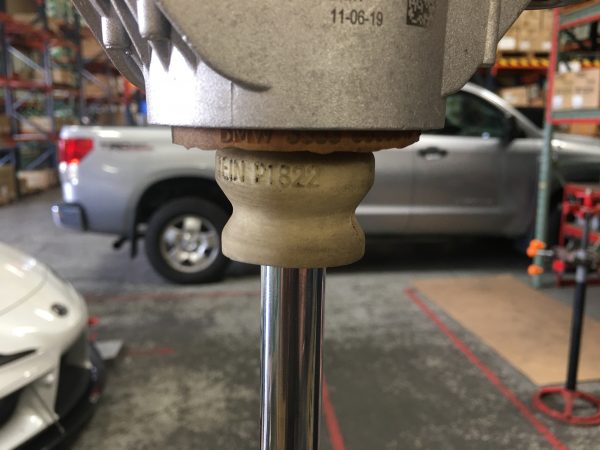
Does this mean that rubber bushings are a terrible design? No, not at all. In fact pretty much all production vehicles use rubber bushings. They’re effective in terms of performance and cost, which most OEM companies are very sensitive about. Quite honestly, they’re probably more durable that some aftermarket floating bushing designs since they really don’t require maintenance (periodic greasing), with the exception of sway bar bushings. Once they’re bad, you have to either replace the bushing or replace the arm that the bushing is pressed into (the latter being the most commonly offered for ease of installation).
Again, the difference between rubber bushings compared to typical aftermarket floating bushings is that the rubber bushings have any steel components, such as the crush tube and shell, bonded together through the rubber filling. Floating bushings, typically polyurethane in the aftermarket, simply have the bushing free moving between the shell and crush tube. This is great for having free-pivoting arms, allowing the damper and spring to do their job more effectively, but also requires quite a bit of maintenance to make sure they’re greased properly (you don’t want polyurethane to dry up). Not a big deal if you really enjoy wrenching on your car, and in some cases, aftermarket bushing manufacturers have included zerk fittings to either the steel tube or crush tube to ease the greasing process! Not all bushings have easy access for a zerk fitting to be placed, however, which has led to the development of bolts being gun drilled and cross-drilled and a zerk fitting threaded to the end.
Rubber bushings, again bonded to any steel shell or tube, don’t allow this free pivoting. Instead, the bushing relies on strain, or stretching of the rubber, meaning you have a limited range of motion either up or down, or even side to side. For most cars, this isn’t a problem.
Because most rubber bushings are “maintenance-free”, over long periods of time, they will dry rot and the rubber material will break away. This creates excessive movement of the suspension arms (moving in directions not intended), and can cause poor and unsafe driveability.