
You may or may not know that TEIN is the exclusive US Distributor of SuperPro Polyurethane Bushings.
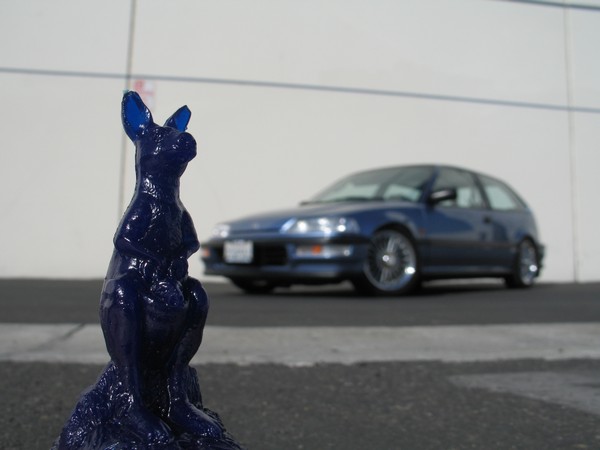
About a year ago we did a install of these bushings on a Honda Civic EF Hatch for Super Street magazine.
SuperPro bushings are sold by individual placements and by vehicle kits. This allows the buyer to purchase exactly what is desired if not an entire kit. Each package of bushings comes with bushings, grease packet, and inner tubes if needed. You can actually see what each part number comes with by going to the online catalog. Some kits require reusing steel shells or housings that is part of the OE bushing. This requires a bit of processing.
Although this may be a task that any novice is capable of doing, when in doubt, contact a reputable shop that can do this for you.
Depending on the type of bushings removal can be done with an acetylene torch or press.
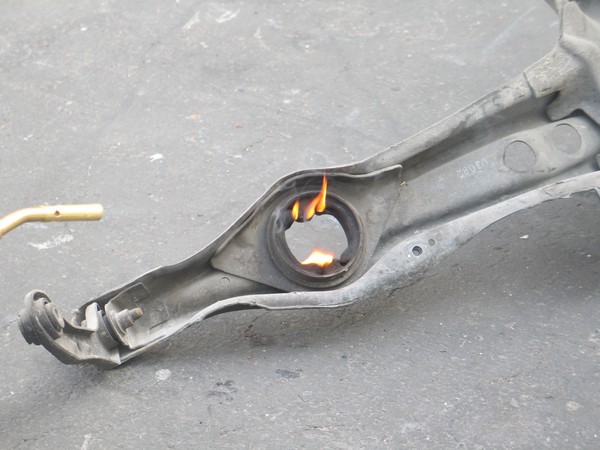
Removal by Acetylene Torch
First of all make sure you have all the proper equipment, and remember, safety is always top priority. First, you must apply heat evenly with a acetylene torch. You want to make sure to get heat on the top, bottom and the middle of where the bushing will be coming out from.
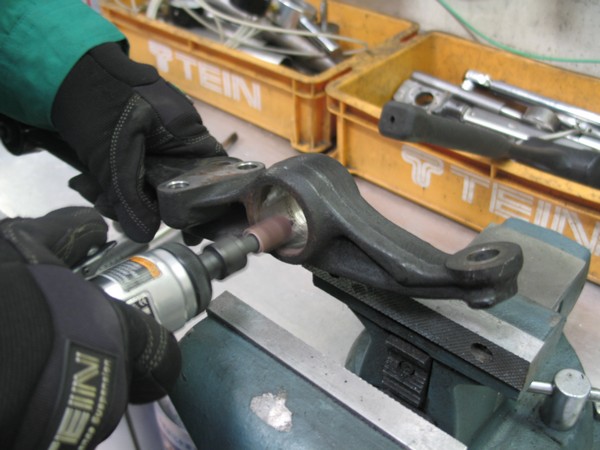
Removal by Hydraulic or Arbor Press
Hydraulic press with dies on top and bottom. Not a lot of force is needed. You may hear a pop when the bushing shell initially breaks it bond with the arm.

Sometimes a little prep work will make pressing out the bushing a little easier especially if you cannot find a die that fits perfectly.

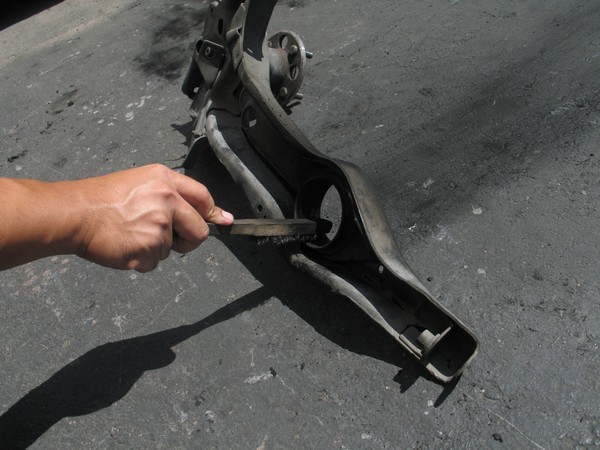
Clean Up
Once the bushing comes out please make sure that you grind down any excess material that is left on. You can use a heavy grit sand paper or a wire brush. Make sure that the inside is smooth so that there are no obstructions that may interfere when pressing in the new bushing. You can spray paint the part that you are replacing the bushing on to prevent any corrosion from happening to the part.
Installation of new Polyurethane Bushing and Inner Tube
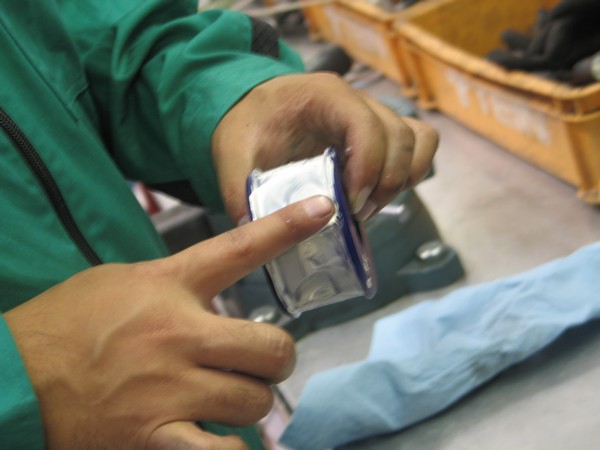
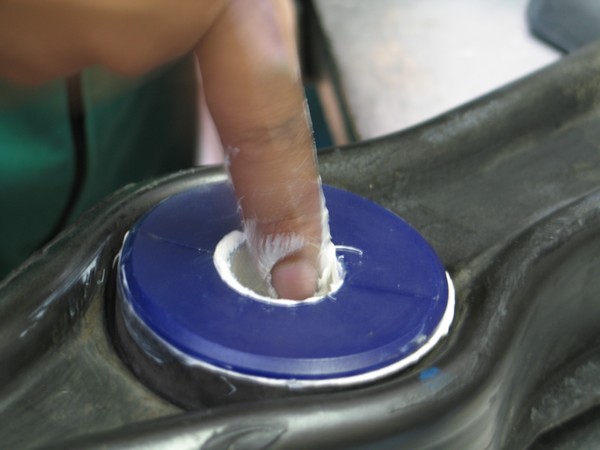
Once the bushing is ready to be installed, you will need to apply grease thoroughly on the bushing and on the inside of the part that it will be installed on.
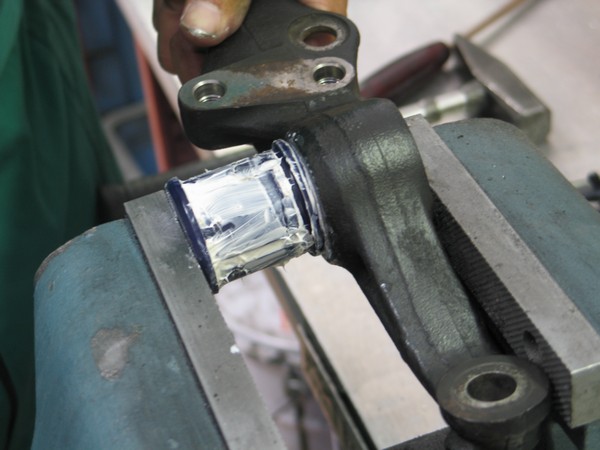
You can use a vise to press in the bushings and housing or also a bushing press kit that is offered through SuperPro.

Installation of arm back to vehicle
The last step will be to install the part that you changed the bushing on back on the car. Please note to torque down the bolts to its specific torque setting. Before tightening any bolts, it is recommended to preload the suspension to simulate a load similar to when the vehicle is on the ground(1g). Otherwise, tightening any bolts while the suspension is at full droop(fully extended) will put tension on the bushing causing it to wear out quicker, make noise while driving, as well as alter ride height. The picture below shows the left rear suspension at 1G, car is off the ground and the floor jack is being used to simulate ride height.

Removal video using acetylene torch.
You can also take a look at Fulcrum Suspension’s website for additional removal / installation videos through these links.
Pressing In with an Arbor Press