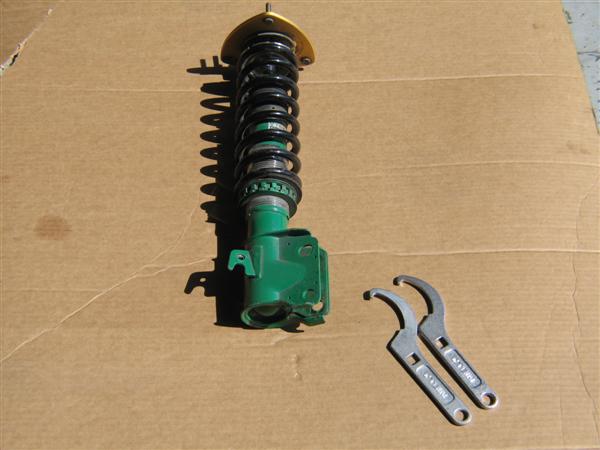
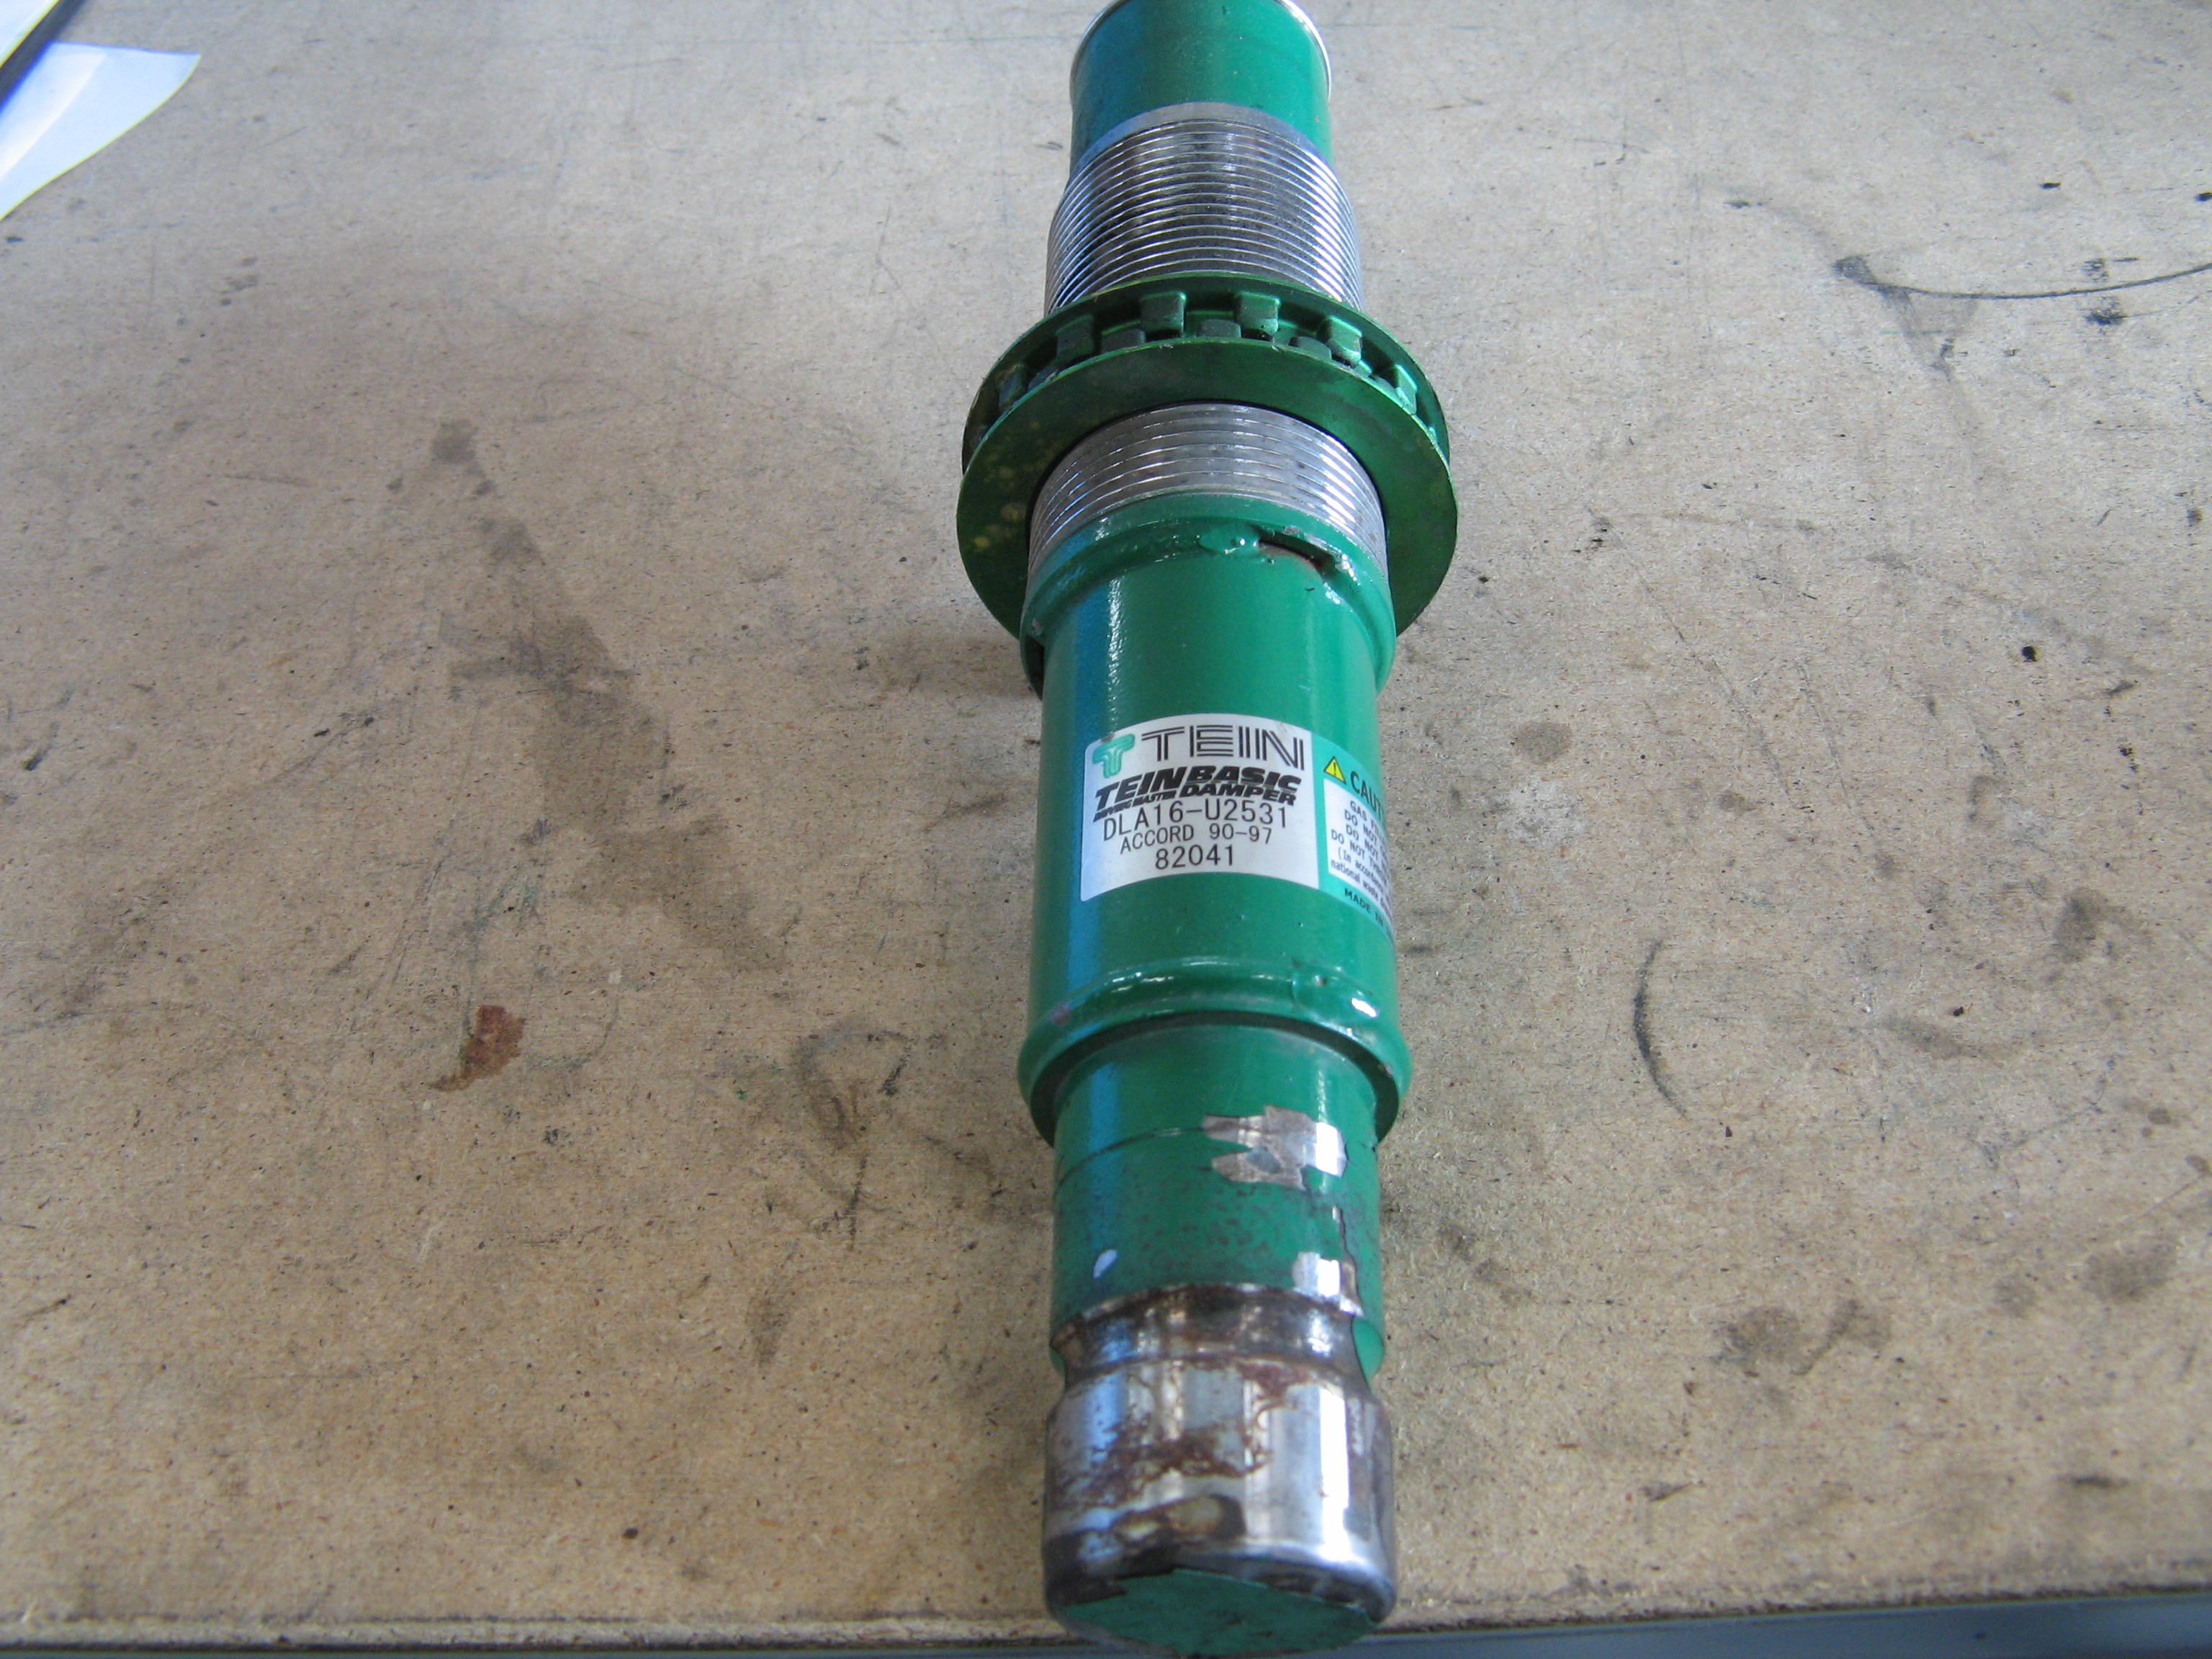
Ever wanted to touch up or repaint your dampers because they had some scratches, scuffs, slight rust building on the damper shell casing but couldn’t figure out the a color to match our dampers? Well it’s your lucky day because I’m going to give everyone some tips as well as paint color that would match the TEIN green color.
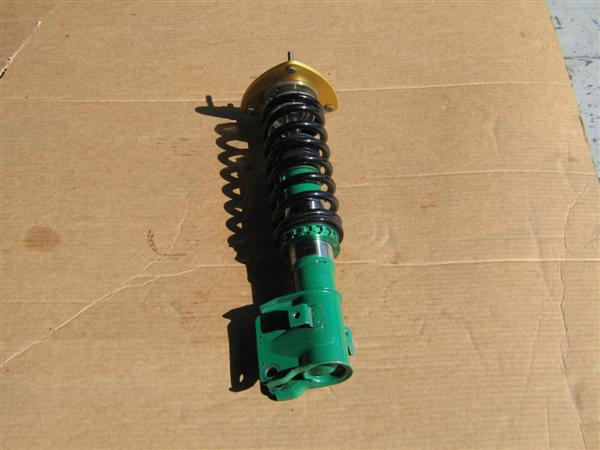
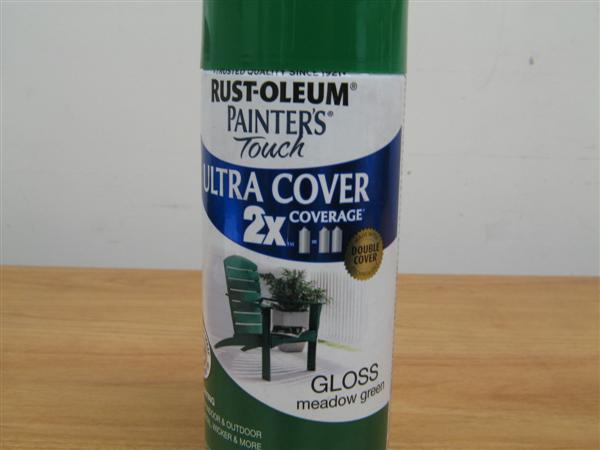
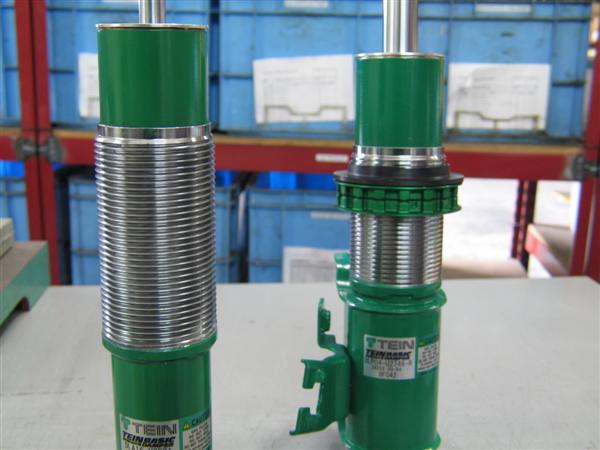
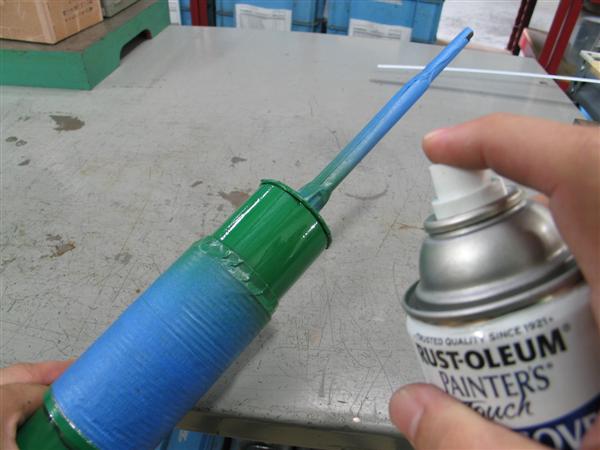
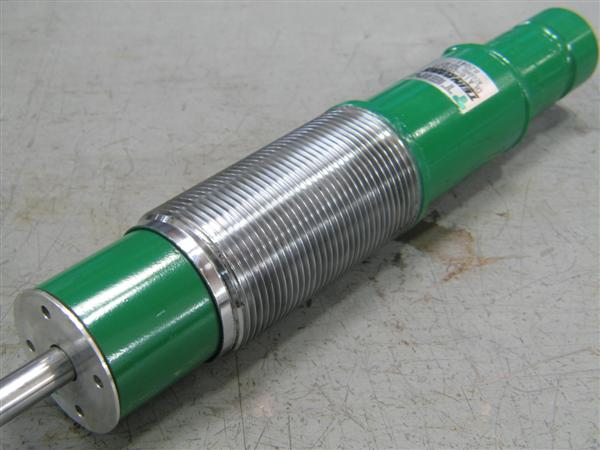
Because the dampers are powdercoated from TEIN Japan we don’t have the machinery to re-coat them at either of our North American facilities. During Overhaul we do offer to paint them using paint found at your local hardware store. The paint is by Rust-O-Leum Painter’s Touch in Gloss Green Meadow. The color is not exact but closely resembles the original powdercoating as you can see in the second photo down, the left damper being the painted damper and right damper having the original powdercoating.
When repainting or touching up your dampers it is always good to have the dampers clean, free of dirt, debris, and oil. I Recommend staying away from heavy duty parts cleaners as they eat away at the paint as well as the sticker/ label print. Mild cleaners are good, but if heavy duty cleaners are needed, try using a minimal amount.
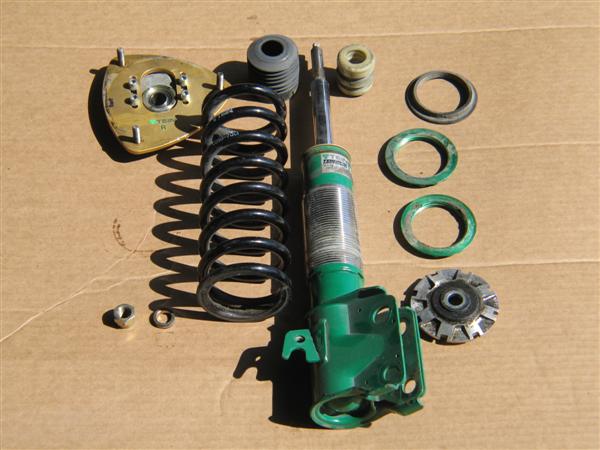
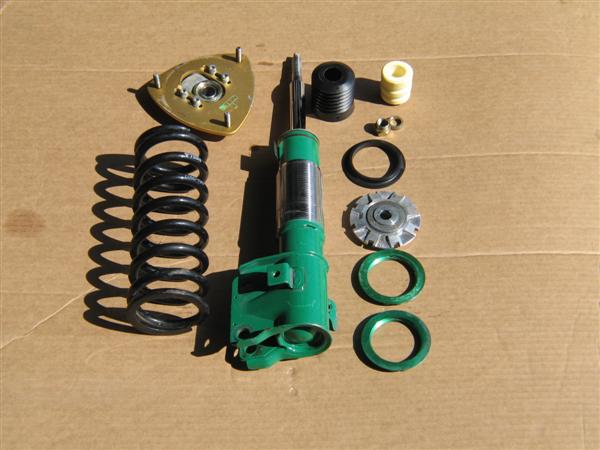
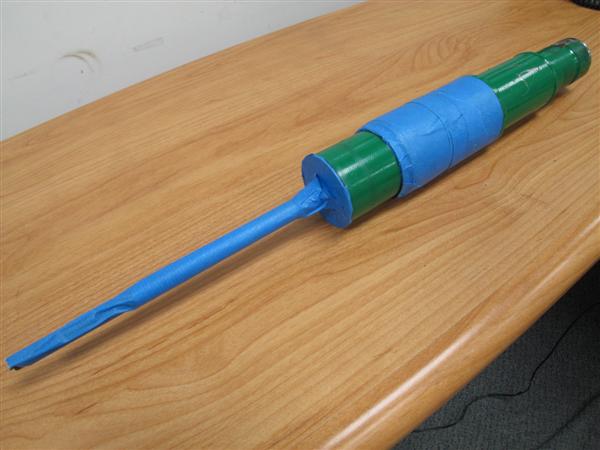
Preparing the damper may vary from one damper to another, based on its condition. Taping off any sticker/ labels as well as the threaded sleeves,top ring nut, and piston rods is always good as it would help for the future damper reference, as well as the threaded sleeves and top ring nut.
Mild sand paper or, if needed, a wire brush are recommended to allow for larger paint chips and rust to be removed for a clean and even surface. Little surface sanding will allow for a better adhering surface. A bench grinder with a brush wheel could also be used to help with the clean up process of the paint but can be a bit tricky with some hard to reach areas, which is why I can only recommend it to those who know their way around a bench grinder. Wipe down the surface with a lightly damped towel to remove any last foreign debris that may still be on the damper from the prep work.
Before painting, make sure the damper is placed in a good position allowing for easy access to all painting surfaces of the damper. A well ventilated area is always a must. Primer is recommended to allow the paint to adhere.
Even spraying motions back and forth in one direction at a 5 inch distance prevents any uneven coats, as well as overspray drips.
Allow a few hours for the paint to cure. Of course, time frame is longer in humid areas. Check the damper for any areas missed for resprays. Once thoroughly dried your damper is complete.
The same details above can also work with the S.Tech Lowering Springs and Full Length Adjustable Dampers lower adjustment brackets (Flex, and Super Drift) as they are also green. Other dampers and parts may also be green such as spring seat locks, and uppermounts but are anodized instead painted and wouldn’t look good redone in paint.
I hope this helps a few out there looking to repaint or touch up the paint on their dampers.