
Once or twice every year, industry workers come together at a track somewhere, which is usually never nearby, and enjoy the pastime that we work to support on a day to day basis.
Industry Track Day was held this year at, the not so new anymore but new to most who attended, Chuckwalla Valley Raceway. Situated in the middle of nowhere, as most tracks that I’ve been to tend to be, it’s a long long drive to get there. In order to arrive in time for the check in and driver meeting I left my house before the crack of dawn. Still tired and ever so groggy I drove down the freeway, past Morongo Casino, past Palm Springs & Indio, and past the Salton Sea.
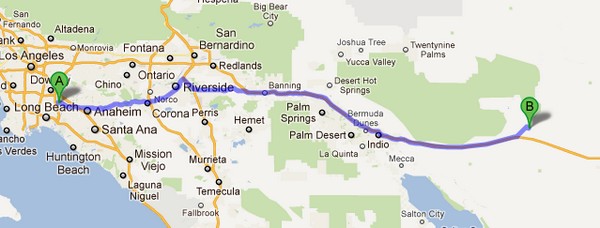
Yes, it is that far. 1 more hour down the road and I would have ended up in Arizona. I watched the sun rise on my way there and watched as the sun set on my way back home.
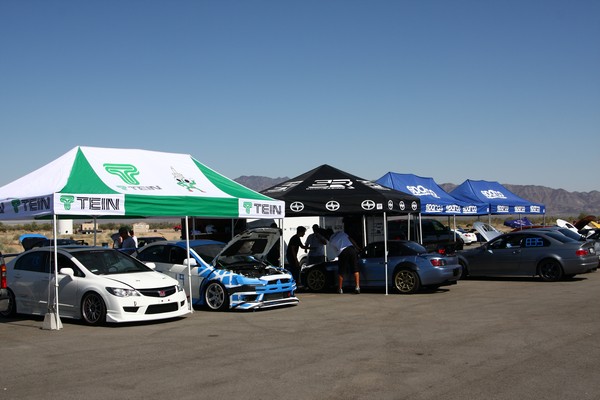
After arriving, checking in, and going through the driver meeting, the tents were put up and the cars were unloaded and prepared to go.

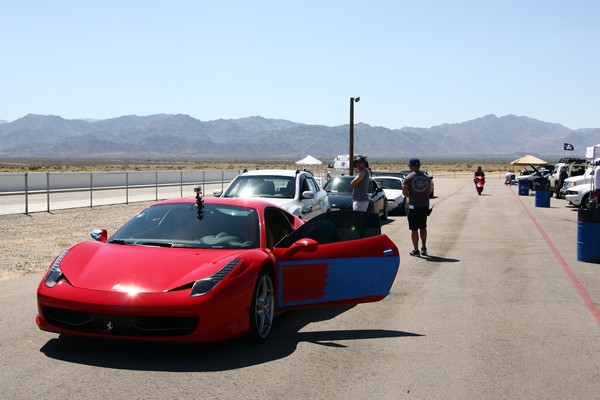
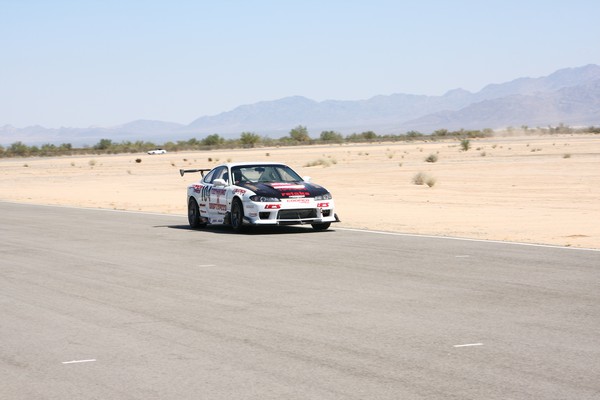
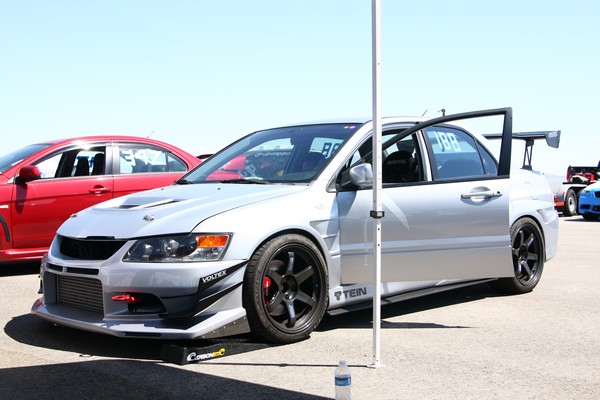
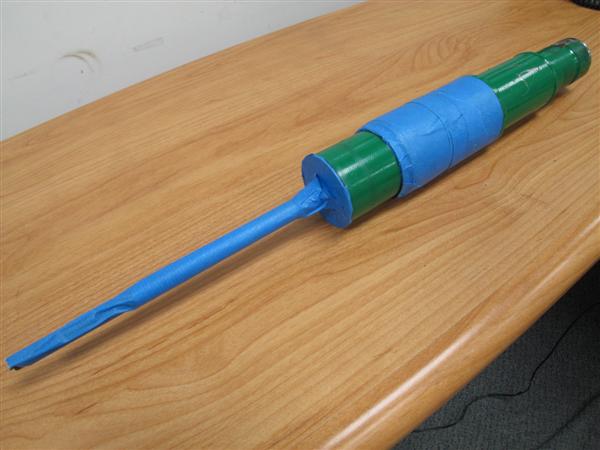
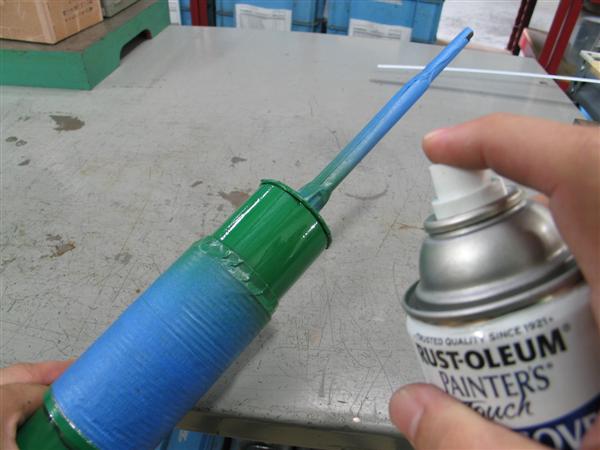
(That ridiculously taped up car is mine. I had heard horror stories of people tracking their cars at Chuckwalla with a brand new red tow hook, only to return home with a brand new tow hook that no longer had paint on it.)
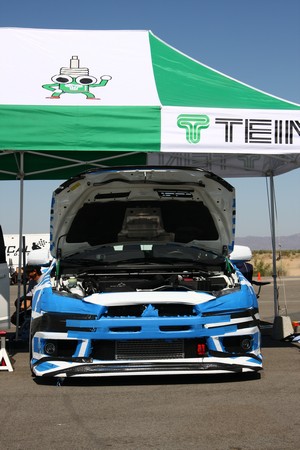
(Too cautious? I think not! And don’t be fooled into thinking I had missed a few spots, what you’re seeing is 2 layers of blue painters tape and another layer of white and black duct tape on top.)
The showing at Industry Track Days is always a hodgepodge of many different types of cars.
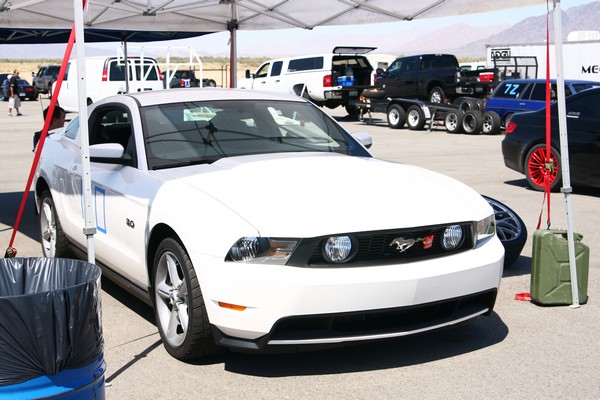
We had American Muscle.
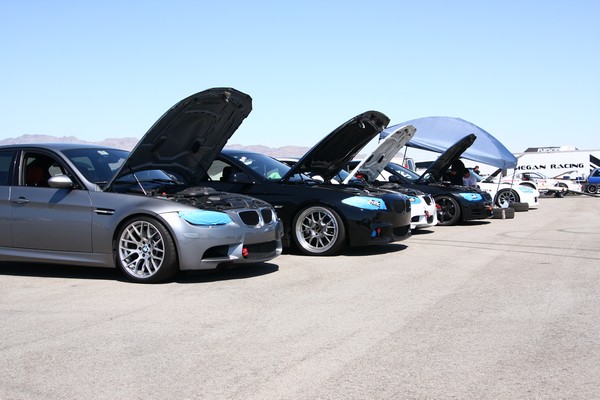
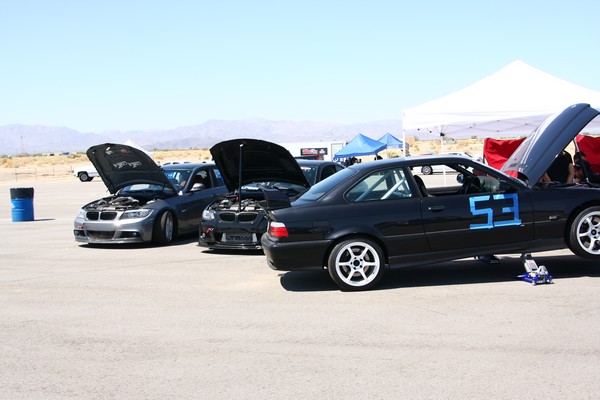
A plethora of German ultimate driving machines.
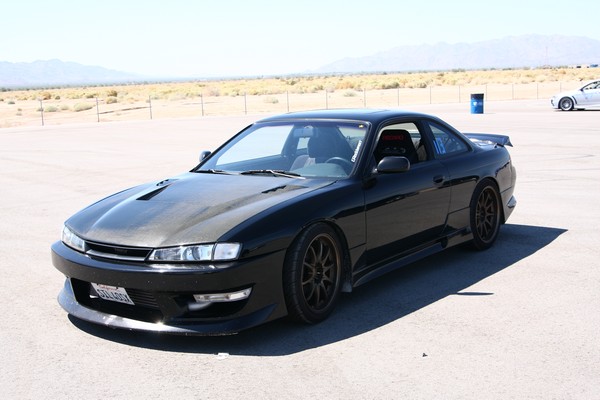
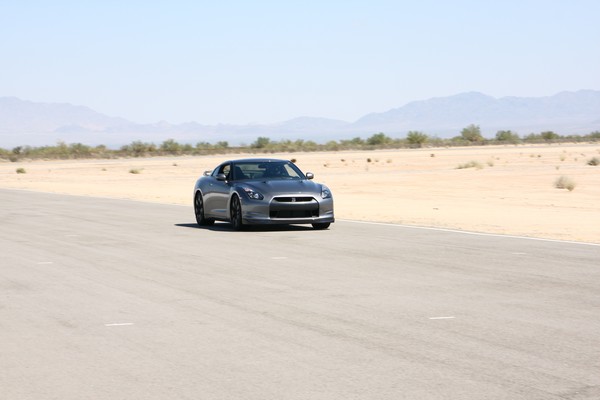
JDM
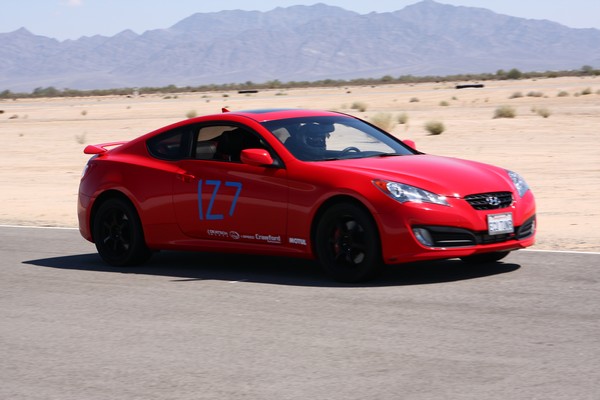
KDM
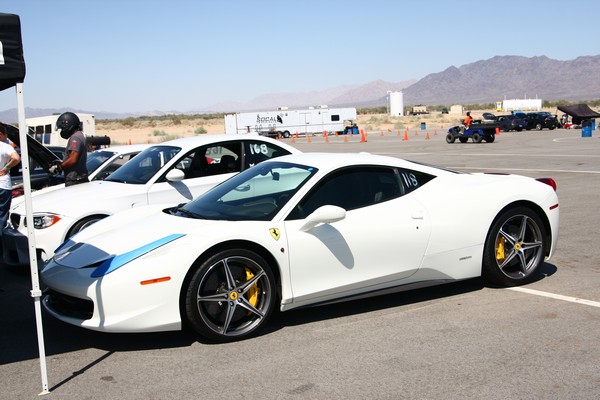
Italian Stallions
(Look at the size of those things!)
We had the old
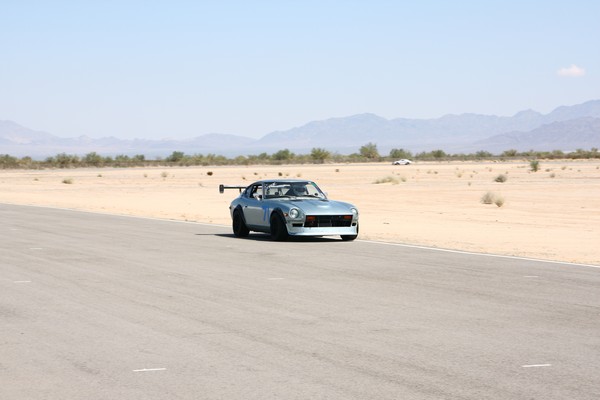
And the new
Relatively stock cars
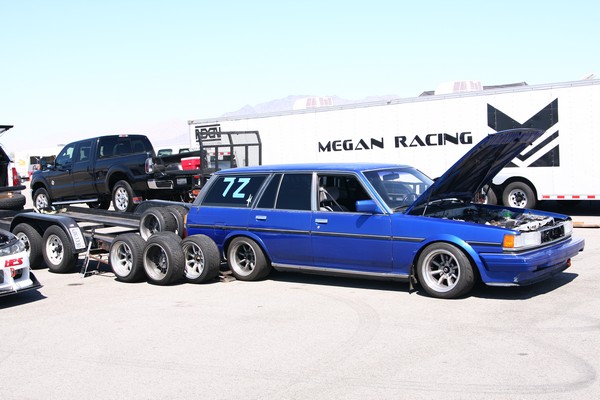
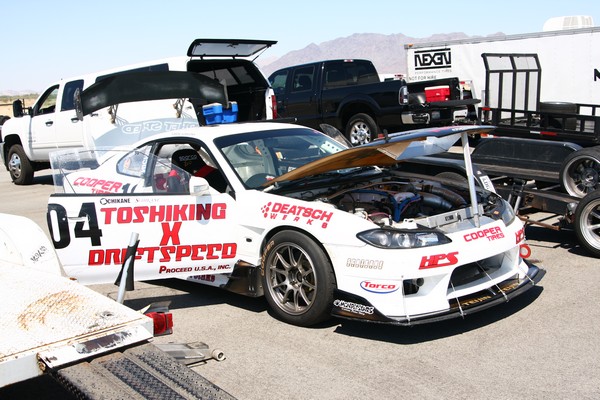
And the dedicated track only cars
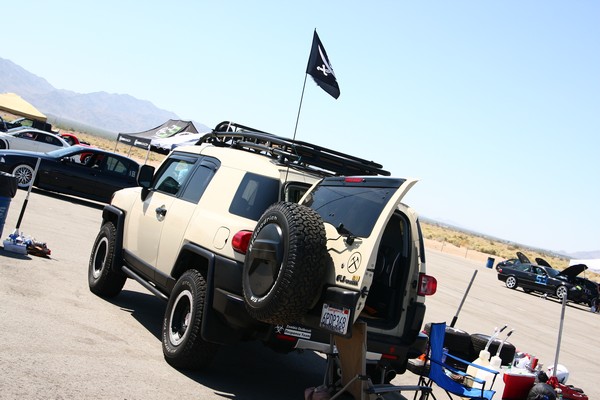
Even pirates had a showing

Despite the blistering heat (it reached about 100 degrees out at CVR while it was a cool 73 degrees in LA) good times were had. There were some technical difficulties with the timing system, so unfortunately no one knew if they were getting faster or slower as far as lap times go, but that certainly didn’t stop us from taking our cars out and thrashing them around.
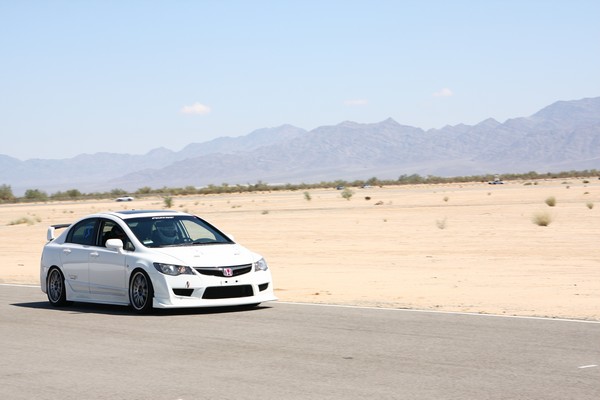
(Evasive Motorsport’s Mike behind the wheel of his Civic)
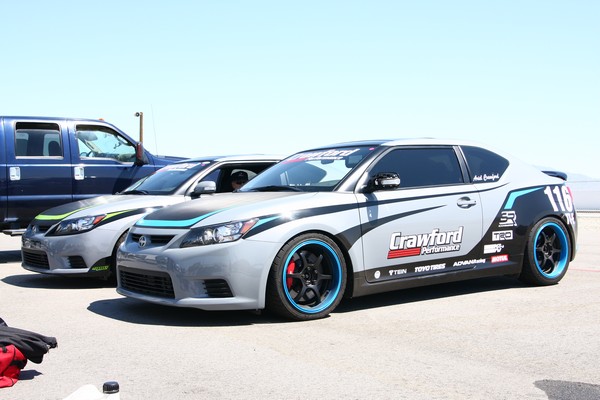
(Crawford brought their tC’s out to play as well)
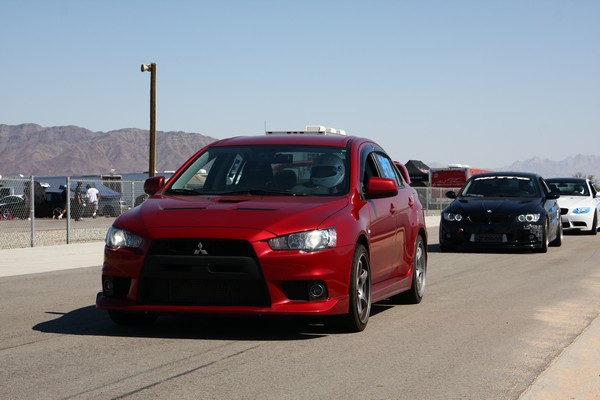
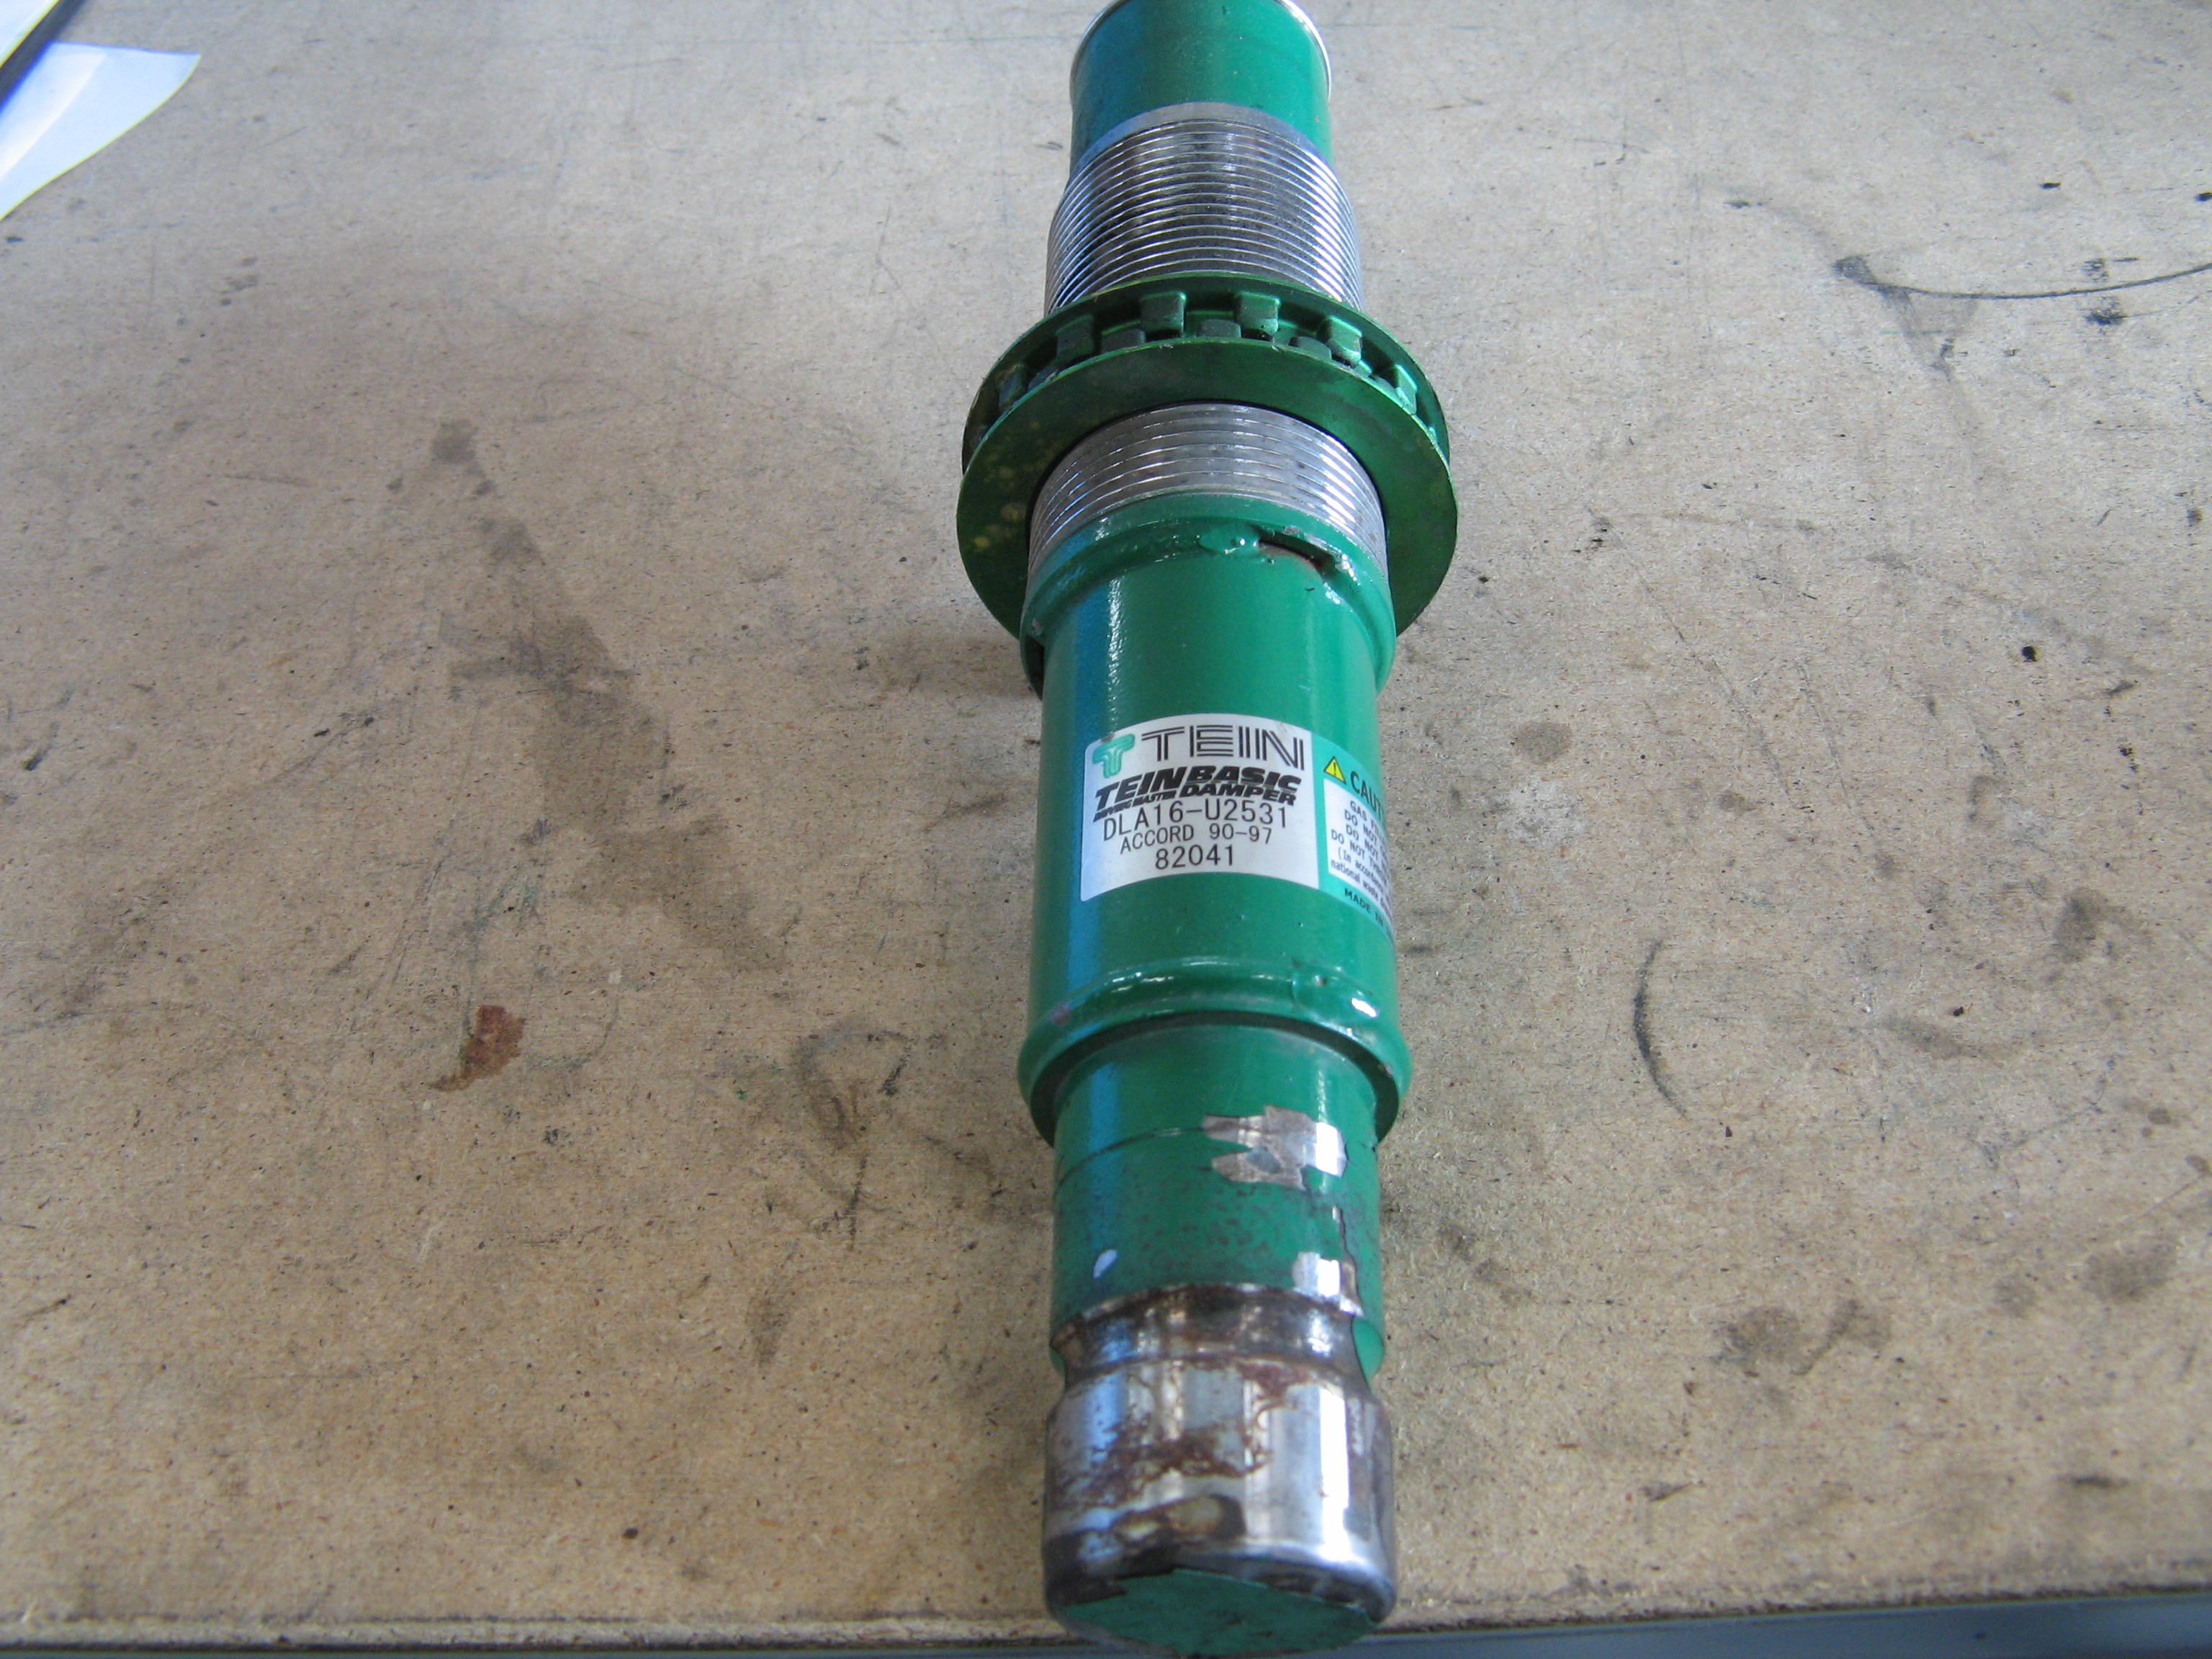
(Featured on the blog many times before, Ex-Marketing Manager for Tein, Philip Chase’s Evo IX)
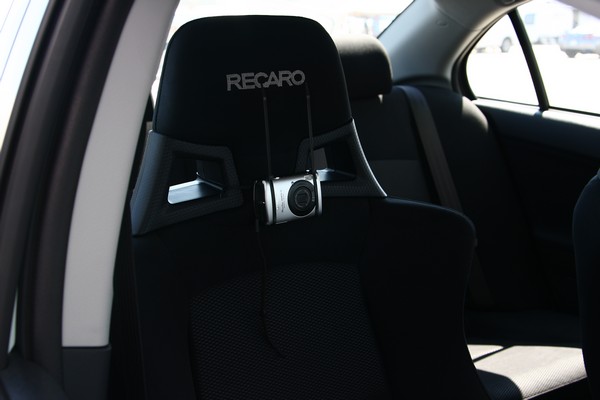
(I don’t have a GoPro, and wanting to review my own driving I resorted to my own GhettoPro. If you’re wondering, yes that is my point and shoot digital camera zip tied to my seat. It didn’t work out so well due to the shaking. I almost get carsick just watching the video that it took.)
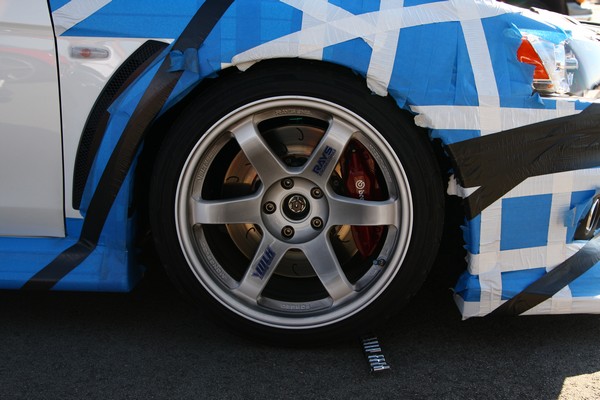
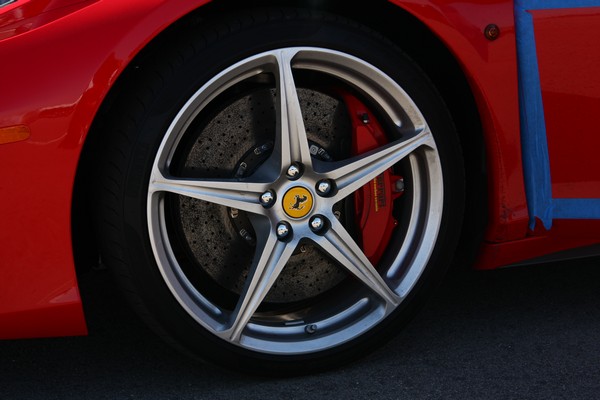
(And by the end of the day, my normally white TE37’s had turned a brake dust grey/black color, and I’m on my way to earning my Brownbo [Brown Brembos] Badge)