Lowering Springs on Stock (OEM) Shock Absorbers

Quite often we’re asked about our lowering springs and if it’s okay to use with factory shock absorbers, or OEM, or even OEM replacement shock absorbers.

S.TECH Lowering Springs installed on 2017 Honda Civic Si factory (OEM) struts

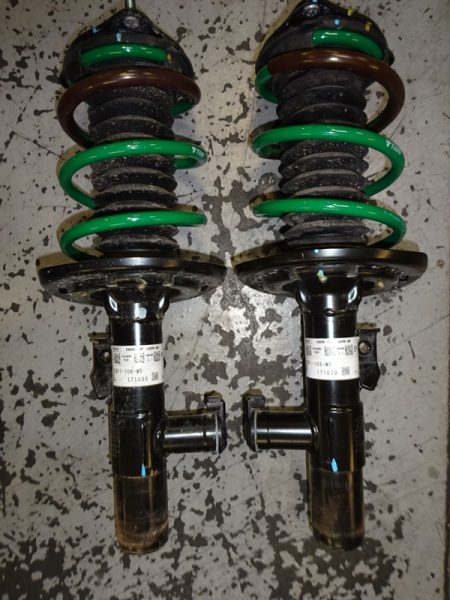
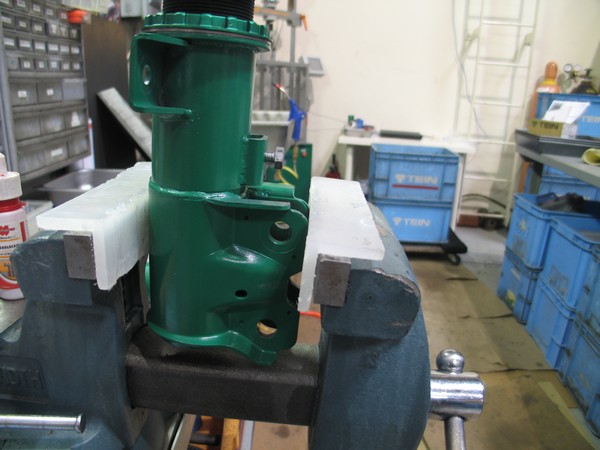
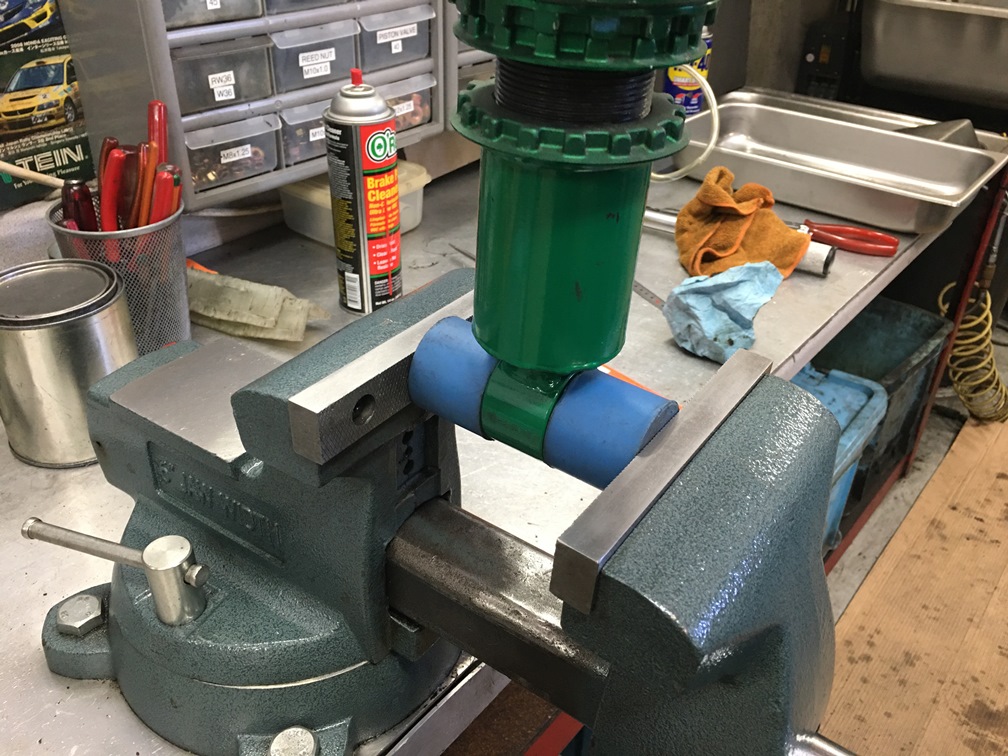
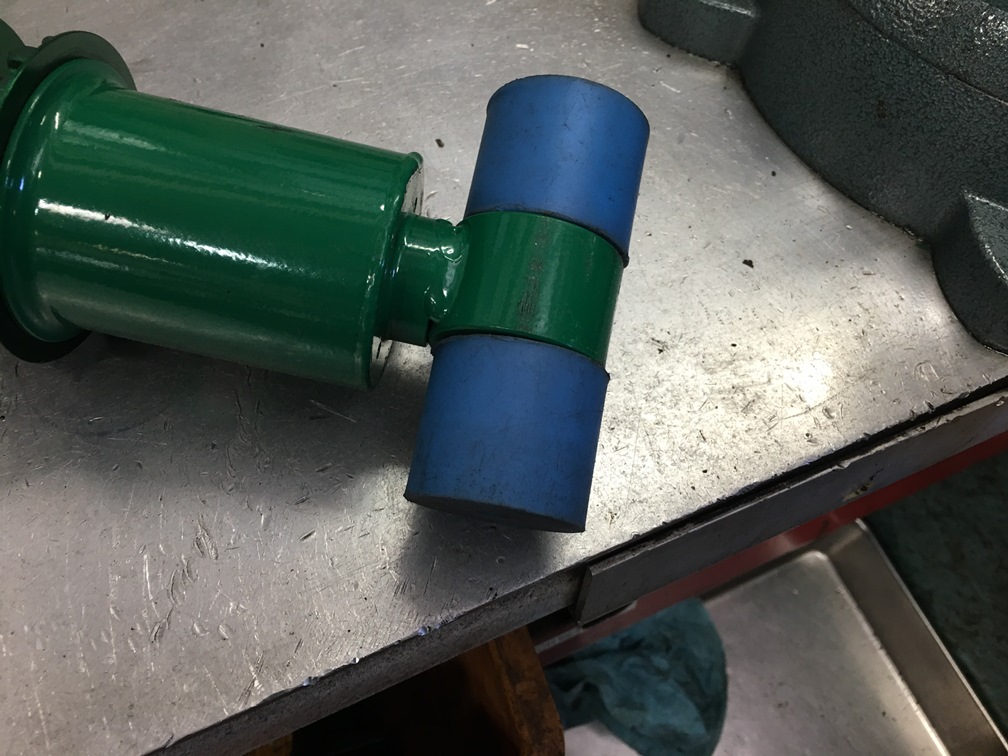
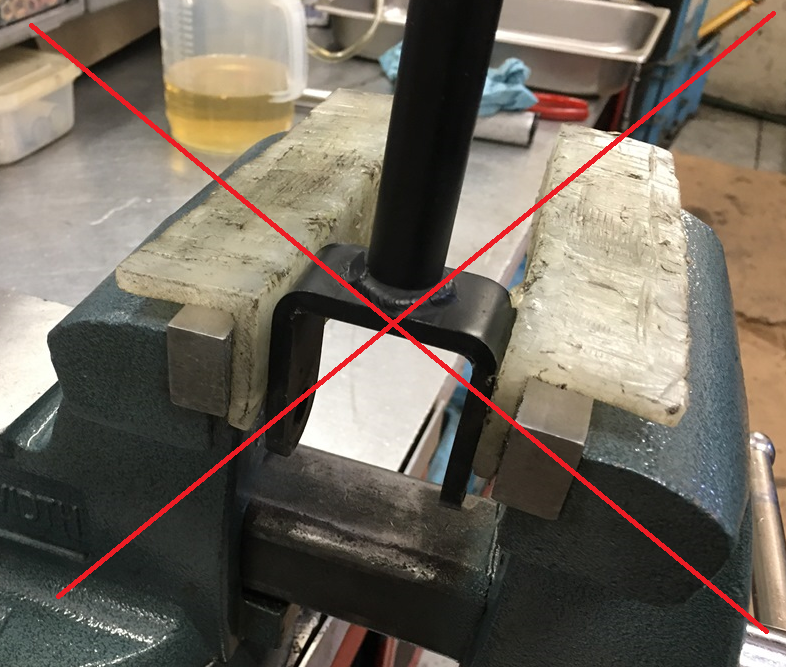
The easiest answer is yes, especially if they’re actual OEM factory shock absorbers. We can say yes as well for aftermarket replacement shock absorbers, but there is somewhat of a caveat. The issue is with the spring perch on shock absorbers or struts that have them. For our ENDURAPRO & ENDURAPRO PLUS premium replacement shock absorbers, we use 3D modeling of actual OEM shock absorbers to make our spring perches, then just modify the design so that it fits over our larger bodied shock absorbers. However, there are some instances where we make modifications for increased strength where we feel it may be necessary. This 3D modeling allows us to make very exacting designs so that it will work with OEM coil springs. And with that, we make sure that our S.TECH and HIGH TECH lowering springs have very similar designs for top and bottom coils to match the OEM coil spring.

Why we say there’s somewhat of a caveat with using our lowering springs on other aftermarket shock absorbers is because we’re not too sure how they model their spring perches. Some may use 3D modeling or a mold to create a negative simliar OEM type spring perch. However, we have seen some differences between some aftermarket replacement shocks and the OEM shocks they’re supposedly modeled after.

S.TECH Lowering Springs installed on 2019 Mazda Miata factory (OEM) shock absorbers.

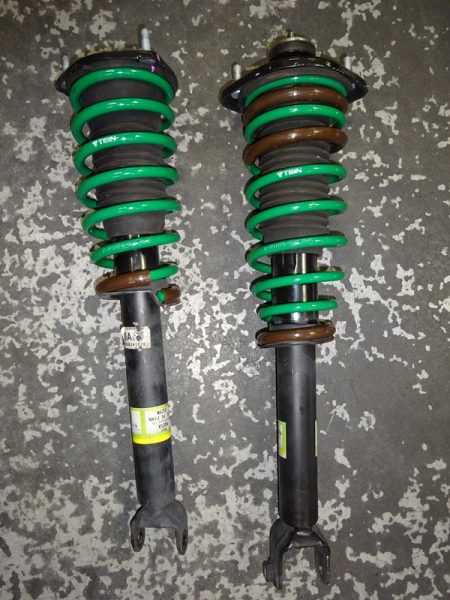
Besides the design of the spring perch (if applicable), our lowering springs are not intended to be very aggressive in terms of spring rate. This is intentional, as we expect that many customers are planning on installing our lowering springs onto OEM shock absorbers. With that, we have to keep in mind the OEM shocks damper valving and whether or not it can handle a specific spring design.

Another unknown variable with aftermarket replacement shock absorbers is how they’re valved in comparison to their OEM counterpart. Referring back to our ENDURAPRO & ENDURAPRO PLUS shock absorber line, we decided to “optimize” damper valving. Now, this optimization may vary by vehicle model. But it most cases we’re actually increasing damping force (slightly stiffer). Again, there’s a bit of a variable, because we may increase/decrease compression or we may increase/decrease rebound damping force, or a combination of both. There’s no set method of how we decide to valve. In some instances we may actually decrease damping force, especially compression, if we feel the ride quality will benefit from that change. But for other aftermarket replacement shock absorbers, we cannot say the same thing. In fact, when we’ve tested some aftermarket replacement shocks to their OEM counterpart, we’ve wondered why some of these aftermarket shocks are quite a bit softer (we’ve yet to see the opposite- stiffer than OEM). This can pose some interesting results in ride quality when comparing certain aftermarket replacement shock absorbers with our lowering springs, regardless of them not being very aggressive.

We’re not necessarily trying to pitch our ENDURAPRO or ENDURAPRO PLUS shock absorbers (how can we resist, though?!). But just know that ideally an OEM shock absorber will suit you best since that is what we designed our lowering springs to work with.

Torque Your Dampers Pt. 1

It seems that lately we have been receiving many questions in regards to how to torque our damper components, and what to torque them to.

This time around we’ll be covering the proper method of torquing the Lower Bracket Lock and Seat Locks.

The use of a table mounted vice and plastic soft jaws is highly recommended.

As you can see above, for Eye Ring type bushings, we have special plastic caps with magnets that sit on the inner sleeve of the bushing and protects the outer ring. This allows us to clamp this type of lower bracket to the vise.


We can also secure Fork type lower brackets onto the vise, like below:

However, DO NOT clamp Fork type lower brackets like below:

This can cause damage to the Fork, if improperly secured in this way.

Remember not to overtighten the vice, otherwise you will end up with some bent and possibly broken parts. The vice only needs to be tightened to the point that the damper will not move around while torquing the parts down.

We will also need the necessary tools to torque the various locks on the damper.
You will need:
1 Pair of TEIN ADJ Wrenches
&
1 Half-Inch Torque Wrench

As you can see here our ADJ Wrenches come with a square hole that is made to snap into a Half-Inch Torque Wrench:

Now that we have the damper mounted and the tools for the job setup we can move along to the actual torquing.

We’ll start off with Seat Locks that do the job of holding the spring up.
The torque for the Seat Locks is roughly the same for any and all TEIN Dampers, ranging from Basic Dampers to the Super Racing Dampers, or even the newer STREET BASIS Z/STREET ADVANCE Z and FLEX Z kits.
The torque spec for the Seat Locks is 41.7 +/- 1.8 ft-lb.

(*Please check your included coilover manual for actual torque specifications for your vehicle application)

After setting the spring height to where you want it to be, take the spare ADJ Wrench that isn’t hooked up to the Torque Wrench and hold the top Seat Lock, then with the Torque Wrench set to the proper torque setting tighten the bottom Seat Lock until you hear/feel the Torque Wrench click.

Simple enough.

Now, for those with full length adjustable dampers (e.g. FLEX/FLEX Z, MONO FLEX/MONO SPORT, SUPER RACING, etc.) you will also need to torque down the Seat Lock that holds the Lower Bracket in place.

The torque for the Lower Bracket Seat Lock differs between Strut and SA (Non-Strut) Dampers.
The torque spec for Strut Types range is from 101.2 to 115.7 (+/- 3.6) ft-lb.
The torque spec for SA Types is 50.7 +/- 1.8 ft-lb.

(*Please check your included coilover manual for actual torque specifications for your vehicle application)

Using only the ADJ Wrench and Torque Wrench combination is necessary for this Seat Lock.

For those that do not have a vice readily available, the next best way to torque down the Lower Bracket Lock is after the Dampers have been installed onto the vehicle.
Make sure all of the other bolts and nuts (e.g. Knuckle Bolts, Sway Bar Links, etc.) are torqued to manufacturer specs.
Turn the wheel so you have clear access to the Bracket Lock and no obstructions for the proper use of a Torque Wrench, then make sure to lock the steering wheel so that the Damper will not turn while being torqued.

Next time we will talk about the proper method and specs for torquing Top Nuts, Camber Plate Hex Bolts, and HAS (Height Adjustment System) Seat Locks.