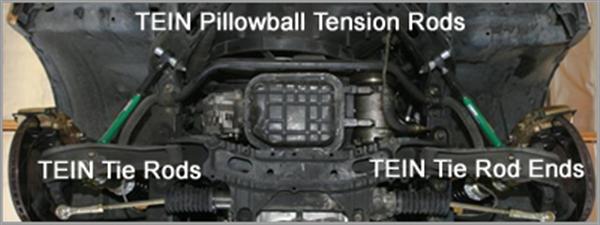
I have not really touched my EVO since my last track day back in May. The car felt the same, stable. Maybe too stable, meaning a tendency to understeer. I tried to compensate by aggressive trail braking and almost jerking the wheel to get weight transfer but the wide tires, wide body and aggressive aero keep the car super planted.

I have been meaning to try some different spring rates or R-comp tires for, hmmm… about the last 2 years. Spring rates and tires are VERY related. Higher grip tire = higher spring rates and vice versa. I am currently using 14kg front and 12kg rear springs plus slightly larger sway bars for front and rear. Over the past couple of years I have run Hankook RS2, Azenis RT-615 (non K), Continental CSC3 and Continental ExtremeContact DW. All street tires with similar performance. In my mind I thought my next purchase would always be a set of R-Compounds or extreme performance summer tire like an Advan Neova. But I just never seem to get there. I always end up buying something else, like my Voltex street front bumper, HKS V-Pro (which is sitting on a shelf in the garage), new DEFI Advance ZD, etc….
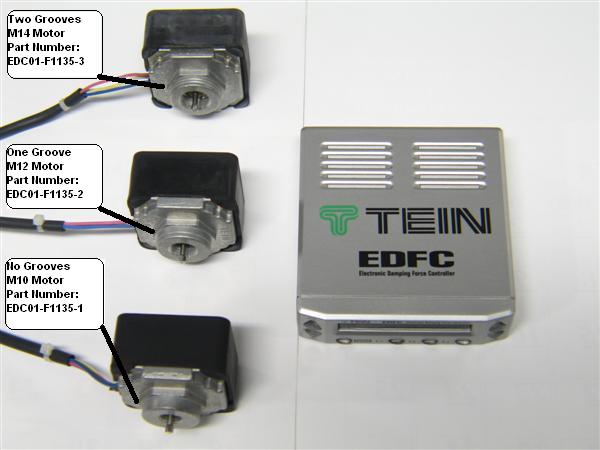
It FINALLY dawned on me that I should stop being lazy and just switch the springs to better suit the tires I always seem to use. A cheaper and more practice solution than spending $1300+ on tires. So last night I bought some softer springs (MSRP $120 per pair) and installed them. I went for a 2kg spring rate change. Now I have 12kg front and 10kg rear. The spring swap went relatively quickly. Depending on the damper we recommend a damper revalve if the spring rate is changed by +/- 2kg (for BASIC and Street Basis +/- 1kg since the damper is not damping force adjustable).

New 10kg springs for the rear. The 12kg originally on the rear will go to the front of the car since my setup uses SQ type springs for front and rear.
Here is a little useful information: This is how you can check what TEIN springs you have. The number printed on the spring is the individual spring part number. The part number listed on our website, catalog, etc…is a kit part number. So these springs are from kit part number SQ100-01175. The “SQ” designates a type of spring which is in this case is a standard straight spring, 65mm ID, 175mm free length. The “100” after SQ is for the spring rate, 10kg. ex. 050 = 5kg. 140 = 14kg. “01175” is for the free length. Just pay attention to the last three digits which is the length. ex. 01200 = 200mm. 01150 = 150mm.
On the actual spring the part number is “Q100-GOC”. “Q” represents spring type, 65mm ID, 175mm free length. “100” is spring rate = 10kg. “QOC” is the LOT/ batch in which this spring was made.
First, I measured wheel center to fender height before starting. Maintaining the ride height will mean I will not need to do an alignment.

Not using the lift for this. (Getting lowered cars with aero parts on a normal lift is a pain. Got to drive up on ramps, use wood, adjust the risers on the arms, etc…) Simple jack and stands is quicker for something like this.
Started with the rear since my rear springs will go onto the front of my car. Super easy since my interior trunk panels are not installed.


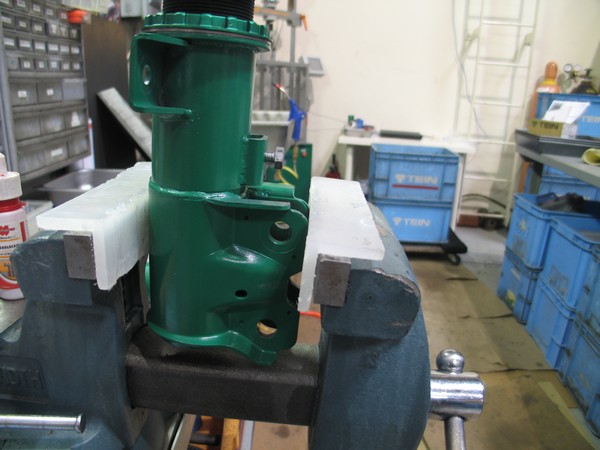
I use Simple Green and a rag to clean off the coilovers. Then I inspect all components of the coilovers for damage, etc… I made a small adjustment in spring seat height to maintain ride height with the new softer spring rate. If the spring seat or damper length is not adjusted, the ride height will be lower due to the softer spring rate (softer spring will compress more = lower ride height).
Now for the front. Cool trick on the front of the EVO 8/9 and maybe older gens is that the front spring can be swapped without removing the damper. This means the alignment is not affected since you never even loosen the upright (hub bracket) bolts. Plus this saves LOTS of time.

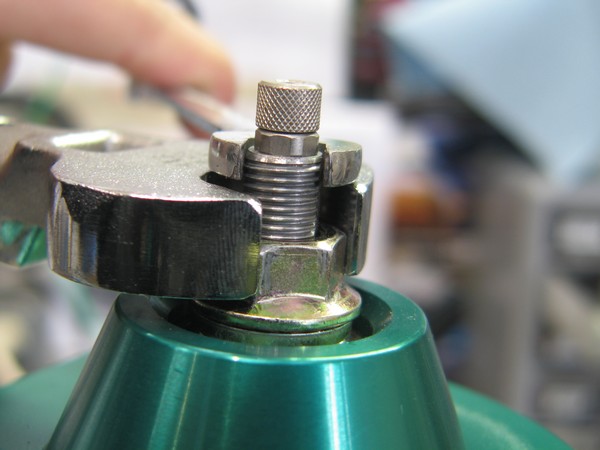
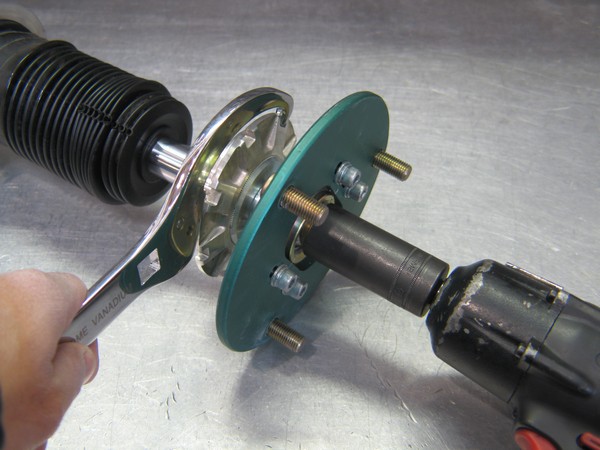
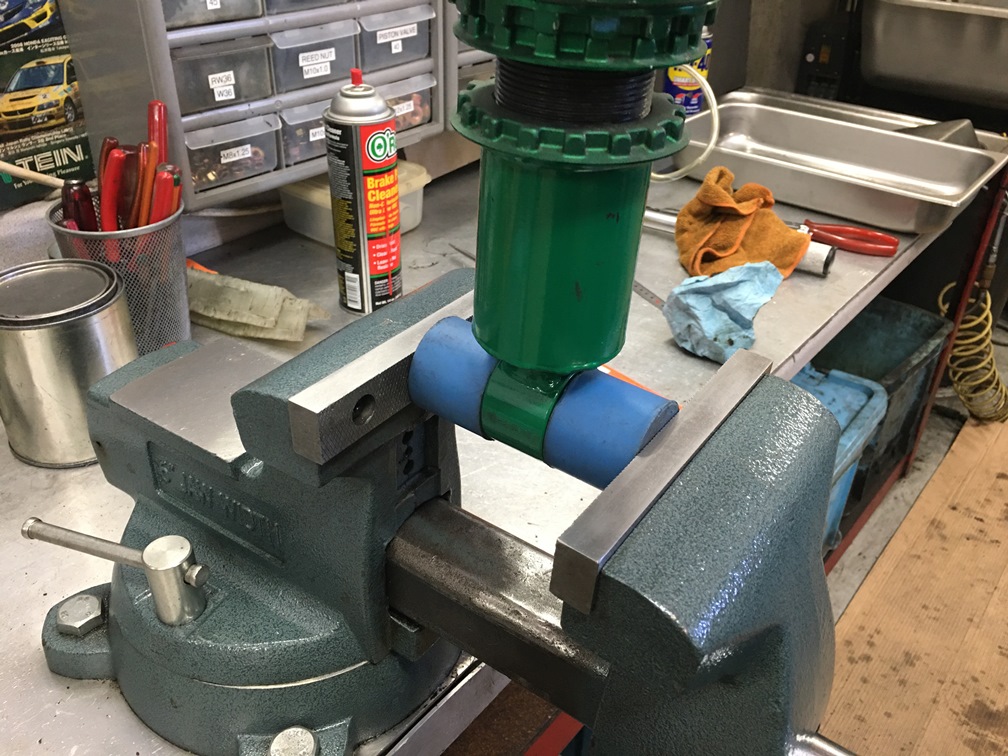
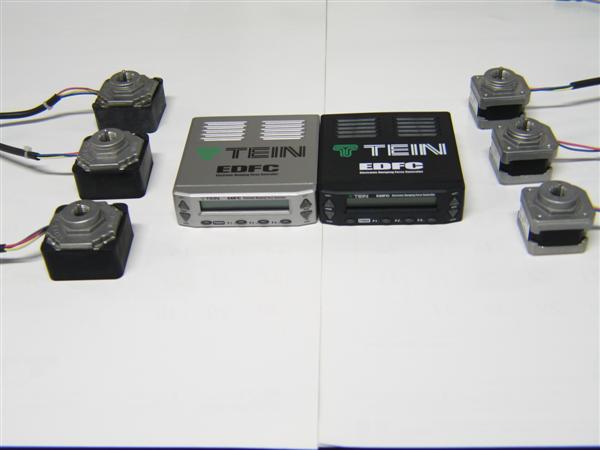
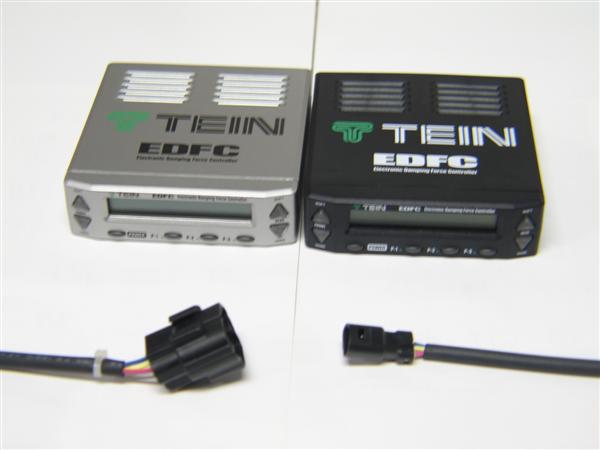
Just remove the top nut then top mount. Then the spring can be removed and swapped through the strut tower. Depending on what type of tower bar you have, the bar may need to come off. My aluminum Carbing 3-pt. bar does not need to be removed as it has an open top design (quick spring change compatible and EDFC compatible).

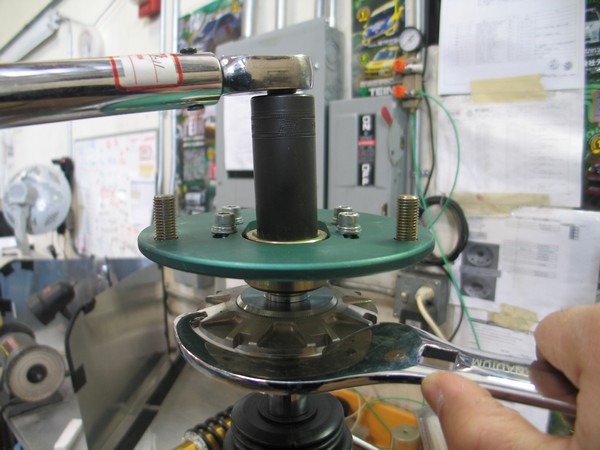
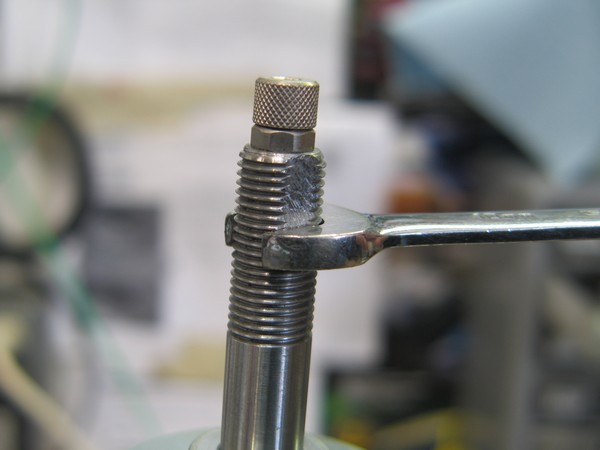
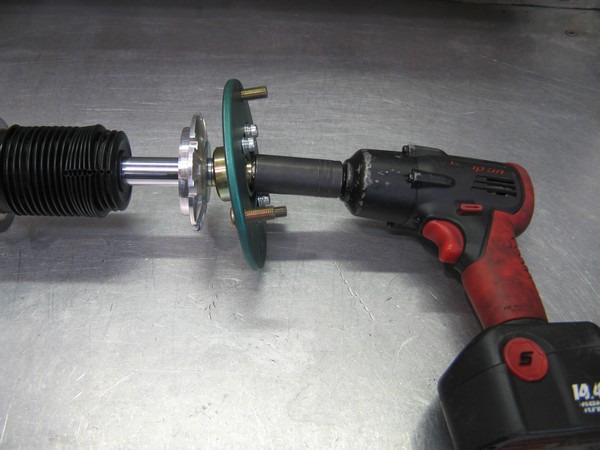
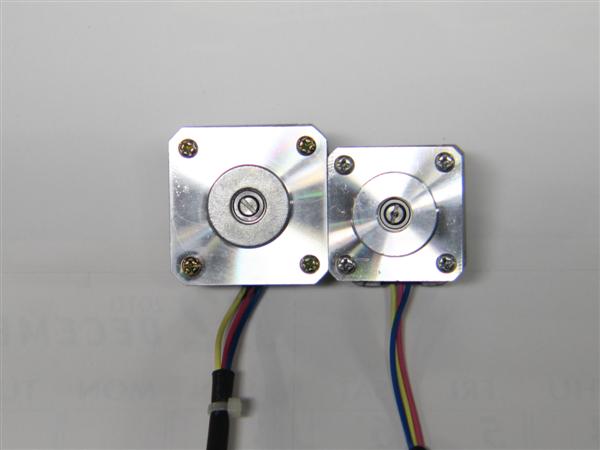
Removed my EDFC motor first. Then I slowly removed the top nut with a 21mm deep socket. (Impact Guns need to be used with care as internal damper damage may occur if used excessively).

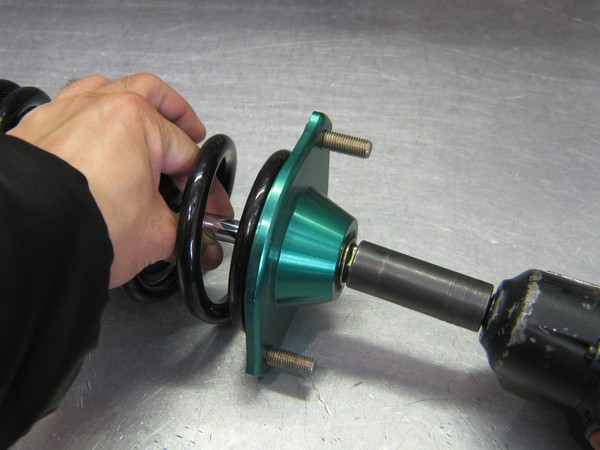
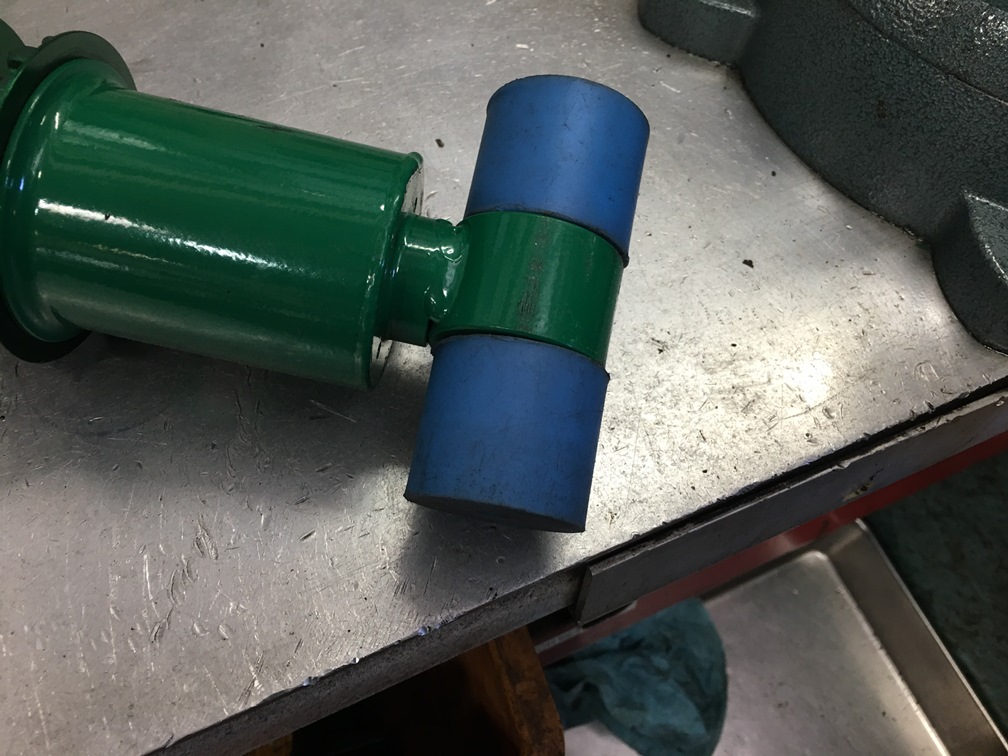
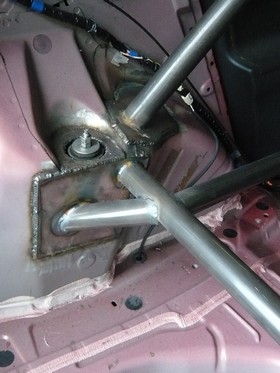
Used my leg to push the hub down and got the piston shaft out of the top mount. I just angled the damper in the fender well so it was out of the way while I removed the upper mount.

After removing the EDFC strut kit parts and upper spring seat the main spring comes right out.
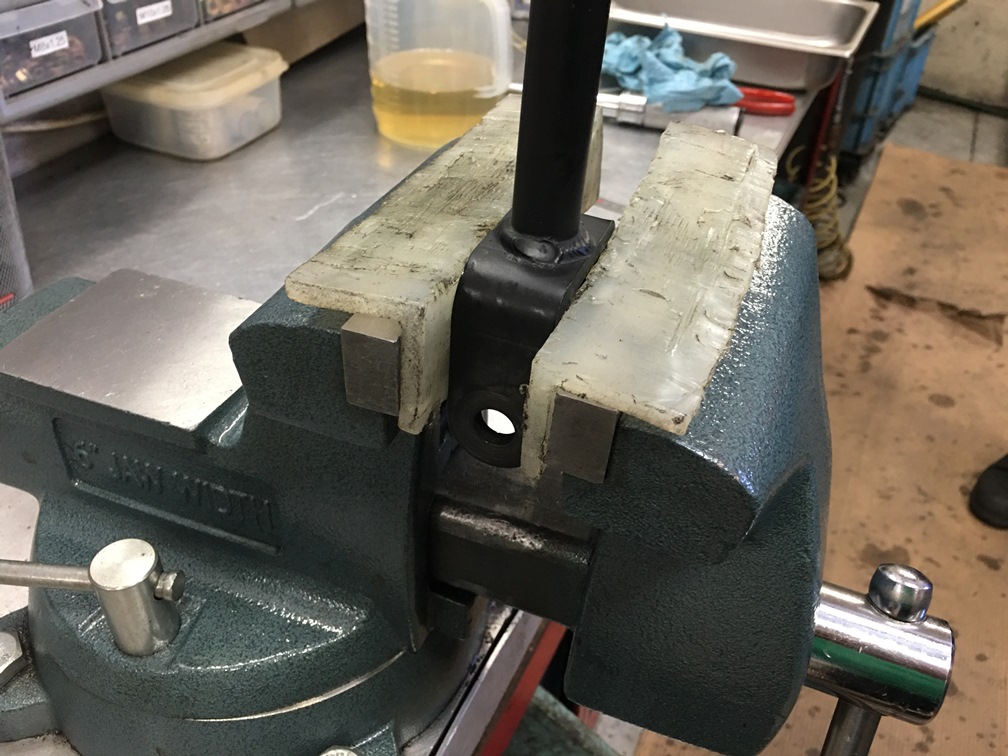
After swapping the spring I re-installed the top mount then used a floor jack to lift the damper back up into the top mount. Jack was placed under the under arm and I slowly raised it up. Re-tightened everything and re-installed the EDFC motor. Lastly I adjusted my shell case length by a few mm to maintain the original ride height.

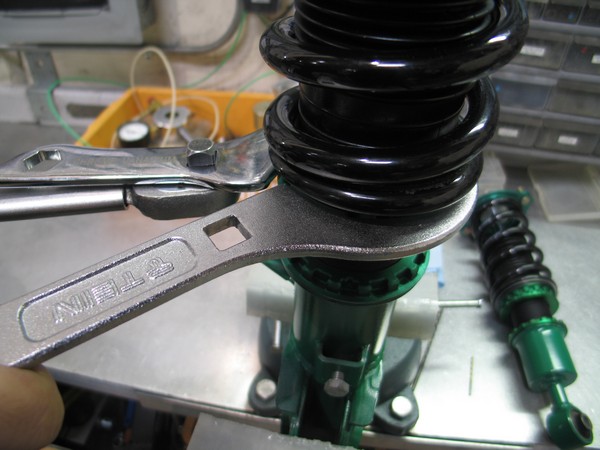
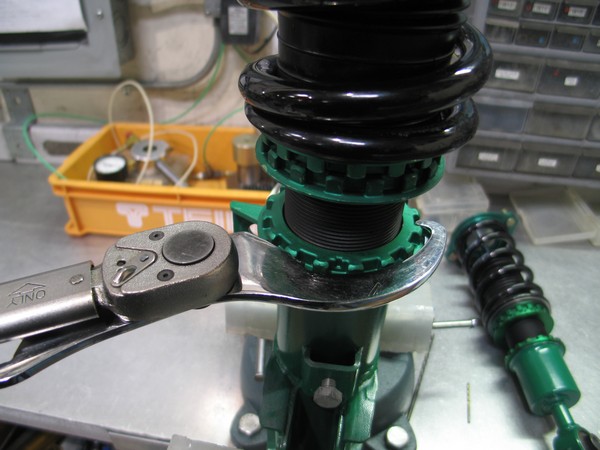
I use a paint pen to mark the seat locks so I will know if they get loose. Be sure to torque the lower bracket lock.
Car back on the ground. I moved the car around to settle everything. Lastly I re-measured the wheel center to fender to ensure my ride height/ alignment has not changed.

All done. Now it is time for a test drive and a little fun. Hope to be testing the new spring rates next month at ButtonWillow Raceway.

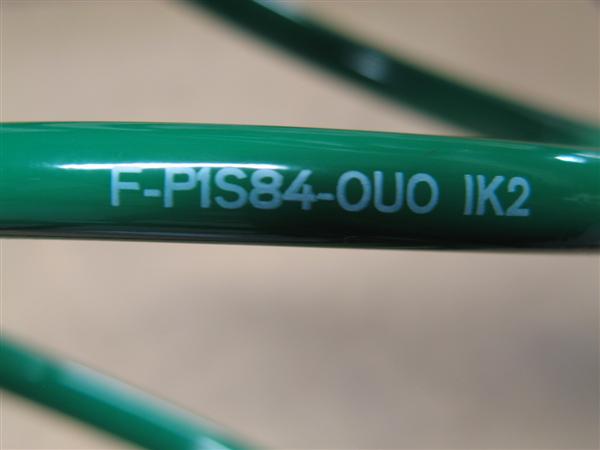
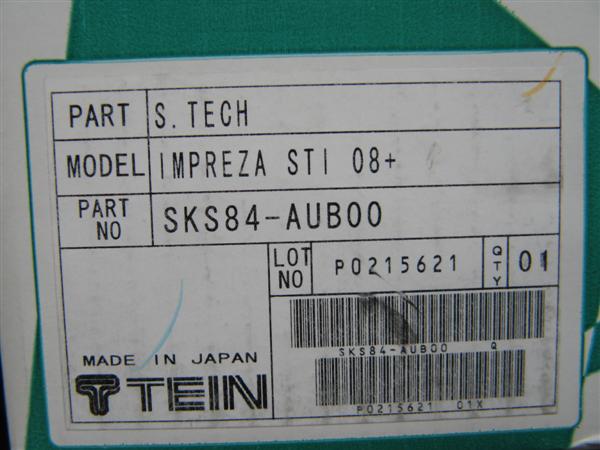
 Each lowering spring and damper kit has an individual alphanumeric part number which is part of the manufacturing process and to also help determine whether the part is a front, rear , left or right as shown in the photos above. The lowering spring shown have an even part number (partially matching the kit number SKS84-AUB00) which would indicate that the spring belongs in the front, and odd number would belong in the rear. The springs would also have an F (Front) or R (Rear) in the beginning of the part number designated its location. The last digits are the springs lot number. Note: the springs should always be installed so the printed part number is right side up.
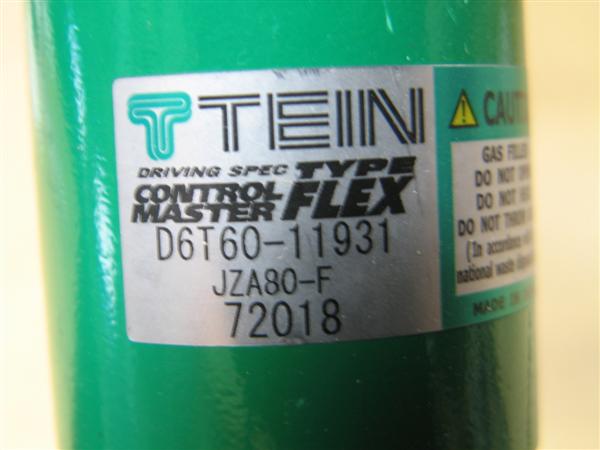
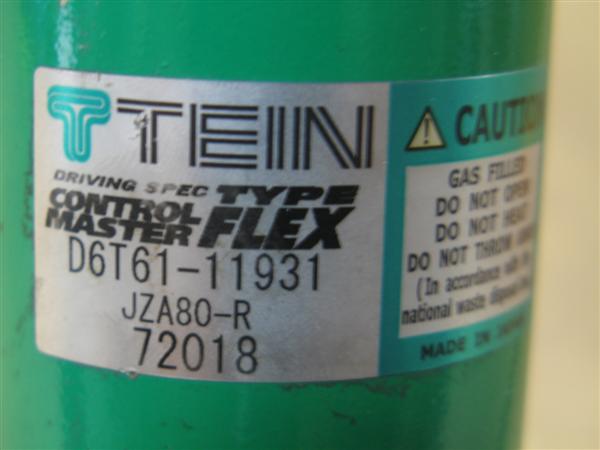
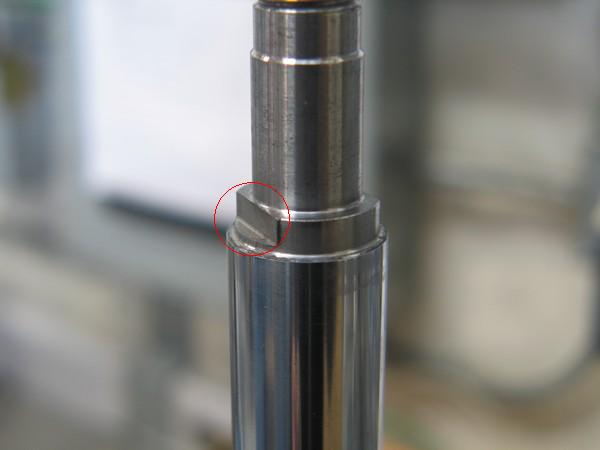
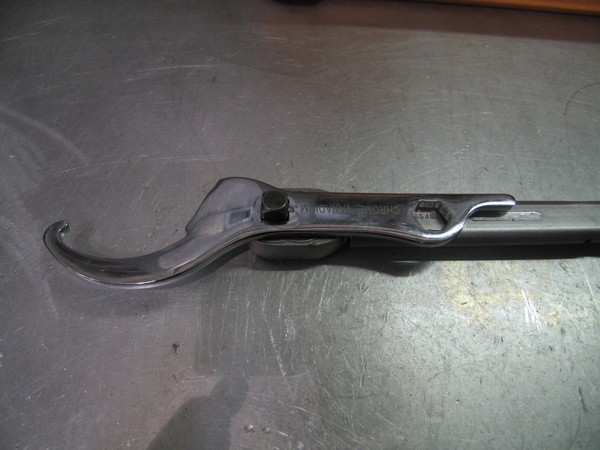
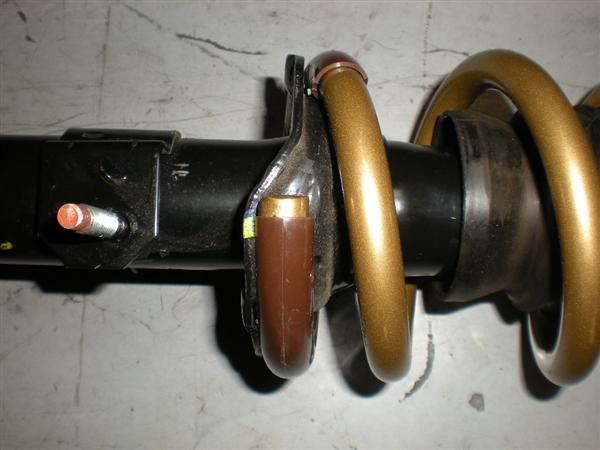
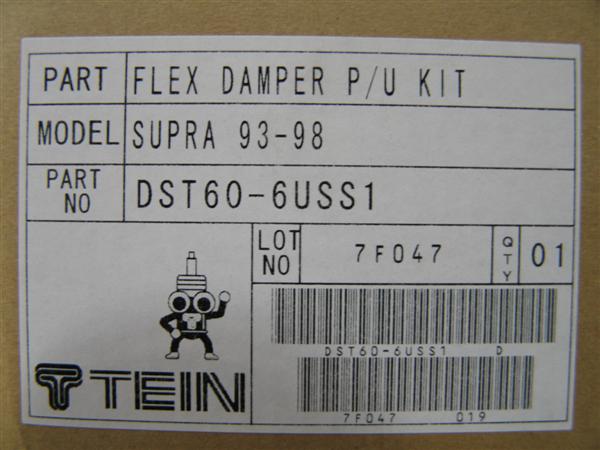 The dampers have the same type of alphanumeric part number as the springs but have additional information as to its location, damper type and what application the damper is for. Older dampers ( exa. HR or NR dampers) would have the part number engraved into the lower section of the shock body.


